
Have you ever thought about turning your patio into a cozy retreat with a custom awning? It might seem challenging at first, but a clear plan makes it easier than you expect. We break down the main measurements, list the exact materials, and outline each step you need to follow. With the right lumber (wood) and proper hardware, you'll soon have a strong, attractive awning that fits your space perfectly. Enjoy the process and add extra comfort and charm to your outdoor area.
DIY awning plans for a patio: Pure delight
Planning your own patio awning puts you in control of both style and function. A typical awning is 6 ft (1.8 m) to 14 ft (4.3 m) wide and extends 5 ft (1.5 m) to 10 ft (3 m) out to give plenty of shade. Draw a clear plan so you understand all the details before you start.
The frame is built with 2×6 lumber placed 24 in (61 cm) on center. This frame supports a tough fabric cover that weighs 8–10 oz per sq yd for outdoor use. You will also need the right hardware to keep the structure secure. Use 3/8 in galvanized bolts, L-brackets, and 2 in exterior screws. For example, sketch a simple scale drawing where 1/4 in represents 1 ft to set your dimensions.
Steps to follow:
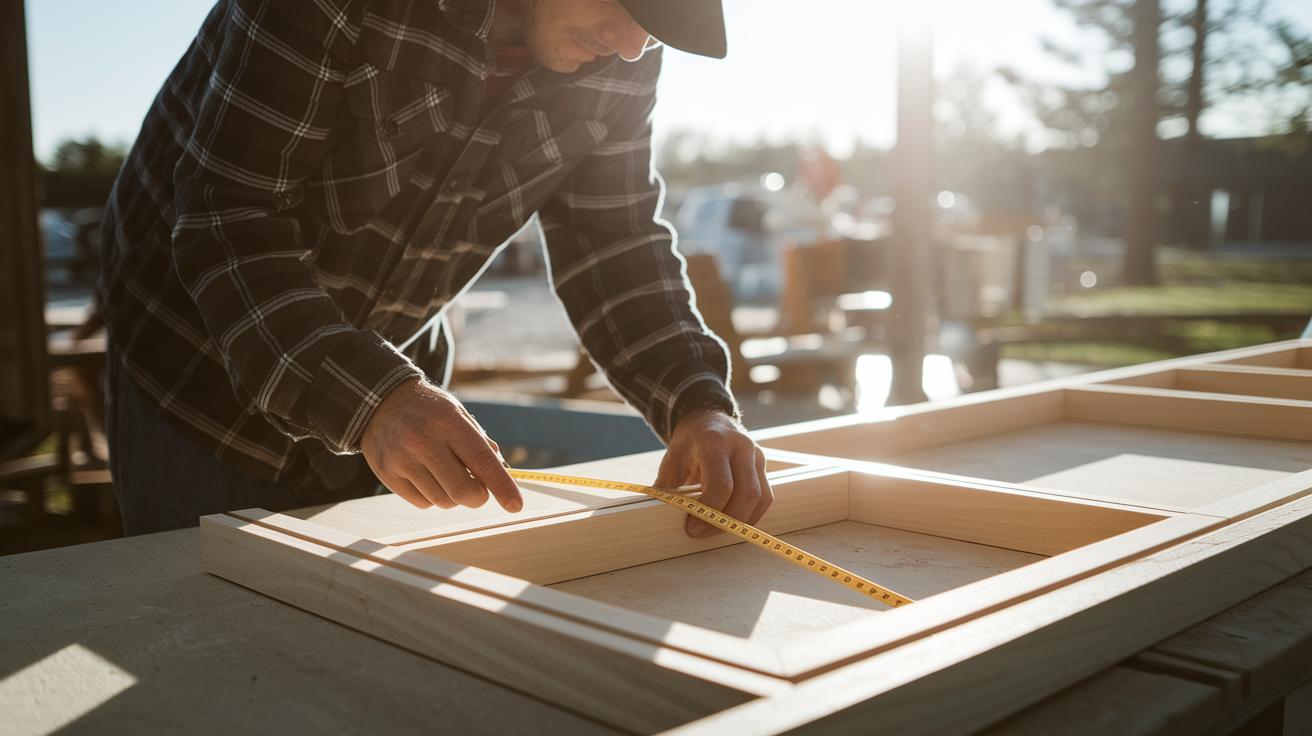
- Measure your patio space to determine the correct span and projection.
- Draw a scaled blueprint showing both the front and side views.
- Select your materials: pressure-treated 2×6 lumber, durable outdoor fabric, and quality hardware.
- Plan the fastener layout to ensure the awning is safe and strong.
| Component | Specification |
|---|---|
| Awning Span | 6–14 ft (1.8–4.3 m) |
| Projection Depth | 5–10 ft (1.5–3 m) |
| Frame Lumber | 2×6 at 24 in centers |
| Fabric Weight | 8–10 oz per sq yd |
| Hardware | 3/8 in bolts, L-brackets, 2 in screws |
This guide covers the main measurements, materials, and steps you need to confidently tackle your build. Have fun and take your time to get everything just right!
Designing custom DIY awning plans for a patio: blueprints and measurements

Start by measuring your patio's length and width. Write down these numbers clearly. A strong awning fits your space and style. For example, if your patio is 12 ft x 16 ft (3.7 m x 4.9 m), your drawing shows exactly where the awning will go.
Then, draw the side and front views of the awning. Use a scale of 1/4 in = 1 ft. This makes it simple to change your drawing to real size. For instance, a 3 in by 4 in rectangle on your paper can represent a 12 ft x 16 ft (3.7 m x 4.9 m) area.
Next, work out the pitch (angle) of the awning. A slope of 5° to 15° is best for water runoff. This tilt stops water from pooling and keeps the awning balanced. Try different angles on your drawing until you find one that feels right.
Plan for extra support by marking where posts or wall brackets will go. Add spots for reinforcements based on the weight the awning carries. Also, leave an overhang of 6 in (15 cm) on each side to help direct rainwater away. Check all measurements and supports to be sure your awning will be strong and safe.
Gathering tools and materials for your DIY awning plans for a patio
Start by gathering your power tools. You'll need a circular saw to cut your lumber, a drill with a 3/8 in (0.95 cm) bit for making holes, and an impact driver to quickly fasten parts together. If you want more ideas for a well-rounded toolkit, check out the best home tool kit for homeowners on alphapix.org?p=100.
Next, collect your hand tools. A good level helps keep your frame even, and a tape measure ensures every dimension is correct. Use a carpenter’s square to keep your angles at 90° and an adjustable wrench will come in handy when tightening bolts and brackets.
For materials, grab six 2×6 boards at 12 ft (3.66 m) each that are pressure treated for durability. Also, pick up four 4×4 posts for extra support. Use L-brackets to secure joints where you need extra strength. Choose a roofing option that suits your style: either a 10×12 ft outdoor canvas for flexibility or corrugated polycarbonate panels for a harder, more rigid cover.
Finally, stock up on fasteners. Get a box of 50, 3 in exterior deck screws along with 8 pieces of 3/8 in washers and nuts to complete the build. With these tools and materials, you'll be set to start building your awning frame with confidence.
Step-by-step canopy construction tutorial for patio awning assembly
-
Cut all your wood pieces using your plan's measurements. Start with posts, rafters, and support beams. For example, if your plan calls for a 4 ft (122 cm) rafter, cut your 2×6 board into exact 4 ft sections. Precise cuts help keep everything in line during assembly.
-
Pre-drill holes where pieces connect. Use a drill bit 1/4 in (6.35 mm) smaller than the bolt shank. This extra step helps prevent the wood from splitting and makes it easier to fasten later.
-
Build your base frame on flat, level ground. Place each piece 16 in (40.6 cm) apart and secure them with 3 in (7.6 cm) deck screws. A level surface keeps the structure balanced and stops it from shifting over time.
-
Attach the rafters to the top plate with L-brackets. Fasten each rafter every 24 in (61 cm) along its length. For instance, put one bracket at the end and one in the middle to hold it firmly and reduce movement.
-
Install diagonal cross braces between the rafters. These braces help resist wind by stiffening the frame. Tighten them well, especially if you are in a windy area.
-
Lay your cover material, fabric or polycarbonate panels, over the rafters. Secure it with 3/8 in (9.5 mm) bolts spaced at 12 in (30.5 cm) intervals. Imagine a smooth layer held down by bolts arranged evenly, like beads on a string.
If any step feels tricky, take a moment to re-check your measurements before moving on.
Installing and securing your DIY awning plans for a patio to protect from sun and rain
Begin by setting your awning where it will stay. Lean it firmly against your house wall or align it with a strong line of posts. Place the awning in its final spot and use a level to check that it is horizontal. For instance, rest the level on the top frame to see that it sits straight before you fasten any parts.
-
Check that the base is secure. Mark where the wall plates go and pre-drill holes into the wall studs. Fasten the wall plates with 1/2 in (1.27 cm) lag screws, keeping stud spacing at 16 in (41 cm) on center. This step gives a strong link to your house.
-
For sections that stand alone, dig holes and set post footings in concrete. Make sure these holes go 2 ft (61 cm) below the frost line and are 12 in (30.5 cm) wide. This depth helps the posts handle weather changes and high winds.
-
After fastening, check the level again. Adjust any fasteners as needed to keep everything secure.
-
Add end caps and trim boards around the awning. These pieces seal against moisture and debris while giving the project a neat finish.
Tighten all connections as the manufacturer suggests and review each step to keep your awning stable in sun and rain. This secure setup creates a durable shelter that protects both your patio and the awning itself.
Budget-friendly cover creation: estimating costs for DIY awning plans for a patio

Planning your DIY awning starts with a clear budget. Lumber typically costs between $120 and $180. Hardware usually runs around $40 to $60. Fabric may cost about $80 to $120. For a basic canvas awning, expect to pay between $3.50 and $5.00 per square foot. This breakdown helps you see exactly where your money goes.
You can cut costs by checking out salvage yards or discount outlets. Often, you might save up to 30% on materials by buying second-hand or during clearance sales. And if you need specialty tools, renting them for $15 to $25 per day is a smart choice.
Remember to include any permit fees in your plan. These fees can add an extra $50 to $150 to your budget. A detailed budget lets you track every cost, from lumber and fabric to rentals and permits. Using a budget template can make this task even easier.
- List each material along with its estimated cost.
- Calculate the cost per square foot based on your awning’s dimensions.
- Record any rental fees and permit charges.
- Look for savings at salvage or discount outlets.
This step-by-step approach keeps your DIY awning project manageable and cost-effective.
Customizing your DIY awning plans for a patio: style, colors, and retractable options
Start by choosing a fabric color that matches your patio furniture or siding. For example, a warm terracotta or a cool slate can set a calm mood. Pick a hue that works now and can easily refresh with seasonal accents.
Next, install a retractable roller mechanism that is rated for 20 mph wind loads. This lets you roll the awning back on blustery days and extend it when the weather is calm. Add adjustable side panels that slide smoothly to give you extra control over sunlight and block harsh afternoon rays.
Then, attach LED strip lighting along the front valance to bring a gentle glow to your patio in the evening. This soft light makes your space welcoming for nighttime gatherings.
Finally, apply weather-resistant paint or stain to your wooden frames. This protects them from the elements and keeps the design polished. Test small patches first to see how the color looks in natural light.
Troubleshooting and maintenance tips for DIY awning plans for a patio

Keeping your awning in top shape is simple if you do regular checks and fixes. It helps you spot small problems before they grow into big repairs. Think of it like checking your bike bolts, tight ones mean a smooth and safe ride.
- Every 3 months, check all the fasteners. Tighten any that feel loose after windy days.
- Once a year, look over the fabric or panels. Watch for small rips or color changes, as these may show wear from the sun.
- If any metal parts show rust on more than 20% of their area, replace them right away. This small fix can stop bigger problems.
- Add extra support to any braces before storm season. This helps keep the frame strong during heavy winds or rain.
- Clean the cover above gently with a mild detergent. Rinse it well to get rid of dirt and keep the fabric lasting longer.
Stick to these steps and your awning will stay strong and attractive for years. Treat it like you would your car with regular oil changes, and you will enjoy a safe and reliable patio shade.
Final Words
In the action, this guide took you from initial blueprints to the final installation of your DIY awning plans for a patio. We covered measuring your space, choosing the right lumber and fabric, and following a step-by-step build process. You learned about cost estimates, tool selection, and creative touches to make your awning both functional and attractive.
Keep these easy steps in mind as you work on your project, and enjoy the extra shade and comfort outside.
FAQ
What are some free, simple DIY awning plans and PDFs for a patio?
Free DIY awning plans offer simple, downloadable blueprints in PDF format that include basic measurements, lists of tools and materials, and step-by-step instructions to guide you in building a patio awning.
What are the cheap DIY awning plans and ideas for a patio?
Cheaper DIY awning plans emphasize using cost-effective materials and basic designs. They recommend discount hardware, recycled lumber, and budget-friendly fabric to build a sturdy and practical patio cover.
How does a DIY retractable awning work?
A DIY retractable awning works by incorporating a rolling mechanism that lets you extend or retract the fabric for shade. It uses a robust frame and quality hardware to ensure smooth, reliable operation.
How does one build an awning over a porch?
Building an awning over a porch involves constructing a support frame, spacing rafters correctly, and securely mounting the assembly to the porch with appropriate fasteners to achieve lasting stability.
How does one construct an awning frame from wood?
Constructing an awning frame from wood requires cutting pressure-treated lumber to size, assembling pieces with bolts and brackets, and ensuring all joints are level and fastened securely for a safe structure.
How does one make a simple awning?
Making a simple awning starts with accurate measurements and basic lumber cuts, followed by assembling a frame, attaching the cover material, and securing fasteners to create a reliable shade structure.
What can be used instead of a traditional awning?
Instead of a traditional awning, you can use outdoor canvas, corrugated panels, or shade sails, each providing effective sun protection while offering alternative aesthetic and functional options.
What is the best angle for an awning?
The best angle for an awning is typically between 5° and 15°. This range promotes proper water runoff while providing ample shade and maintaining a clean appearance on your patio.
How much does it cost to build a patio awning?
Building a patio awning usually costs between $150 and $300. This price estimate includes the cost of lumber, hardware, fabric, and any occasional rental fees for specialty tools.
