
Have you ever wondered how potters get their ceramics to shine so brilliantly? With the right glaze techniques, plain clay turns into art. This guide explains three main methods: dipping, brushing, and spraying. First, check your glaze until it feels as thick as heavy whipping cream. That helps you avoid spots that are too thin or cracks later on. Whether you're just learning or have years of experience, these clear steps can help you achieve a smooth, high-quality finish on every piece.
Pottery glaze techniques Spark Creative Delight
Potters have many ways to glaze their ceramics. Whether you're just starting or have years of experience, there's a method for you. This guide explains each technique step by step. You'll learn how to control water saturation and work with gravity during the glazing process.
Follow our clear instructions to adjust the thickness of your glaze (it should feel like heavy whipping cream). You also get tips to prevent cracking and avoid thin spots. These methods let you choose between modern glazing ideas or classic finishing touches.
Try out these techniques:
- Dipping
- Pouring
- Brushing
- Spraying
- Sponging
Mastering these methods will help you get a smooth, high-quality finish on your ceramics. Whether you're working with bold patterns or delicate details, picking the right approach makes a big difference. Step by step, you'll avoid common mistakes and achieve an even, attractive coat on your bisqueware.
With practice and careful water adjustments, your pieces will reflect both your creativity and your technical skill. Every glazed item can become a true expression of your artistic vision.
Dipping, Pouring, and Brushing Pottery Glazes
Check your glaze first. It should feel like heavy whipping cream, smooth and thick. A glaze that is too thick might crack, and one that is too thin can leave bare spots on your bisque. If needed, add 10–15 ml (about ½ to 1 teaspoon) of water little by little until the glaze is even. This check is important before you start dipping, pouring, or brushing.
- Clean your bisque with a damp cloth.
- Stir the glaze well to mix any settled pigment.
- Slowly dip your piece into the glaze.
- Hold it for a few seconds so the glaze covers it evenly.
- Lift the piece slowly and let extra glaze drip off.
- Rotate it to check that the coat is even.
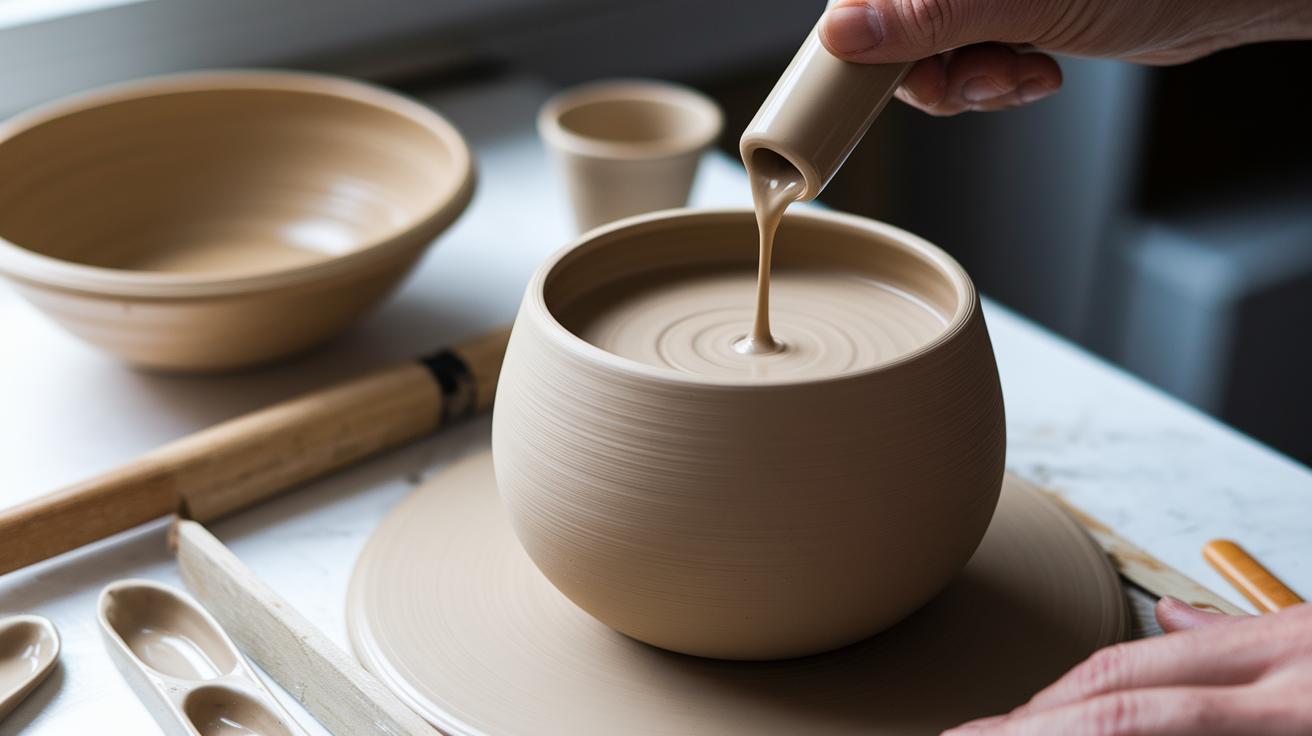
For pouring, practice makes perfect. Once your glaze is just right, pour it slowly over complex shapes or the interior of the piece. This helps you control where the glaze goes. Take your time to avoid puddles or uneven spots.
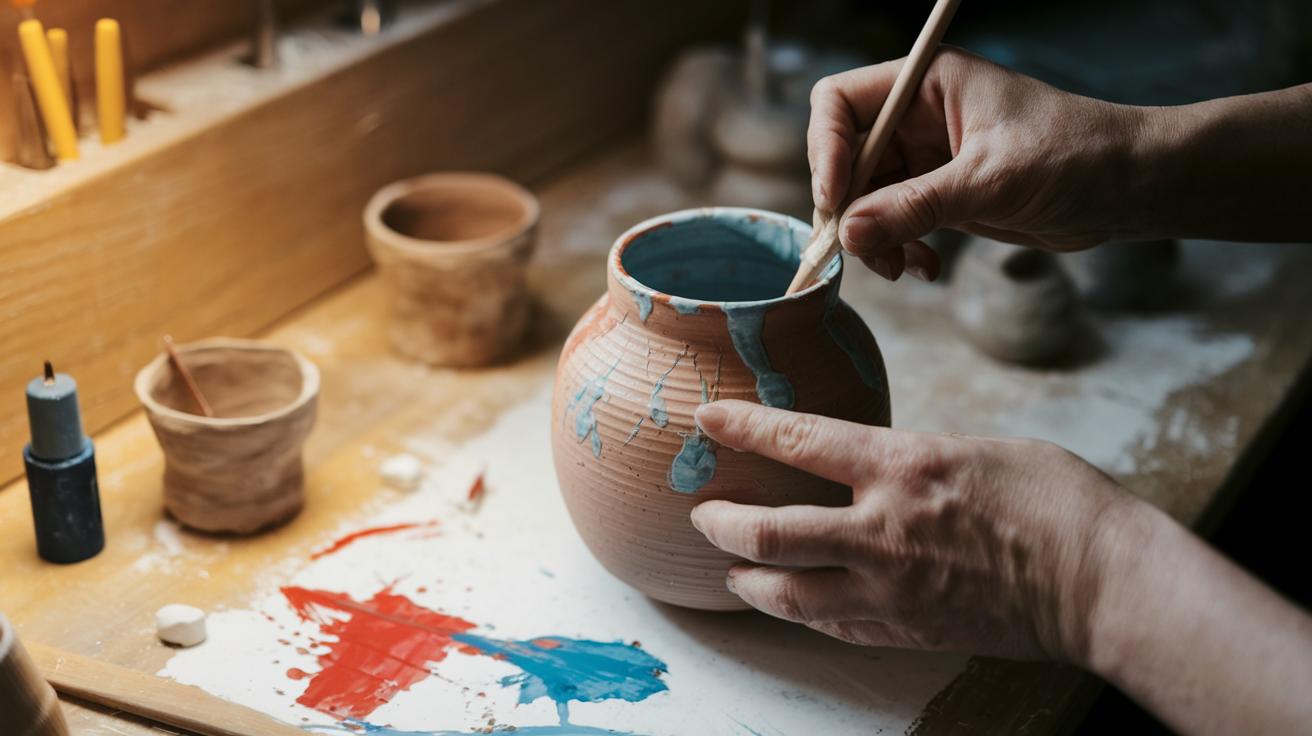
For detailed work, use a thick glaze made for brushing. Dip a fine brush in the glaze and apply it carefully, covering every nook without overloading. It takes more time, but it gives you great control for adding decorative touches or fixing spots.
Spraying, Sponging, and Roller Glaze Applications
When using spray glaze, safety and proper setup matter most. Always wear a respirator and work in a spray booth or a well-ventilated area to keep fumes in check. Pick a nozzle wide enough to avoid clogs so your coat stays smooth and even. Clean your work area and put on your safety gear first. This way, you protect yourself and create a clean space to work.
Sponging works best for light coats on raised details. Use a clean sponge for each layer to prevent mixing colors. Dab the glaze gently over textured areas in thin, even layers. This helps build the finish gradually and gives you subtle color differences with a neat look.
Roller glaze gives a uniform finish with even bands. Choose a foam roller made for ceramic glazes to spread the product evenly. Roll the glaze on with steady pressure to avoid brush marks and create a smooth texture. This method is great for quickly covering large, flat areas.
Creative Decorative Pottery Glaze Techniques
You can turn a plain ceramic into a striking piece of art. Blending different glaze techniques with precise tools helps you create designs that mix old traditions with fresh ideas. Experimenting with these methods adds playful textures and careful layers. This lets you combine soft background hues with bold accents for a lively finish.
Techniques include:
- Splattering
- Stippling
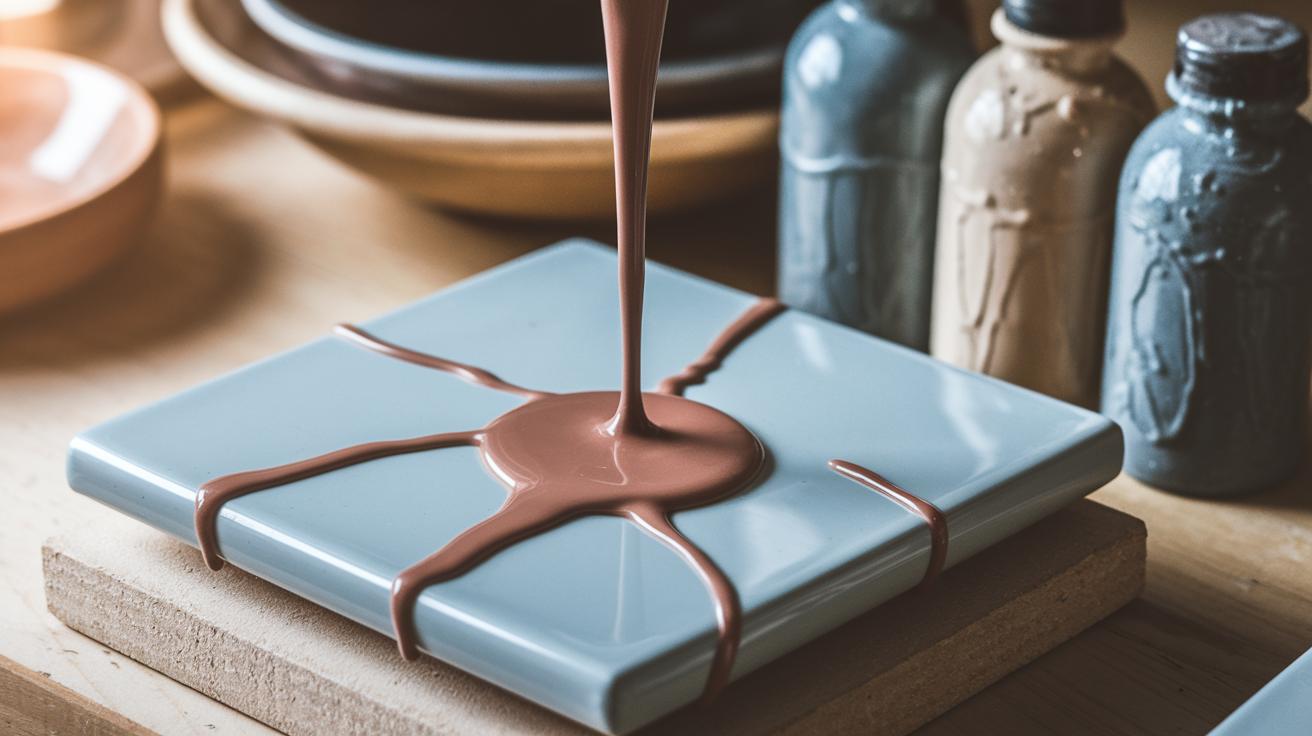
- Glaze trailing
- Wax resist
Wax resist is a great way to build layered effects by keeping glaze off certain areas. Follow these six simple steps:
- Begin with a clean, fired piece (bisque) and sketch your design.
- Apply wax using a small brush or squeeze bottle along your planned pattern.
- Let the wax dry firmly on the surface.
- Brush or dip the glaze over the waxed areas for even coverage.
- Gently wipe off the wax or treat with controlled heat so some bisque shows through.
- Apply a different glaze on the exposed areas to create raised, textured lines.
These steps help you add depth and visual interest, turning everyday ceramics into personal works of art.
Advanced DIY and Innovative Pottery Glaze Techniques
Bubble glazing mixes detergent with glaze to give your ceramics a foamy, cratered look. This fun method adds depth and a touch of surprise. Mix a small amount of detergent with your glaze and adjust until you reach the perfect bubble consistency.
Another neat trick is sponge underglazing. Use a soft sponge to dab on a light layer of color before you apply the final glaze. This adds gentle texture and interest without overpowering your design. Try these techniques on a test tile first so you can fine-tune your approach.
Building a DIY fountain glazer is a smart way to coat the insides of your ceramics fast. A homemade fountain glazer uses a gravity-fed system to spread the glaze evenly, and it saves you money compared to buying a ready-made unit.
Start by assembling a simple setup with parts you can find at a hardware store. Check the water flow and nozzle size to make sure you get an even coat. Online videos and step-by-step demonstrations can show you exactly how to build and use your fountain glazer. These guides also help you solve common problems and improve your setup for a smooth, attractive finish.
Give these techniques a try and enjoy the creative possibilities they bring to your pottery projects.
Mixing and Formulating Pottery Glazes

Start by checking your glaze consistency. It should feel like heavy whipping cream, smooth and thick enough to cover your bisque (fired clay) without running, but not so thick that it dries with cracks. Dip a stick into your glaze and let a few drops fall. The drops should hold their shape a bit and slowly spread out. This simple test shows you that your mixture is balanced and ready for use.
- Add water slowly in 10–15 ml steps until you get the right consistency.
- Sift the glaze through a 60–80 mesh screen to remove any lumps and make the mix smooth.
- Stir the mixture well to evenly distribute the pigments and any additives.
- Work in a clean, organized area so that dust or debris does not get into your glaze.
Keep a detailed record of your mixing process. Write down the ingredient ratios and any changes you make. This helps you repeat a good batch and refine your formula over time.
Firing and Kiln Preparedness for Pottery Glazes
Start by setting up a clean workspace. Make sure your bisqueware (fired clay pieces) is wiped clean with a damp cloth to remove any dust or oils. You can wear disposable gloves or use an air compressor to help keep unwanted residues away from your glaze finish.
Before firing, examine the kiln shelf. Any glaze drips or debris can lower your final results, so use a damp sponge to clean it off. If you plan to use spray glazing, work in a well-ventilated area and wear a respirator.
Follow these steps:
- Wipe bisque with a damp cloth to remove dust and oils.
- Check the kiln shelf and remove any drips using a damp sponge.
- If spray glazing, work in a ventilated space and wear a respirator.
- Program the kiln to cool down gradually to avoid thermal shock.
When you start firing, keep the kiln at steady temperatures. This helps the glaze stay consistent and lowers the risk of cracks. Use your kiln’s instructions for oxidation or reduction methods, and let the kiln cool slowly to give your ceramics a smooth, even finish.
Troubleshooting Common Pottery Glaze Issues
Glazed pieces sometimes show problems. Often the issues come from water balance or kiln firing problems. Too much water can lead to poor sticking and drips. Too thick a glaze may crack. When the glaze is too thin, bare spots appear. Pinholes can form from trapped air or kiln conditions.
Here are some steps to help you fix these issues:
- Check your glaze consistency and firing schedule. This helps you spot problems early.
- Adjust water levels slowly until the glaze feels like heavy whipping cream.
- Thin a thick glaze by adding a little water. This step helps stop cracks.
- Apply a second thin coat to cover any bare spots.
- Vacuum the glaze before use to remove air bubbles.
- Open your kiln vents to keep the firing atmosphere steady.
- Look for drips and reapply glaze where needed.
- Test your kiln’s temperature profile to ensure an even fire.
Using test tiles can save you time. They reveal small issues so you can make small fixes before glazing the entire batch. This way, you end up with pieces that show even, vibrant coverage.
Final Words
In the action, you learned practical steps covering a range of processes like dipping, spraying, and decorative applications. The guide clarified mixing tips, proper safety measures, and troubleshooting fixes to help you achieve smooth finishes.
Applying these pottery glaze techniques will boost your skills and bring a fresh look to your ceramics. Embrace each step with care and confidence. Every project brings you closer to mastering your craft. Enjoy the process and the quality results that follow.
