
Have you ever seen a hole in your wall and thought, "I can fix that"? Patching drywall might seem hard at first, but it really isn’t. In this guide, we break it down into small, clear steps you can follow easily.
You will learn how to measure the area, cut a patch to fit, and secure it in place. Then, you'll smooth the repair until it blends with your wall. With a few basic tools and simple directions, even beginners can end up with a smooth, professional-looking finish.
Step-by-Step Drywall Patching Process for Beginners
-
Start by measuring and marking the area that needs repair. Extend your mark 1 in (2.5 cm) past the damaged edge. Then, clear away any loose dust or debris.
-
On the next day, use a utility knife to cut a patch that is a little larger than the hole. Keep the front paper layer intact. Think of your measurement as a blueprint, marking 6 in (15 cm) around the damage helps with accuracy.
-
Secure the patch firmly in place. Then, starting that same day, apply a thin coat of joint compound with a flexible knife.
-
Over the next few days (Days 3 through 5), add more layers of joint compound. Feather the edges with each layer to create a smooth blend with the wall. Allow about 24 hours for each layer to dry completely.
-
Remember, the process spans several days because proper drying is key. Rushing can lead to visible seams or cracking. By taking your time, your repair will blend well with the rest of the wall.
With just a few basic tools from your local hardware store and careful work, even beginners can confidently restore a smooth wall surface.
Essential Tools & Materials for Patching Drywall for Beginners

When you patch drywall, using the right supplies makes a big difference. Start with a utility knife that has a safety blade to ensure clean, controlled cuts. Next, grab a flexible joint or putty knife to spread your compound evenly. Use 120–150 grit sandpaper or a sanding sponge to smooth out any rough edges.
For medium-sized holes, apply a 4″ self-adhesive mesh patch to reinforce the repair. Fill gaps with primer-enhanced spackle or joint compound, and finish by applying an interior primer so your patch blends naturally with the wall. To get an accurate patch, trace a piece of scrap drywall using a pencil and paper.
Protect yourself throughout the process by wearing a mask and goggles. These safety items shield your lungs and eyes from dust during cutting and sanding. You might also use a hammer or screwdriver if you need to carefully shape uneven hole edges. Many beginners opt for preassembled kits, such as the best home tool kit for homeowners, which bundle these essential supplies together so you have everything at hand for a neat and lasting repair.
Preparing the Drywall Hole for Your Patch
Start by placing a straightedge on the wall and using a pencil to draw a line that goes 1 in (2.5 cm) beyond the damaged area. This extra space makes it easier to create a smooth transition with your patch.
Next, use a clean rag to wipe away any loose gypsum, paper, and dust from the area. If the hole is uneven, gently tap its edges with a hammer or screwdriver to shape it into a clean circle or oval. This light tapping helps remove rough spots so your patch will fit better.
Finally, check the entire perimeter to make sure no loose paper remains. Taking a moment to remove any frayed bits now will give you a solid foundation for the patch and help you achieve a neat, professional finish.
Cutting and Fitting a Drywall Patch for Beginner Repairs
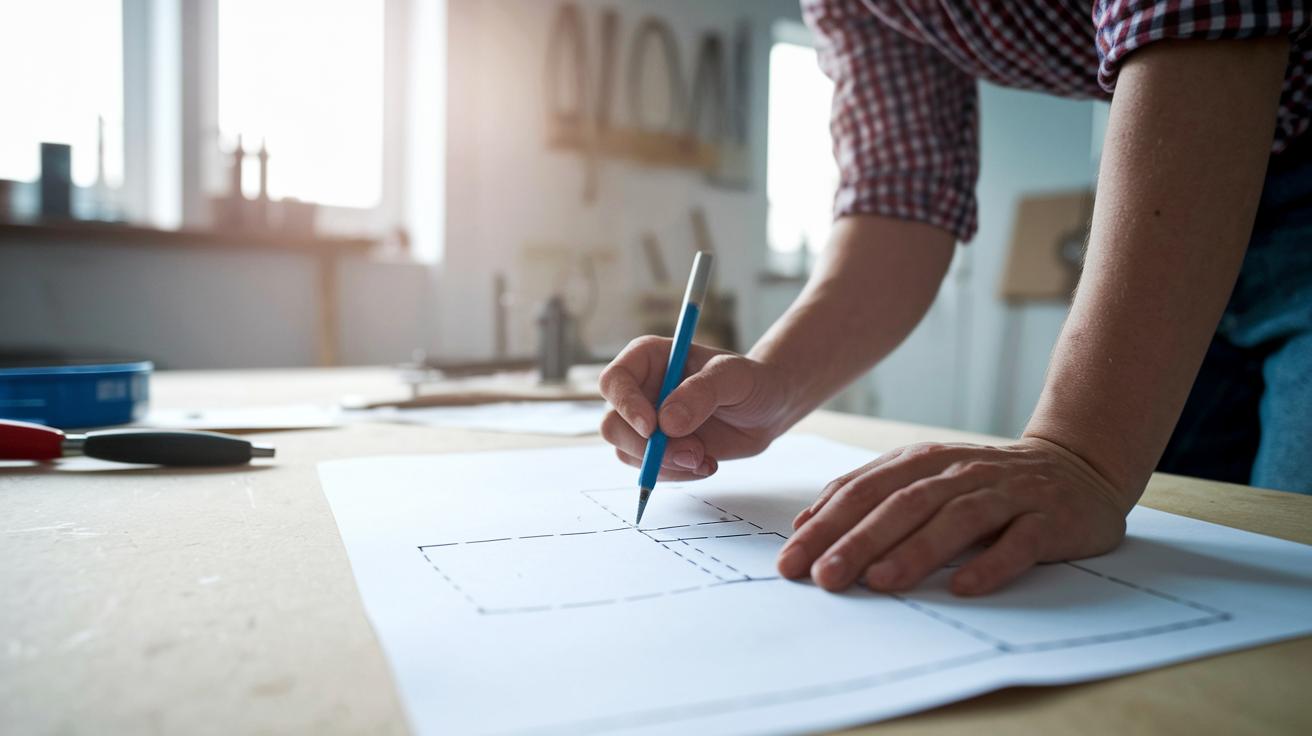
Lay a piece of paper over the hole in your wall. Trace the shape with a pen or use your fingertip to make a light indent. This gives you a clear outline to use when cutting your patch. Taking your time here helps the patch fit perfectly with no gaps.
Use a sharp utility knife to score just the front paper layer of the drywall. Be careful not to cut through the backing. This creates a clean edge that works like a puzzle piece. After scoring, slowly peel off the paper backing to reveal your cut-out piece. This simple method works great for beginners.
Smooth the edges of the patch using a sanding sponge. Hold the piece in place and check that it sits evenly and snugly in the hole. If you find any rough spots, sand them lightly to blend with the wall. This approach makes fixing your drywall easy and helps you repair your wall confidently.
Applying Joint Compound & Mesh Patch in Drywall Repairs
Whether you're fixing a tiny hole with primer-enhanced spackle or covering a medium gap with a self-adhesive mesh patch, this guide leads you step by step for a smooth repair. For holes less than ½ in (1.3 cm), a light coat of spackle works well. For holes between ½ and 3 in (1.3–7.6 cm), center a mesh patch so it overlaps the hole by 1 in (2.5 cm) on each side for extra support. Mix your joint compound until it has a creamy texture and use a flexible joint knife to spread it in thin, even layers.
- Mix the joint compound until it's smooth and creamy. Stir with a flexible joint knife until no lumps remain.
- For small holes, apply a thin layer of primer-enhanced spackle. Let it dry for 30-60 minutes and check that the surface looks even.
- For medium holes, center a self-adhesive mesh patch over the area. Ensure it extends 1 in (2.5 cm) beyond the hole on all sides.
- Spread your first thin coat of joint compound over the patch using a flexible joint knife. Feather the edges into the surrounding wall.
- Let the first coat dry for about 1 hour. Then, apply two extra thin coats, softening the edges each time for a seamless blend.
Safety: Wear a mask and goggles (see your PPE checklist) when mixing and sanding. Let the final coat dry completely, allow 24 hours before sanding, to get the best finish.
Sanding, Priming & Painting for a Seamless Drywall Repair
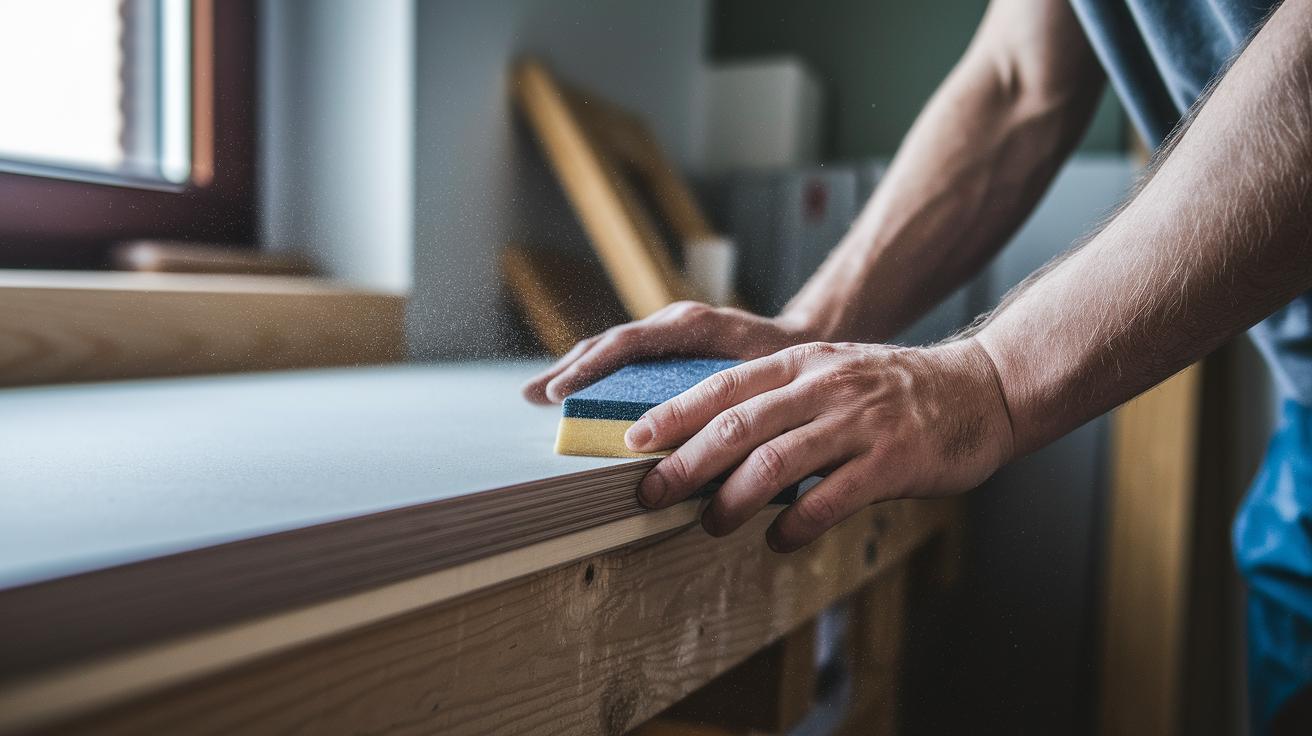
Once the final joint compound dries, grab a 120–150 grit sandpaper or a sanding sponge. Apply light pressure to smooth out any bumps and ridges. This step creates a flat surface for the next steps. After sanding, clean up all the dust with a dry, clean rag. This extra care helps the primer and paint stick well and look smooth.
| Action | Recommended Tool | Tip |
|---|---|---|
| Sanding | 120–150 grit sandpaper | Always sand after the final coat is dry |
| Dust Cleanup | Clean, dry rag | Remove all dust before applying primer |
| Priming | Interior primer | Apply a full coat for the best color blend |
| Painting | Angled brush or roller | Feather the edges for a smooth finish |
Next, apply a full coat of interior primer. Even if you used a primer-enhanced spackle, this step is crucial. Let the primer dry for 1–2 hours before you start painting. Then, use a matching wall paint with a 2–3 in (5–7.5 cm) angled brush or roller. Blend the new paint in using gentle, feathered strokes. This careful work makes your repair look seamless and professional.
How to Patch Drywall for Beginners Made Simple
One common error is forgetting to clean dust before priming. After sanding, use a slightly damp rag to wipe the area and remove all dust.
Another mistake is spreading the joint compound too thick. Use a flexible joint knife to apply a thin, even coat. Thick layers can lead to cracking.
Sanding before the compound is fully dry might cause gouges. Let each coat dry completely, usually at least 24 hours, before you sand.
If you don’t feather the edges, visible seams may appear. Lightly blend the compound into the wall, then apply a primer to merge the patch smoothly.
Final Words
In the action, this guide walks you through finding damaged areas, cutting a snug patch, layering joint compound, and finishing with proper sanding, priming, and painting.
Patience and careful cleanup make all the difference in achieving a smooth repair. Follow each step closely to avoid common mistakes.
Remember that even if you’re new to how to patch drywall for beginners, basic tools and simple tips can lead to an efficiently completed project. Enjoy the process and take pride in your work.
FAQ
How do beginners patch drywall?
Patching drywall as a beginner involves marking and cutting a patch slightly larger than the damaged area, applying self-adhesive mesh tape for support, and applying thin layers of joint compound with proper drying times.
How do you repair a large drywall hole with mesh?
Repairing a large drywall hole with mesh means clearing loose material and marking 1 inch beyond the damage. Then, cut a patch larger than the hole, secure it with mesh tape, and layer joint compound until smooth.
How can I quickly and effectively patch drywall?
Quickly patch drywall by cutting a patch that fits, securing it with mesh tape, and applying several thin layers of joint compound. Sand smoothly once dry for a seamless repair.
What is a common mistake when applying mud to drywall?
A common mistake when applying drywall mud is using compound too thickly, which can lead to cracks. Instead, apply thin layers and feather the edges to blend the repair with the wall.
What do I need to put over drywall once it’s patched?
After patching, cover the area with a primer-enhanced spackle or joint compound to seal the repair. Follow with a full coat of interior primer before touching up with matching wall paint.
How do I prep the drywall hole before patching?
Prepping the drywall hole begins by marking 1 inch beyond the damaged area. Remove all loose debris and sand the edges to ensure a clean, stable surface for the new patch.
