
Have you ever tried exploring circuits just to see what you can create? DIY electronics projects mix fun and learning so you can build gadgets that make everyday tasks easier. You might start by lighting up an LED or setting up a sensor for your smart home. These projects help you learn to think like an engineer. We begin with simple setups that fit your skill level and the tools you have. Then, you can try fun challenges that add a little twist. Grab a few wires and components and watch your ideas come to life.
Getting Started with DIY Electronics Projects
When you start your first electronics project, choose one that matches your skill level and parts on hand. If you're new, try a simple microcontroller challenge. For instance, make an LED blink with an Arduino board. Starter boards like Raspberry Pi, Arduino-compatible boards, and NodeMCU/ESP modules work great for beginners. Many makers began with a small sensor project before moving on to bigger builds. For more basic ideas, check out a DIY projects for beginners resource.
Basic safety matters every time. Use a sturdy work surface and an ESD mat (a mat that protects against static electricity) to keep your parts safe. Make sure there is plenty of fresh air when you solder so you don't breathe in fumes. Wear safety glasses when cutting wires or putting together circuit boards. Always read the instructions and check your connections.
Start your home lab simply to make your projects go smoother. Set up a dedicated workbench, and use a power supply that delivers a constant voltage. Gather the essential tools like a soldering iron, wire cutters, and a multimeter (a tool for measuring voltage and current). Keep your semiconductors and sensor modules neatly organized. This setup helps you work faster and builds your confidence in new projects.
Essential Tools and Components for DIY Electronics Projects
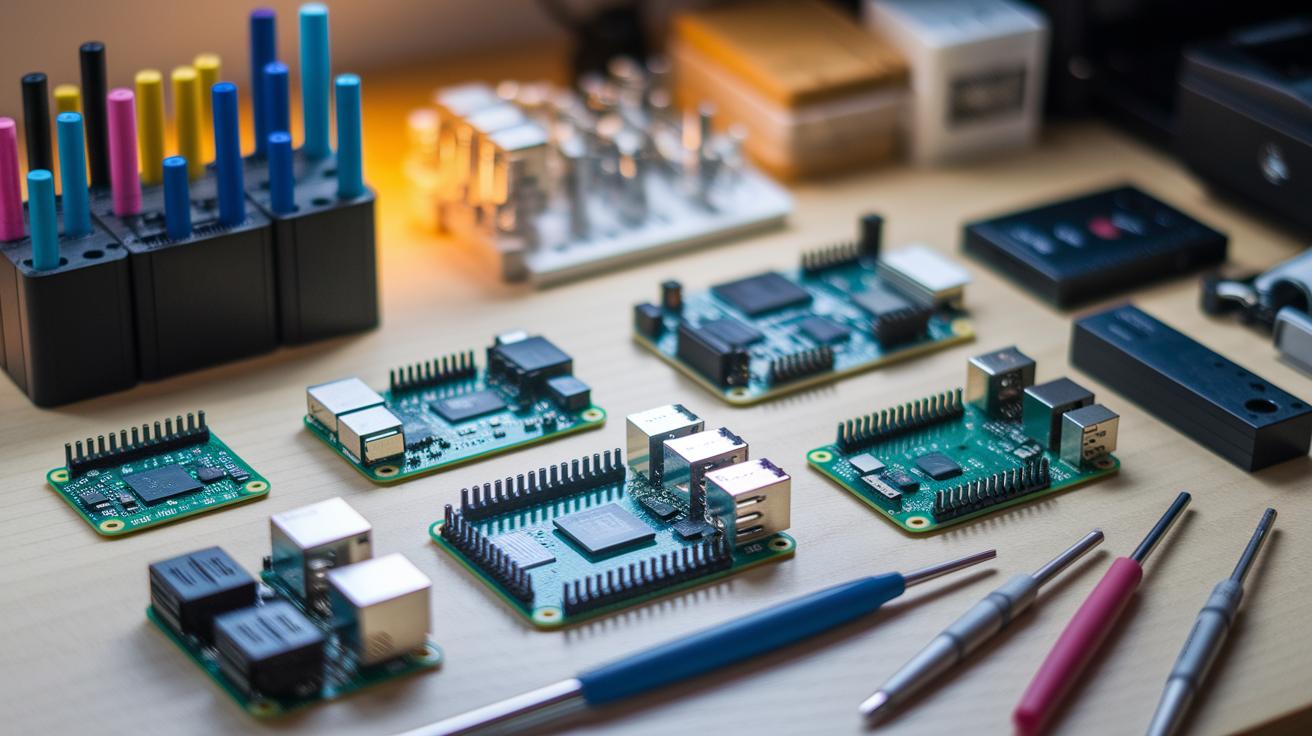
Begin with the proper tools and parts at your workbench. Smart selection of circuit components makes your DIY electronics projects both fun and efficient. You will need development boards such as Raspberry Pi, Arduino, and NodeMCU to act as the brains of your projects. Include sensor modules for temperature and humidity, soil moisture, and rain detection if you plan to work on environmental projects. Semiconductors like integrated circuits, audio ICs, and voltage regulators are key for building custom circuits. Don’t forget power solutions such as Li-ion and Ni-Cd batteries with secure holders to keep your devices powered up steadily. For wireless or IoT setups, add modules like GPS, GSM, nRF/RF, and LoRa to connect your circuits to the digital world. Finally, include mechanical tools, soldering gear, and testing instruments so you can build, test, and troubleshoot with confidence.
| Component Category | Examples |
|---|---|
| Development Boards | Raspberry Pi, Arduino, NodeMCU |
| Sensor Modules | Temperature/Humidity, Soil Moisture, Rain Detection |
| Semiconductors | ICs, Audio ICs, Voltage Regulators |
| Power Solutions | Li-ion, Ni-Cd Batteries, Secure Holders |
| Wireless/IoT Modules | GPS, GSM, nRF/RF, LoRa |
| Mechanical & Soldering Tools | Soldering Iron, Multimeter, Wire Cutters |
Collecting these tools gives you a good blend of high-tech and hands-on components. When you choose quality parts and reliable instruments, you build a strong foundation for sturdy circuits. With these components, you can work on projects from simple blinking LEDs to full home automation systems. Take your time to learn what each item does, and always work safely by using proper equipment and keeping your work area organized. This toolkit not only covers the basics of hardware assembly but also sets you up for advanced prototyping and custom PCB projects.
Beginner-Friendly DIY Electronics Project Ideas
Start small with DIY electronics to build your skills step by step. Pick a project that matches what you have and feels comfortable for you. If you want to see how sensors work with microcontrollers, these projects break down the basics and let you experiment safely. Use familiar boards like Arduino, Raspberry Pi, or NodeMCU together with easy-to-use sensor modules to enjoy real-time results.
- SHT30 temperature/humidity sensor with Arduino (featured on March 19, 2025)
- TEMT6000 ambient light sensor with Arduino (featured on March 08, 2025)
- KY-031 knock sensor connected to an Arduino board
- AHT10 precision humidity sensor paired with a Raspberry Pi
- IoT battery charging level monitor using a NodeMCU board
- DIY laser tripwire security system using an Arduino and basic sensor parts
These projects are both fun and a great hands-on way to learn electronics. They help you practice wiring, coding, and troubleshooting. Each build shows you how sensor data works with microcontrollers and lays the groundwork for more advanced projects. Enjoy the process and celebrate each step forward in creating devices that work.
Step-by-Step Circuit Assembly and Schematic Walkthroughs for DIY Electronics Projects

Learn the basics of circuit diagrams first. In these schematics, a resistor is shown as a short zigzag line, a capacitor as a rectangle, and a diode looks like a small arrow. Notice the ground is marked by a few horizontal lines.
Set up your breadboard by following the schematic. Place each component in its correct row or column, and then link them using jumper wires. Double-check every connection against the diagram. Use a multimeter (a tool that measures voltage and current) to confirm everything is connected right.
Decide if you want to make your own printed circuit board (PCB) or have one made. If you etch it yourself, print the design on special transfer paper and carefully move the layout onto a copper board. If you order a board, look over the design file to make sure all dimensions and drill holes are correct. This step saves time and cuts down on mistakes for projects like battery chargers or transformers.
Wire your components to the board and add plug-and-play modules such as I2C or SPI breakout boards. Solder each joint securely, then power up the circuit as a test. Check that the voltage is right and that all modules light up as expected. This final check shows that your assembly and schematic understanding are spot on.
Troubleshooting, Soldering Tips, and Best Practices for DIY Electronics Projects
Choose a soldering iron with a temperature-controlled tip and use good-quality solder with flux. This helps you form strong joints and prevents problems like cold joints or solder bridges that can break your circuit.
Set up your workspace with the basic mechanical tools you need. Add a reliable multimeter or oscilloscope for accurate testing. Keep your area neat by using an ESD-safe mat, and work where there is good ventilation. A tidy area reduces mistakes and builds your confidence.
- Check all solder joints to see if they look dry or have any short circuits.
- Use a multimeter to test that each electrical connection works.
- Measure voltage at key points to ensure the power supply is correct.
- Follow the circuit paths to spot any wrong signals.
- Swap out any parts you think might be failing to isolate the problem.
Surface mount soldering needs a steady hand and fine-tip tools. Practice on spare boards first to build your confidence before you work on important parts. Always have some extra flux nearby and work in a bright area so you can see each small joint clearly. Use tweezers and a magnifying glass to place parts accurately and improve your skills over time.
Advanced DIY Electronics Projects and Custom Designs for Hobbyists

Work on projects that push your skills to a new level. Use custom circuit designs that include advanced sensors and robotics controllers. Many hobbyists now build projects like an Arduino laser tripwire security system or custom SMPS and voltage regulator circuits. These projects need exact soldering and wiring. Each circuit must have a clear layout so that signals from different parts do not mix. Think of it like placing puzzle pieces, the better you place them, the smoother the circuit will work.
Experiment with combining sensors and network tools to create smart home setups and Internet of Things projects. For example, try building an IoT battery monitor using an ESP8266 NodeMCU board. This monitor uses wireless signals to show the battery status. You can also add GSM or LoRa modules to start home automation tasks. Robotics projects show how sensors, from motion to environmental, can work together with a central controller. Start by testing one sensor on a breadboard, then combine them into your design.
When you are ready to change your prototype into a real device, plan your work step by step. Break your project into sections: set up sensors, process the data, and manage network communications. This method makes it easier to find and fix issues. Write down any changes you make and test each part as you go. Although it might seem challenging, improving your design bit by bit will lead you to a smart and reliable gadget.
diy electronics projects: Inspiring Circuit Magic
Branded hardware kits give you a neat, ready-made experience. They come pre-packed with all the tools you need to learn. DIY bundles, on the other hand, offer a flexible and budget-friendly option. They let you reuse salvaged parts and explore open-source hardware plans.
Many makers love these affordable circuit solutions. They let you customize projects with familiar robotics kits and DIY learning sets alongside low-cost module packs. Suppliers even offer perks like free shipping on orders over INR 500 (about USD equivalent), which helps keep costs low while ensuring quality parts.
Whether you choose a branded kit for a smooth process or a DIY bundle to transform recycled gadgets into creative projects, both options help you build a strong foundation in electronics.
Online forums, maker groups, and niche marketplaces can be great stops for finding discounted parts and honest reviews. Here, experienced makers offer practical advice and share tips on reusing components and revamping recycled gadgets. Peer groups also provide kit reviews and helpful support so you can learn from others' successes and avoid common mistakes. These communities let you trade extra parts and find affordable alternatives, ensuring every budget-conscious maker can start their next electronics project with confidence.
Final Words
In the action, you reviewed how to choose starter projects based on skill level and parts availability, while staying safe with clear guidelines. You saw how to set up a simple home lab and learned which tools and components make the process smoother.
You explored step-by-step circuit assembly, troubleshooting, and even tips for affordable upgrades. Tackling diy electronics projects with clear costs and timelines makes every step achievable and fun. Enjoy building and expanding your skills!
FAQ
What are DIY electronics projects for beginners?
DIY electronics projects for beginners often feature simple circuits using boards like Arduino or Raspberry Pi. They help you learn wiring, sensor use, safety basics, and hands-on building skills.
How do DIY electronics projects for adults differ from beginner projects?
DIY electronics projects for adults can include more advanced designs and customizable challenges. They build on basic skills with added complexity and opportunities for innovation in circuit building and programming.
What does a typical DIY electronics project kit include?
A typical DIY electronics project kit includes a development board, sensors, wiring, breadboard, and clear instructions. These kits offer all essential parts to start building and experimenting safely.
What are some electronic project ideas for college students and students?
Electronic project ideas for college students and students range from microcontroller-based weather stations to sensor integrations like temperature or light sensors. These projects combine learning theory and practical circuitry skills.
How can DIY electronics projects be adapted for kids?
DIY electronics projects for kids use simplified kits and clear step-by-step instructions. They focus on fun, safe experiments that boost creativity and introduce basic concepts of electronics with kid-friendly components.
Where can I find a free PDF of electronic projects for beginners?
Free PDFs for electronic projects for beginners are available on maker websites and educational portals. They offer step-by-step guides, parts lists, and clear diagrams to help you get started confidently.
What are some options for cheap electronics projects if you’re on a budget?
Cheap electronics projects use affordable kits or salvaged parts from older devices. These projects emphasize creativity with low-cost components while still teaching essential soldering, wiring, and circuit building techniques.
