
Have you ever thought about trying blacksmithing? It might be easier than you expect. In your first forge session, the heated metal is soft like clay and can be shaped with careful strikes. This craft used to be only for seasoned experts, but now it welcomes beginners.
All you need are a propane forge, a pair of tongs, a sturdy anvil, and a 2-lb (0.91 kg) hammer. With these tools, you can shape raw metal into useful items or creative art. Start small, work safely, and let your skills grow over time.
Blacksmithing Beginners: What to Expect in Your First Forge Session
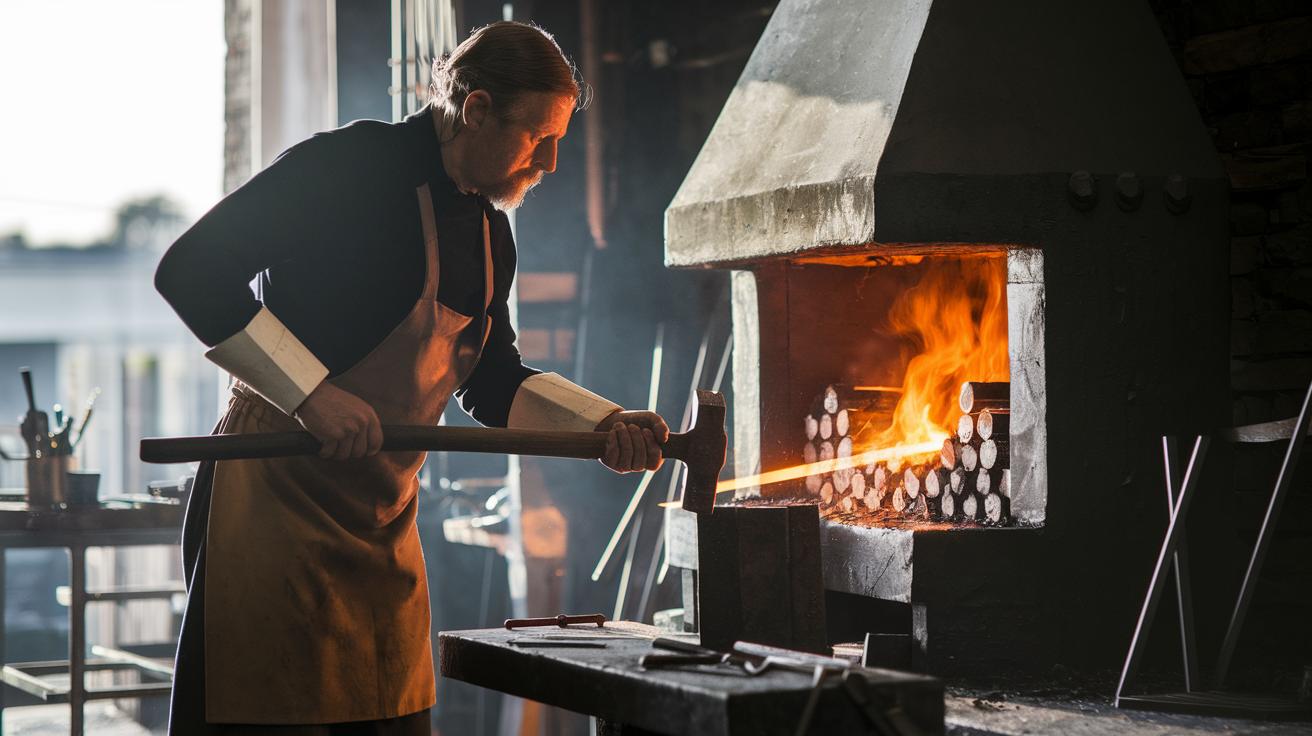
Blacksmithing is an age-old craft that anyone can start with the right guidance. In your first forge session, you will see that heated metal softens like clay. Instead of using raw power, you shape the metal with careful, controlled hits.
A long time ago, many people were blacksmiths making tools and nails by hand. Even now, the basics are the same. Begin with metal that feels soft enough to mold but still needs steady, measured blows to form the right shape.
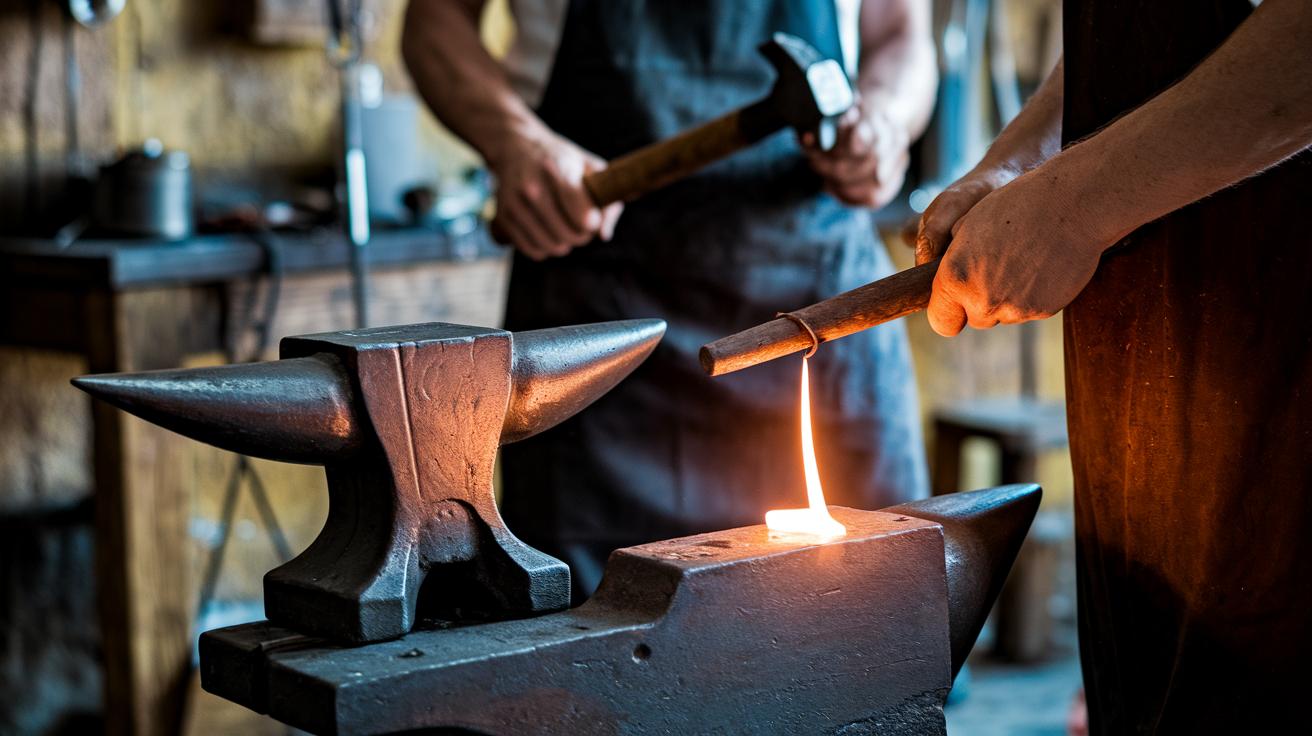
For beginners, there are four simple tools to get started. First, you need a forge to heat the metal to the right temperature. Then, use tongs to hold your workpiece firmly while you place it on an anvil (a solid metal block that takes the hit). Your hammer, which is usually about 2 lbs with a wooden handle, helps you apply controlled force. Start with gentle strikes and watch how the metal changes.
Blacksmithing is all about patience and careful technique. Begin with small projects to build both your skill and confidence. Take your time, keep safety in mind, and enjoy turning raw metal into something crafted with every measured hit.
Essential Tools for Blacksmithing Beginners: Forge, Anvil, Hammer, and Tongs

When you start blacksmithing, having the right tools makes all the difference. Begin with a propane forge. Propane forges are budget-friendly and easier to manage. They light quickly and let you control the heat like you would with an oven for baking. Plus, they burn cleaner and the fuel is steady.
Choose an anvil that works for you. New anvils cost about $6–$8 per pound, and used ones about $4–$6 per pound. Look for one that weighs between 100–150 lbs and has a hardy hole, pritchel hole, and horn. If you’re up for a DIY project, you can even make one using a railroad track mounted on 2×4 feet posts.
Pick a 2-lb hammer with a wooden handle. Wood helps avoid the toxic fumes that can come from rubber grips when heated. Always check the hammer face and file any rough spots until it feels smooth. This simple maintenance step ensures a better finish on your work.
For safety and accuracy, it’s best to buy a pair of ready-made tongs. Making your own tongs can be tricky when you’re just starting out. Ready-made tongs give you a firm grip on your workpiece so you can focus on your technique.
| Tool | Option | Price Range | Key Considerations |
|---|---|---|---|
| Forge | Propane | Varies | Easy ignition, steady fuel |
| Anvil | New/Used | New: $6–$8/lb; Used: $4–$6/lb | 100–150 lbs, hardy hole, pritchel hole, horn |
| Hammer | 2-lb wooden handled | Moderate | Avoid rubber handles; smooth face |
| Tongs | Ready-made | Varies | Secure grip, safety |
Basic Blacksmithing Techniques for Beginners: Drawing Out and Upsetting

Start by heating a 3/8-inch (9.5 mm) square stock until it turns bright orange. This glow tells you the metal is ready. Drawing out means lengthening the metal by tapping it with gentle, even hammer blows. Tap along the center of the piece to slowly stretch it, much like shaping soft clay. Your anvil acts as a steady work surface, so keep your strikes controlled as you practice handling the hammer.
Remember, drawing out is about precision, not brute force. Each strike should be measured and on target. A good tip is to mark an X on the anvil to help guide where you hit. As the metal cools, run your hand along the seam to ensure it feels smooth and that the extension is even.
Next, move on to upsetting. Heat the end of your workpiece until it is soft, then use small, firm strikes to add volume. Think of upsetting as adding a knob to the metal. This technique is key for shaping items like chisels or for starting knife forging. Each hit should be controlled and deliberate.
Traditional hand forging mixes drawing out with upsetting to form well-shaped metal. Focus on thoughtful, steady blows, and with practice, you’ll see how careful hammering transforms glowing metal into precise, refined shapes.
Setting Up a Home Forge for Blacksmithing Beginners

Propane forges are a great start for new blacksmiths. They light easily, let you control the temperature steadily, and run cleaner than coal forges. To set up a basic home forge, you need a forge body made from a pipe or refractory material (a special heat-resistant material), a burner, a regulator, and a propane-rated hose. It is also very important to have a well-ventilated area and a sturdy surface to mount the forge. Some DIY builders even use steel drum shells, lined with refractory and supported on posts or bricks. Whether you choose to build your own or start with a beginner-friendly kit, all parts must work together to create a reliable heat source.
Before you start, clear your area of any flammable items. Check that all parts and tools are ready. If you feel good about basic DIY projects, building your own home forge can be a fun challenge and a great way to learn. Even small changes in air or fuel flow can change your forge’s performance, so planning is very important. Follow this step-by-step checklist to set up your propane forge:
- Gather your materials (forge body, burner kit, refractory).
- Set up your workspace and ensure proper ventilation.
- Line the inside of your forge with refractory.
- Install the burner and the regulator.
- Secure the forge onto a solid stand.
- Test the ignition and watch the flame closely.
- Adjust the air-fuel mix to reach your target temperature.
Take your time with each step and double-check that everything is safe. There’s something special about watching a well-built forge come to life. Keep your tools and parts organized, and always review your work carefully to avoid mistakes. Each steady flame and secure installation will help you feel confident as you move on to shaping metal.
Blacksmithing Safety Measures for Beginners: Protective Gear and Best Practices

When working with molten metal, safety always comes first. Wear heat-resistant gloves and eye protection to keep your skin and eyes safe. For extra protection, choose gloves that cover your wrists completely, they help block flying sparks like a secure shield. Make sure your work area is clear of clutter and flammable materials because stray sparks can start a fire.
Switch to a wooden-handled hammer instead of one with rubber grips. Wood does not create toxic fumes when heated and gives you a solid grip in high heat. Also, wear a leather apron and steel-toed boots to protect against accidental bumps and falling objects. Work in a well-ventilated space to keep harmful fumes away.
Follow these key safety steps:
- Wear heat-resistant gloves and eye protection.
- Use a wooden-handled hammer.
- Keep your workspace free of flammable items.
- Don protective gear like a leather apron and steel-toed boots.
- Ensure proper ventilation in your work area.
Before you start, inspect your safety equipment. Taking a moment to double-check can help prevent injuries and make your blacksmithing session go smoothly.
First Projects for Blacksmithing Beginners: Warm-Up Exercises
Start with easy projects that build your skills in heat control, hammer technique, and metal shaping. Long ago, blacksmiths practiced by forging nails and basic items. As a beginner, you can try similar exercises without spending much.
-
Drawing a Nail:
Heat a small piece of metal until it glows bright orange. Then, gently tap with your hammer to stretch the metal. The metal should lengthen slowly, much like soft clay that changes shape. This practice helps you learn how to control your hammer blows. -
Creating an S-Hook:
Heat one end of your metal evenly. Use quick, firm strikes to build up a rounded tip. This warm-up lets you see how heat and force work together.
You can also try forging a basic bottle opener. Each project gives you hands-on practice in drawing out and upsetting techniques. These warm-up exercises boost your confidence so you can take on more complex projects later, all while keeping material costs low.
Final Words
In the action, the guide walked you through key steps for blacksmithing beginners. You learned how to select essential tools, set up a home forge, and master techniques like drawing out and upsetting. Safety tips and practical project ideas were shared to keep you on track and avoid costly mistakes.
Keep your workspace safe and your expectations high. Embrace these first steps with confidence, and enjoy the rewarding journey of shaping metal into art.
