
Ever wondered if basic joinery can really boost your woodworking? When you learn simple methods like glue joints (using a strong adhesive), pocket screws (hidden screws for extra strength), and miter joints (angled cuts), you create sturdy, neat connections. Starting with these basics builds your confidence and sets you up for tackling more complex projects later on. This guide explains each technique step by step, showing you how a few simple tricks can lead to quality, lasting results in your DIY projects.
Quick Start to DIY Joinery Techniques for Beginners
Learning basic joinery builds a strong start for any woodworking project. When you understand these simple methods, you avoid common mistakes and feel more confident before trying advanced techniques. Here are seven joinery methods along with key tips to help you begin:
• Glue joints
Use PVA wood glue on clean, flat wood pieces. Clamp the pieces evenly to create a strong bond.
Tip: Make sure both surfaces are free from dust to get a smooth, lasting connection.
• Pocket screws
Drill through the end grain so the screws go into the long grain. This hides the screws and creates a solid joint, especially useful for cabinets.
Tip: Align your jig carefully before drilling to save time on adjustments later.
• Biscuit joinery
Insert small, compressed beechwood biscuits that swell when glue is added. This method lines up the pieces and makes the joint stronger.
Tip: Think of the biscuit like a tiny puzzle piece that locks the wood together.
• Miter joints
Cut the wood at a 45° angle so the pieces meet at a neat 90° corner. This is ideal for picture frames and decorative pieces.
Tip: A well-cut miter joint gives your project clean, gap-free corners.
• Dado joints
Cut a groove in one piece of wood to hold another piece like a shelf or panel. Adjust the groove width to match the thickness of your panel.
Tip: Use a dado head cutter for a precise and secure fit.
• Mortise and tenon
Fit a projecting tenon into a matching mortise slot. This classic technique creates a very strong, permanent bond.
• Dovetail joinery
Interlock angled, finger-like pieces to form a joint that is not only strong but also attractive.
Each of these methods has its own advantages and fits different project needs. They serve as a great foundation as you explore more detailed joinery tutorials later.
Tools and Materials for DIY Joinery Techniques for Beginners
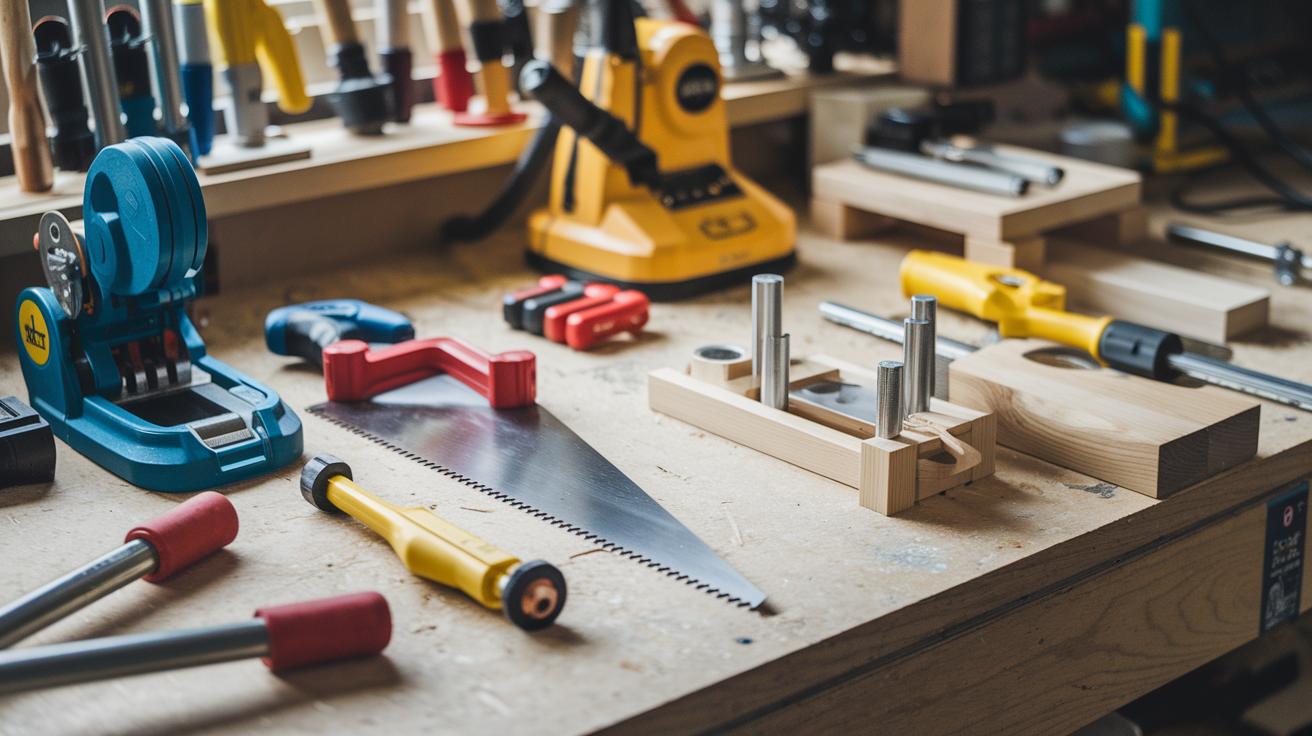
Start by setting up your workspace with the right tools. For many joinery projects, you might already have the basics at home. Choose tools that are both easy to use and accurate. For instance, whether you opt for a hand saw or miter saw, a good tool helps you make clean, precise cuts. A pocket-hole jig with your drill allows for hidden, sturdy connections. Biscuit joiners and router jigs can make aligning pieces much simpler. And of course, clamps are essential for keeping joints evenly pressed together.
Below is a table of essential tools along with their purpose and helpful notes:
| Tool | Purpose | Notes |
|---|---|---|
| Hand Saw/Miter Saw | Accurate cutting | Works well for both angled and straight cuts. |
| Pocket-Hole Jig & Drill | Hidden screw connections | Makes joining easier with minimal visible hardware. |
| Biscuit Joiner | Slot cutting | Helps line up pieces using compressed biscuits. |
| Router/Table Saw with Dado Head | Groove cutting | Perfect for making precise dado joints. |
| Clamps | Even pressure | Keeps glued joints secure and even. |
| Chisels | Mortise cutting | Great for carving out exact mortises. |
Collect quality materials like wood glue, biscuits, dowels, and pocket-hole screws. Use flat, clean wood stock to ensure the best results. With your tools and materials prepared, you're all set to build strong, lasting joints as you take on more advanced projects.
Simple Glue Join Methods in DIY Joinery Techniques
Glue has been a trusted tool in joinery for centuries. Early woodworkers used natural adhesives like birch bark tar. Today, PVA wood glue gives you a strong, lasting bond when you work with flat and clean surfaces. It is a great first step into DIY joinery and helps you build skills for more advanced projects.
- Clean your wood pieces by removing all dust and debris.
- Spread a thin, even layer of glue on one surface.
- Line up the wood carefully so that the edges are flush.
- Clamp the joint evenly to apply firm pressure along the entire surface.
- Wipe off any excess glue with a damp cloth to keep the finish neat.
- Let the joint cure for the time specified on the glue bottle before handling.
Avoid common mistakes like using too much glue or uneven clamping. If you notice glue squeezing out unevenly, check your pressure distribution. Taking your time with every step results in a strong, professional-looking joint.
Pocket-Hole Joints for DIY Joinery Techniques
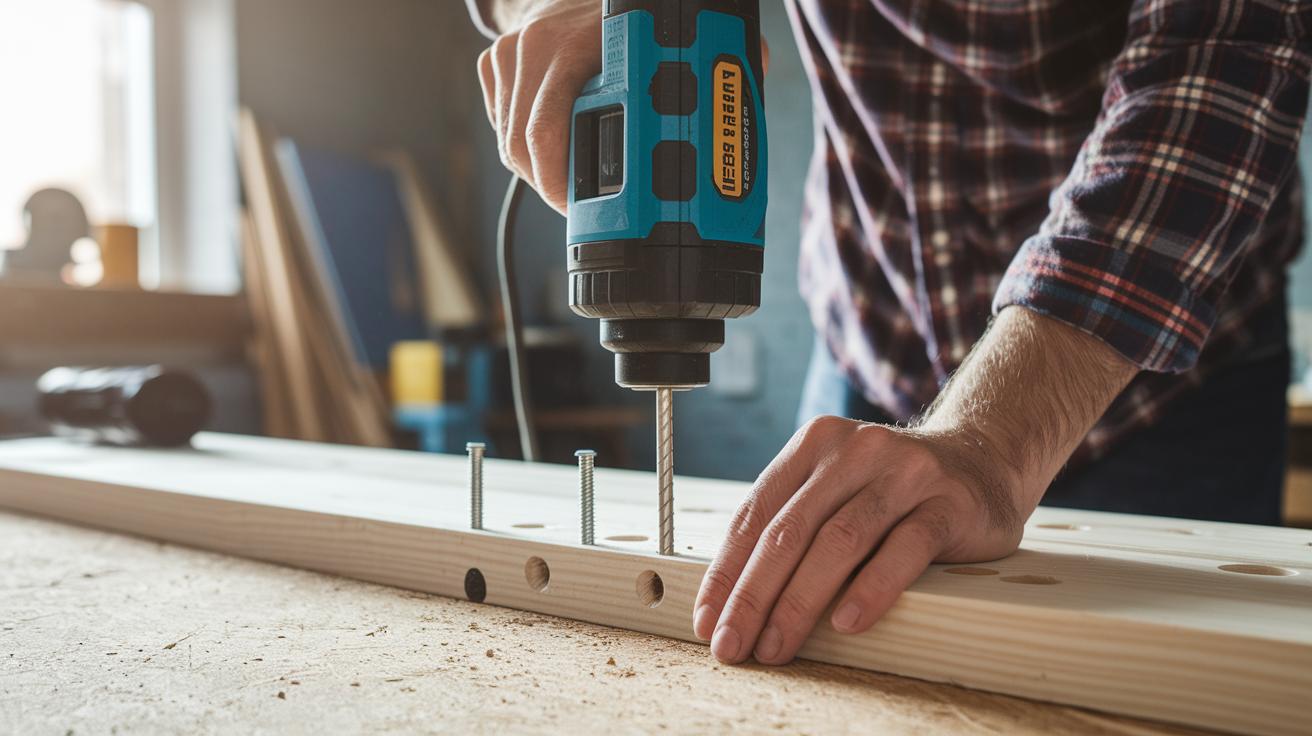
Pocket-hole joinery is a quick and secure way to join wood pieces. It works by driving screws from the end grain into the long grain, which hides the hardware and keeps your work neat. This method is great for projects like built-in cabinets or furniture where you want a clean look.
You just need a pocket-hole jig, a drill, and the correct pocket-hole screws. With these basic tools, you can create a strong bond while keeping the process simple and fast.
Follow these steps to create a solid pocket-hole joint:
- Mark the connection points on your wood using a measuring tool.
- Place the pocket-hole jig on the wood and secure it to mark where you'll drill.
- Drill the pocket hole carefully, making sure you get a clean entry into the end grain.
- Pick a screw that matches the wood thickness for a proper fit.
- Align the wood pieces and drive the screw straight through the pocket hole.
- Check the joint to ensure it feels tight and secure.
Always double-check your alignment for a strong connection every time.
Biscuit and Dowel Joint Instructions for DIY Joinery Techniques
When you build a project, choose the method that suits your needs. Biscuit joinery works well for aligning large panels or putting pieces together edge-to-edge, while dowel joints add extra strength to frame constructions. Both methods help the joint line up better than using glue alone.
For biscuit joinery, start by setting your biscuit joiner on your workbench. Mark the slot positions on your wood carefully. Cut the slots and then spread wood glue evenly on the slots and the surfaces that will meet. Insert a compressed beechwood biscuit into each slot. As the biscuit absorbs the glue, it expands and secures the pieces together. This method is best if you want extra reinforcement and a straight alignment.
For dowel joints, first mark matching points on both pieces of wood. Use a dowel jig to drill straight, accurate holes. Next, coat the dowel with glue and insert it into the first hole. Then, align the second piece and press it over the dowel. This creates a solid joint that resists movement.
- Mark the exact slot or hole positions.
- Cut slots with a biscuit joiner or drill holes with a dowel jig.
- Apply glue on the surfaces and joinery elements.
- Clamp the assembly to hold everything tight while the glue cures.
Miter, Rabbet, and Lap Joint Fundamentals for DIY Joinery Techniques
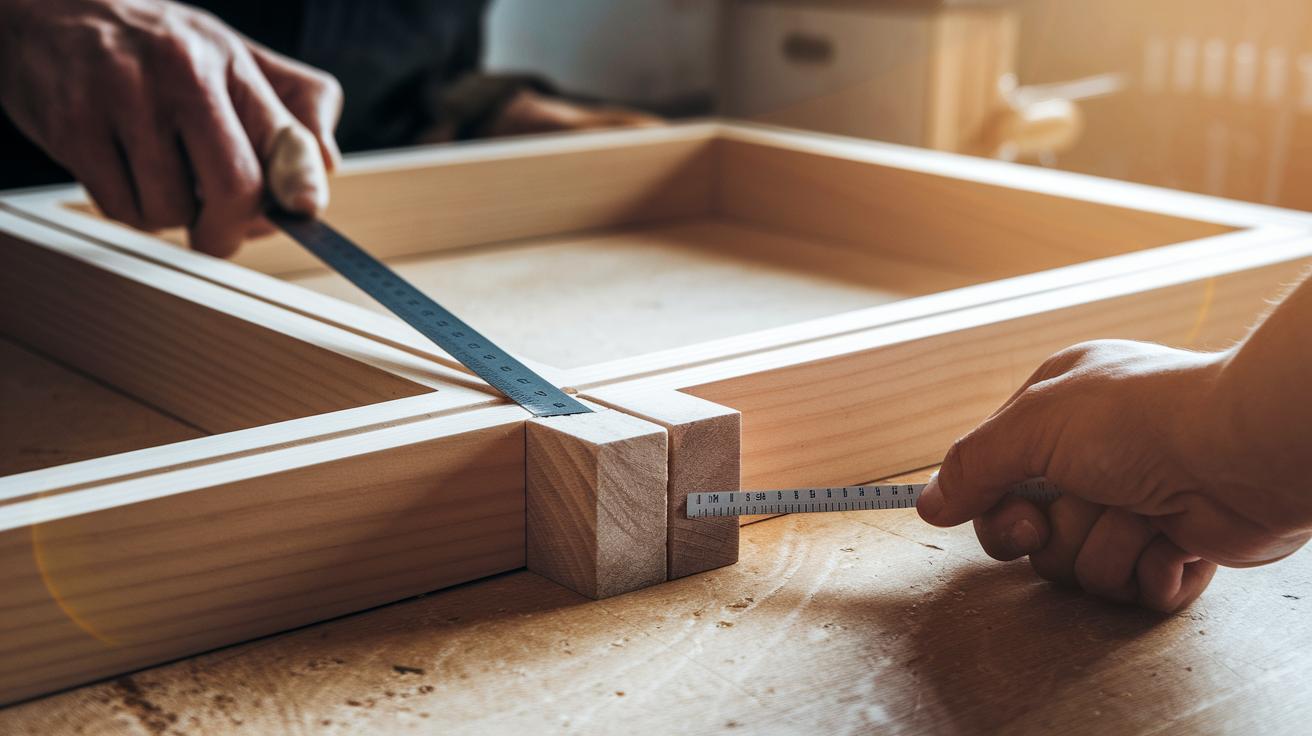
Choosing the right corner joint can boost both the strength and look of your project. Each joint works best for different designs and furniture types.
Miter joints are made by cutting two pieces of wood at a 45° angle so they meet to form a neat 90° corner. They are popular for decorative items like picture frames and trim. Adding biscuits or splines helps control wood movement and keeps the joint tight. For example, a small cabinet frame might use a spline in its miter joint for a clean finish.
Rabbet joints involve cutting away a part of one board to form a recess where another board fits. This method works well for shelves or cabinet backs. You can use a table saw fence or router to make a precise cut. Most people also add glue to secure the joint for long-lasting strength.
Lap joints are made by removing half the thickness from the edges of two boards so they overlap evenly. This simple technique works well for framing or building boxes. The overlap gives the joint a large bonding area, making it strong even without extra hardware. Hand saws or routers can easily create lap joints, which makes them a great choice for beginners.
Mortise and Tenon and Dovetail Joints in DIY Joinery Techniques
Mortise and Tenon
Mortise and tenon joinery is a time-tested method used in furniture and frame making. Begin by carefully drawing your design. Mark where the tenon will fit into the mortise on your workpiece. Use a chisel or table saw setup to cut a neat, rectangular gap (mortise) with straight sides. Next, shape the matching projection (tenon) on the adjoining piece. You can cut this by hand or with a table saw, ensuring its size matches the mortise. The joint should slide together easily without forcing it. For extra strength, you may extend the tenon completely through the mortise or secure it with a wedge. This added step not only boosts the joint's stability but also gives it a decorative touch. Take your time to ensure your markings are true and your cuts are clean. A well-made mortise and tenon joint results in a strong and lasting connection.
Dovetail Joint
The dovetail joint is popular for its attractive interlocking design and strength. Start by marking the outline for the dovetail tails on one workpiece. Use a fine-toothed hand saw or a router jig to cut these angled tails precisely. Then, transfer the pattern to the mating piece to mark the pin sockets. Use a chisel to carefully remove the extra wood between the pins, making sure the sockets are even and smooth. Test-fit the joint to ensure it locks tightly before applying glue on both surfaces. The glue holds the tails and pins together firmly as it dries. A correctly made dovetail joint not only offers durability but also adds an eye-catching element to your woodworking project.
Safety and Troubleshooting in DIY Joinery Techniques
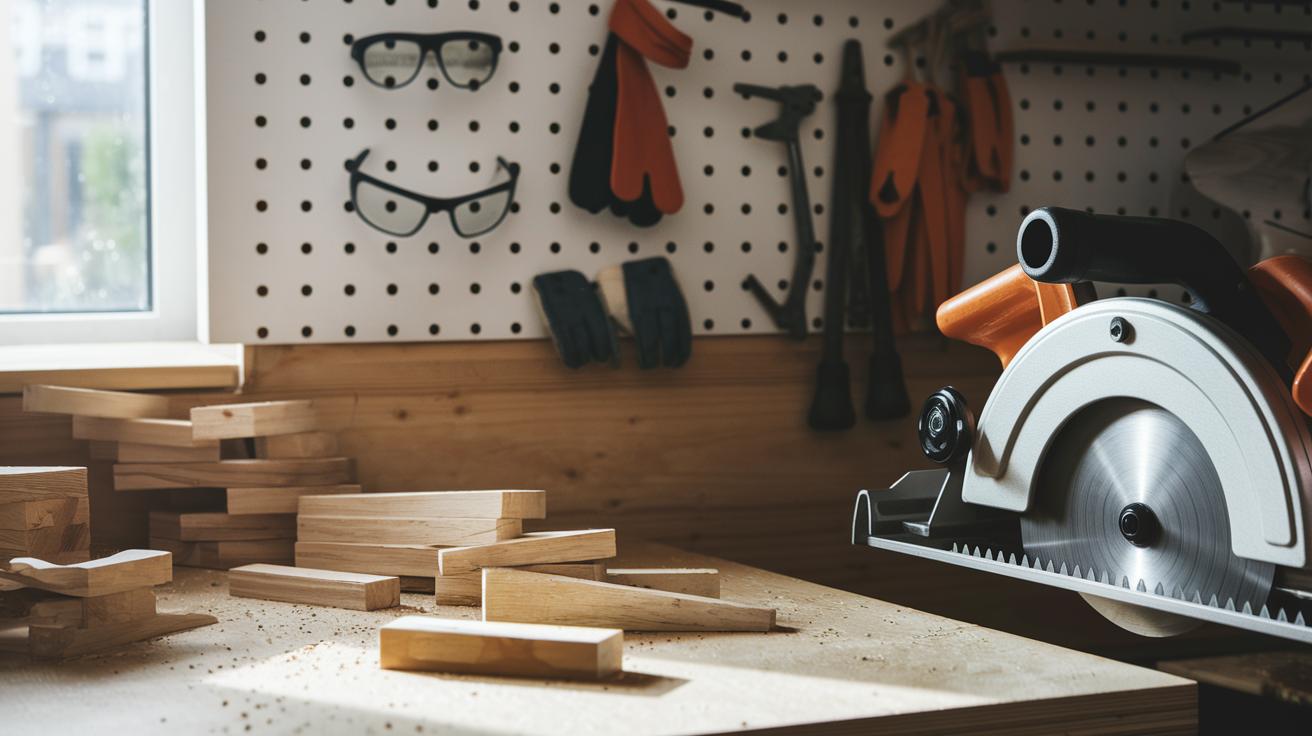
Keep your workshop safe. A secure workspace is the first step to a successful project. Always wear the proper personal protective equipment (PPE): safety glasses, dust masks, and gloves. Check the PPE checklist for DIY projects here: https://alphapix.org?p=277. This helps prevent injuries and keeps debris out of your eyes.
Keep your workspace tidy and well-lit. Set up your tools with their proper guards. Use a sharp blade or set your saw correctly. These steps reduce tear-out and lower the risk of accidents. Test your cuts on scrap material before working on your main piece. This simple check helps avoid costly mistakes.
When a joint looks misaligned or weak, begin troubleshooting immediately. Often, the issue is uneven clamping pressure or surfaces that do not line up. Try these quick tips:
- Make test cuts on scrap material to check your settings.
- Clamp evenly along the whole joint.
- Replace worn blades to stop rough, jagged edges.
- Use push sticks and proper table saw guards for extra control.
Taking a few extra minutes to maintain your equipment and verify your measurements leads to smoother joints. Spot small errors early and adjust as needed. With a step-by-step, mindful approach, you'll build strong, reliable joinery while keeping your workshop safe and efficient.
Final Words
In the action, you explored seven joinery techniques, from simple glue joints to advanced mortise and tenon and dovetail methods. You also learned about the essential tools and safety tips needed for a successful project. This guide provided a clear, step-by-step overview to help you work confidently and stay on schedule. Keep experimenting with these diy joinery techniques for beginners, and enjoy the feeling of accomplishment that comes with building something with your own hands. Happy building!
FAQ
What are simple DIY joinery techniques for beginners?
Simple DIY joinery includes methods like glue joints, pocket screws, biscuits, miter joints, dado joints, mortise and tenon, and dovetail joinery. These techniques offer clear, step-by-step guidance with images and videos.
What are the different types of wood joints and are there PDF guides available?
The variety of wood joints—such as dado, rabbet, lap, mortise and tenon, and dovetail—can be found in PDF guides that often highlight up to 13 joint types with pictures to help you choose the best method for your project.
What is a simple joinery for beginners?
A simple joinery for beginners is typically a glue joint. This joint uses flat, clean surfaces and even clamping to create a strong bond, making it a great starting point for new woodworkers.
What is the easiest joint to make?
The easiest joint to make is usually the glue joint. It requires minimal tools, just smooth surfaces and proper clamping, which helps beginners build a strong, secure connection.
What are common wood joinery mistakes?
Common mistakes in wood joinery include misaligned joints, uneven clamping pressure, and inadequate surface preparation. Taking extra care to measure accurately and test on scrap pieces can improve your results and avoid these errors.
What is the easiest way to join wood together?
The easiest way to join wood together is with a well-executed glue joint. By ensuring flat, clean surfaces and applying even clamp pressure, you create a durable, reliable connection without needing extra hardware.
