
Have you ever wondered if an old pallet might hold hidden potential? At first glance, they may look plain, but you can transform them into lively, eco-friendly home pieces. With DIY pallet projects, you reuse wood in a creative way, save money, and help reduce waste. This guide explains how to choose safe pallets, gather the right tools, and follow simple steps to turn raw wood into beautiful furniture and decor. Follow the instructions and add a little creativity, and you'll give your home a fresh new look.
Essential Steps for Successful DIY Pallet Projects
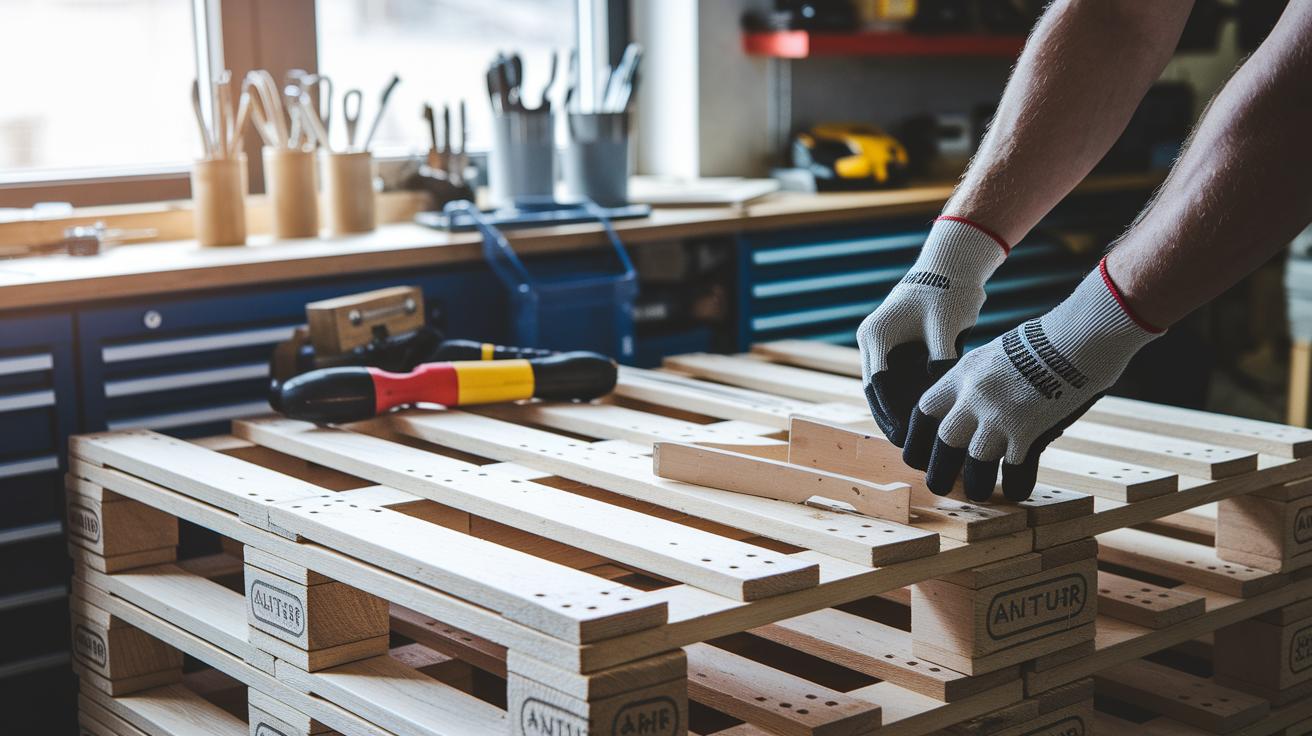
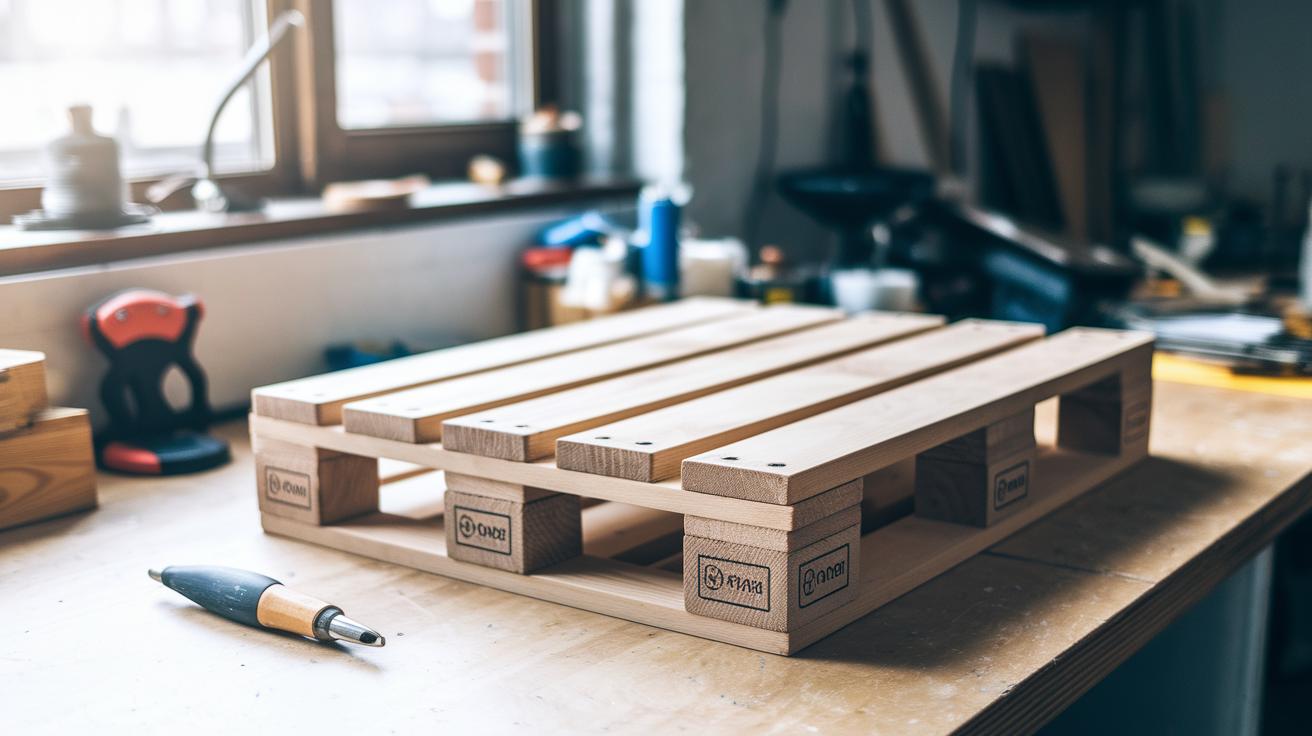
Pallet wood is a cost-effective, eco-friendly choice that can be used to create practical and attractive projects. It gives you a chance to reuse materials that might be discarded. When you shop for pallets, check for clear markings to ensure they have not been chemically treated. This simple check helps keep your project safe and green.
Safety matters when you work with reclaimed wood. Source your pallets from trusted spots like local warehouses or home-improvement stores. Set up a stable, well-lit workspace and wear the right safety gear, such as gloves and safety glasses. With the proper setup, basic tools like a nail puller, power drill, circular saw, and orbital sander become easier and safer to use.
- Identify safe pallets – Look for clear stamps and avoid pallets with marks that suggest chemical treatment.
- Use proper dismantling methods – Use a nail puller and gentle prying to separate the boards without damage.
- Check your tools – Make sure your power drill, circular saw, orbital sander, and nail puller are ready to work.
- Prepare your boards – Sand and clean the wood to remove splinters and rough spots.
- Choose a finish – Decide if a natural oil or an outdoor sealant fits your project best.
- Create your workspace – Set up a steady, bright area that allows safe handling and room for your project.
By following these steps, you build a strong base for any pallet project. With safe pallets, the right tools, and a prepared workspace, you can start making creative, durable upcycled creations that both look great and stand the test of time.
Step‐by‐Step Rustic Pallet Coffee Table Build
This guide shows you how to turn old pallets into a stylish coffee table. You can choose the classic look that highlights the natural wood grain or try a modern modular design. A free printable PDF plan is available to help you get started quickly.
We cover all steps, from measuring and cutting to joining boards with wood glue (a strong adhesive) and even applying an epoxy resin finish for a high-gloss look. Video lessons are provided to walk you through proper sanding and assembly techniques.
| Material | Quantity | Estimated Cost |
|---|---|---|
| Pallet Boards | 8 pieces | $20 |
| Wood Glue | 1 bottle | $5 |
| Epoxy Resin Kit | 1 kit | $30 |
| Wood Screws/Nails | 1 pack | $10 |
| Sandpaper Assortment | 5 sheets | $5 |
| Stain/Sealant | 1 can | $15 |
- Measure and cut the boards with a circular saw, ensuring accuracy with each cut.
- Assemble the base frame by laying out the boards and securing them with wood screws and glue for extra strength.
- Attach the tabletop slats, aligning them evenly to create a stable surface.
- Apply your chosen finish, either epoxy resin for a glossy, modern look or an outdoor sealant to keep the wood’s natural charm.
- Sand the table thoroughly to smooth all rough spots before any final touches.
Decide whether you want to paint the table or use a clear coat to show off the wood grain. Painting adds a vibrant touch while a clear finish highlights the natural rustic charm of the pallet wood. Watch the video lessons for extra tips on sanding techniques and proper assembly to ensure every step is completed with care.
DIY Pallet Bench for Eco‐Friendly Outdoor Seating

Pallet projects are a great way to make your own outdoor bench. They add a warm, rustic look to your patio while helping the environment. Using reclaimed wood gives each bench a unique style that you can make your own. This bench is perfect for enjoying cool summer evenings, and it is built to last when you follow the right steps and safety tips.
Tools & Materials:
- Pallet boards (cleaned and free of chemicals)
- Wood screws (stainless steel is best)
- Wood glue (to strengthen joints)
- Miter saw (for straight, clean cuts)
- Drill (for making holes and driving screws)
- Palm sander (to smooth rough edges)
- Outdoor sealant or natural oil (to protect from weather)
Before You Start:
- Check that all your tools are ready. Have you measured and cleaned your pallet boards?
- Work in a clear space so you can focus on each safety step.
Cutting & Frame Assembly:
- Cut the pallet boards to the lengths you need using your miter saw. Take your time for clean cuts.
- Arrange the boards to form a frame. Connect them using wood screws and add wood glue at each joint. Make sure the corners form a perfect square; this ensures your bench sits evenly.
Seat & Backrest Attachment:
- Lay the seat boards on top of the frame. Pre-drill holes with your drill to keep the wood from splitting.
- Secure the backrest slats with screws so you get a firm and comfortable support. Double-check that every piece lines up neatly to avoid any wobble.
Finishing & Sealing:
- Smooth all surfaces with your palm sander. The board should feel even and free of splinters.
- Cover the wood with an outdoor sealant or natural oil. This step protects the bench from moisture and UV rays while highlighting the wood’s natural grain.
Now, place your bench in a shady spot or near your garden. You might add colorful cushions or a cozy throw to boost comfort and style. Enjoy your new eco-friendly outdoor seating!
Creative Pallet Planters & Garden Seating Projects

Upcycling pallet wood can breathe new life into your outdoor space. Use old pallets to create stylish planters and inviting garden seating that blend rustic charm with a modern twist. These reclaimed garden ideas use few fasteners and work best with finishes like natural oil or exterior paint to protect the wood. Plus, you can find free plans for a pallet pathway and garden chair to spark even more design ideas.
-
Choose a pallet that hasn't been treated with chemicals.
-
Cut the pallet vertically to create thin planter boxes.
-
Drill 0.5 in (1.3 cm) drainage holes in the bottom of each box.
-
Secure a landscape fabric liner to help hold soil and moisture.
-
Lay a pallet flat on a level surface.
-
Remove extra boards and smooth rough edges with a sander.
-
Build a simple support frame using a few fasteners for added stability.
-
Treat the wood with natural oil or exterior paint to handle outdoor weather.
For seasonal planting, fill your planters with a mix of colorful blooms and fragrant herbs to boost their appeal. You might choose bold paint colors for a fresh look or let the natural grain shine through with an oil finish for a cozy, rustic feel. Adding mulch or decorative stones inside can give extra texture. These DIY pallet projects can spark creativity while turning your garden into an eco-friendly retreat.
Versatile Pallet Shelving & Storage Makeovers

Pallet storage projects offer a simple way to add both function and a rustic feel to your home. Pallet wood works great for making custom shelves and storage solutions that fit any space. Detailed PDF plans for a bathroom storage cabinet and a pallet wine rack show you how clean wood joints, quality wood glue, and brad nails can give you a strong finish.
Always sand your boards well to avoid splinters and get a smooth surface. This tip comes from the "10 Essential Tools for Working with Pallets" guide. If you need reliable tools, check out the Best Home Tool Kit for Homeowners (https://alphapix.org?p=100).
- Bathroom Cabinet: Make a neat cabinet with spaces for your toiletries.
- Wine Rack: Build a rack that holds several bottles while adding style.
- Shoe Organizer: Create a multi-tiered organizer with dividers for your shoes.
- Spice Rack: Design a small, wall-mounted rack for easy access to spices.
- Garage Shelf: Build a tough shelf unit that can handle a busy garage.
You can adjust dimensions and the layout to perfectly fit your needs. Experiment with different finishes and hardware to match your home style.
DIY Pallet Projects Ignite Vibrant Home Crafts

When you start a pallet project, getting organized is the first step. Break down your costs in detail to keep the budget on track. Many DIYers use a free budget tool like the DIY Project Budget Template to record every expense. Finding free pallets can cut costs, leaving more money for creative wood projects and repurposing ideas.
- Define what you want to build and measure the space where it will go.
- Write a list of materials and tools you need, such as pallet boards, nails, screws, and sealant.
- Look for free pallets in local warehouses, or buy supplies if you can’t find any free ones.
- Use a budget template to record your estimates and keep track of every cost.
- Set a clear schedule for each phase of your project, from planning to finishing touches.
Check your budget and adjust your plan as you go. Keep updating your materials list and timeline to make sure your project turns out just right.
Final Words
In the action, we explored every essential step for powering successful diy pallet projects. We broke down how to safely dismantle pallets, prepare surfaces, and set up your workspace. You also discovered detailed guides on building rustic coffee tables, eco-friendly benches, creative planters, and versatile shelving. We wrapped up with practical budgeting and planning tips to keep you on track. With clear steps and cost estimates, your next project feels both doable and fun. Happy building, and enjoy transforming your space with your new skills.
FAQ
Q: What are some easy and free DIY pallet projects for outside?
A: The DIY pallet projects for outside include building benches, planters, and garden seating. These projects are sustainable, budget-friendly, and often come with free online guides or PDFs.
Q: Are there free PDF guides or idea collections available for DIY pallet projects?
A: Free DIY pallet projects PDFs and idea collections provide step-by-step instructions, measurements, and visuals, making it easy for beginners to learn and complete repurposed wood projects successfully.
Q: What pallet projects are ideal for beginners?
A: The pallet projects for beginners are simple designs like small shelves, benches, or outdoor planters. These projects require basic tools and clear instructions, building confidence in new DIY woodworkers.
Q: What easy pallet projects sell well and are simple to make?
A: Easy pallet projects that sell well include rustic furniture such as coffee tables, benches, and unique shelving. They offer a marketable, eco-friendly appeal and are relatively simple to construct with basic tools.
Q: Is it legal to take pallets from behind stores?
A: Taking pallets from behind stores depends on local laws and property rights. It is best to check local regulations and ask for permission to avoid any legal issues.
Q: How can you repurpose an old pallet?
A: Repurposing an old pallet involves checking for safety (avoiding chemically treated wood), dismantling it carefully, and using the boards for furniture, planters, or decorative items in your home or garden.
Q: Is flipping pallets worth it?
A: Flipping pallets can be worth it if you have the necessary skills, tools, and market. It transforms reclaimed wood into budget-friendly, eco-friendly products that attract buyers looking for unique, rustic décor.
