
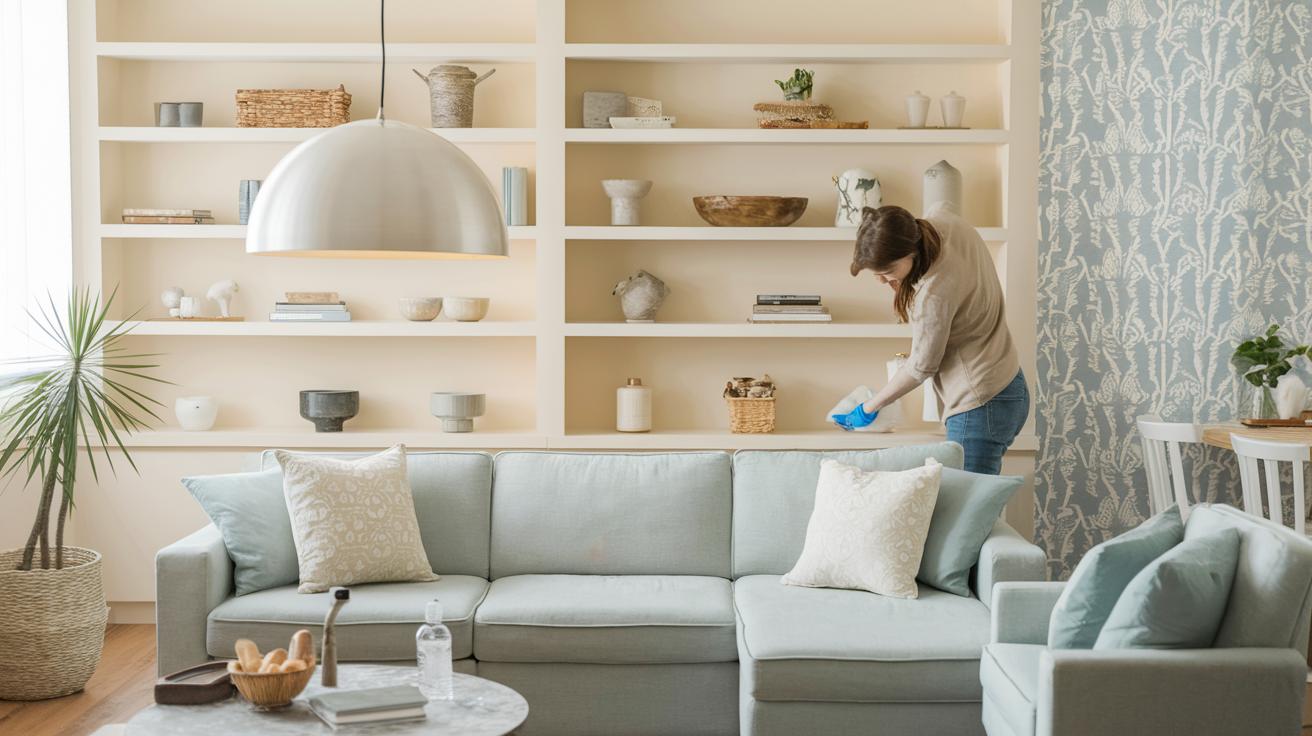
Ever feel stuck with a bland rental? You might be able to update your space without risking your deposit or making a big commitment. With a few simple DIY projects, you can brighten your home with fresh style, cheerful colors, and smart accents. This guide offers renter-friendly ideas even beginners can try. These projects keep things temporary, budget-conscious, and safe while making your space feel personal and modern.
Top Renter Upgrade Projects for Beginners to Transform Your Space
Renting doesn't mean you have to give up style. You can make your space feel fresh without risking your deposit. Here are eight simple projects you can try:
-
Swap out plain light fixtures for battery-powered stick-on sconces or a large woven chandelier. Store the original fixtures in a clearly labeled box so you can put them back later. Check out our renter friendly sconces.
-
With your landlord’s approval, paint one bold accent wall. This adds warmth and depth without a lasting change.
-
Stick on peel-and-stick wallpaper on walls, closets, drawers, or backsplashes. It creates eye-catching designs and comes off easily when you move.
-
Replace old cabinet knobs and pulls with new ones that match the current hole spacing. This quick update avoids extra drilling.
-
Cover unattractive floors with a large area rug or peel-and-stick floor tiles like FloorPops. Both options hide flaws and keep things reversible.
-
Hang curtains using no-drill hooks or tension rods. This frames your windows nicely and boosts curb appeal. For a style tip, try a renter friendly curtain rod.
-
Display art with Command Hooks or picture rails. It refreshes your walls without leaving holes.
-
Add container plants and freestanding bookcases for a built-in look that feels genuine and temporary.
Tailor these projects to suit your taste and the layout of your rental. Experiment with colors, textures, and accessories until the space truly feels like yours.
Essential Tools and Materials for Renter Upgrade Projects for Beginners

When you are upgrading your rental, having the right tools helps you work confidently and safely. The list below shows each item, what it does, and its cost. Use these tools to give your space a fresh look without big changes.
| Item | Purpose | Cost Estimate |
|---|---|---|
| Screwdriver set (Phillips and flathead) | Helps you remove and install hardware quickly | $15–30 |
| Cordless drill with bit kit | Makes drilling holes and driving screws fast and neat | $20 per day rental or $50–100 to buy |
| Level and measuring tape | Keeps your work straight and your measurements accurate | $10–20 |
| Utility knife and smoothing tool | Preps surfaces for peel-and-stick wallpaper smoothly | $5–15 |
| Decorative hardware (knobs/pulls) | Adds a fresh look to cabinets without extra drilling | $10–25 per pack |
| Command Strip pack | Lets you hang art and decor without damaging walls | $5–10 |
| Tension rod brackets or no-drill curtain rods | Secures curtains without making holes | $10–20 |
| Peel-and-stick wallpaper roll | Transforms rooms with removable patterns | $30–50 for 50 sq ft |
Navigating Lease Compliance and Landlord Permissions in Renter Upgrade Projects for Beginners
Before you start any upgrade, check your lease agreement. Look for sections that list allowed changes, like painting or swapping fixtures, and note if you need written permission from your landlord. This helps you plan changes without risking your security deposit.
When you plan reversible projects, like swapping a fixture or painting one wall, ask for clear written permission. Explain that you will store any original items (such as light fixtures or hardware) in labeled boxes for easy reinstallation later. Confirm the paint color and agree that you will restore the area when needed. This step can help you avoid extra repainting fees and keep your changes temporary.
Keep a record of all your communications with your landlord. Save emails or texts that show the permissions and any details about restoring the space. If you plan to make electrical changes beyond simple plug-in lights or battery sconces, ask if a licensed electrician is needed. This documentation protects your deposit and makes it easier to return the rental to its original condition.
Step-by-Step Guide to Swapping Cabinet Hardware: A Renter Upgrade Project for Beginners
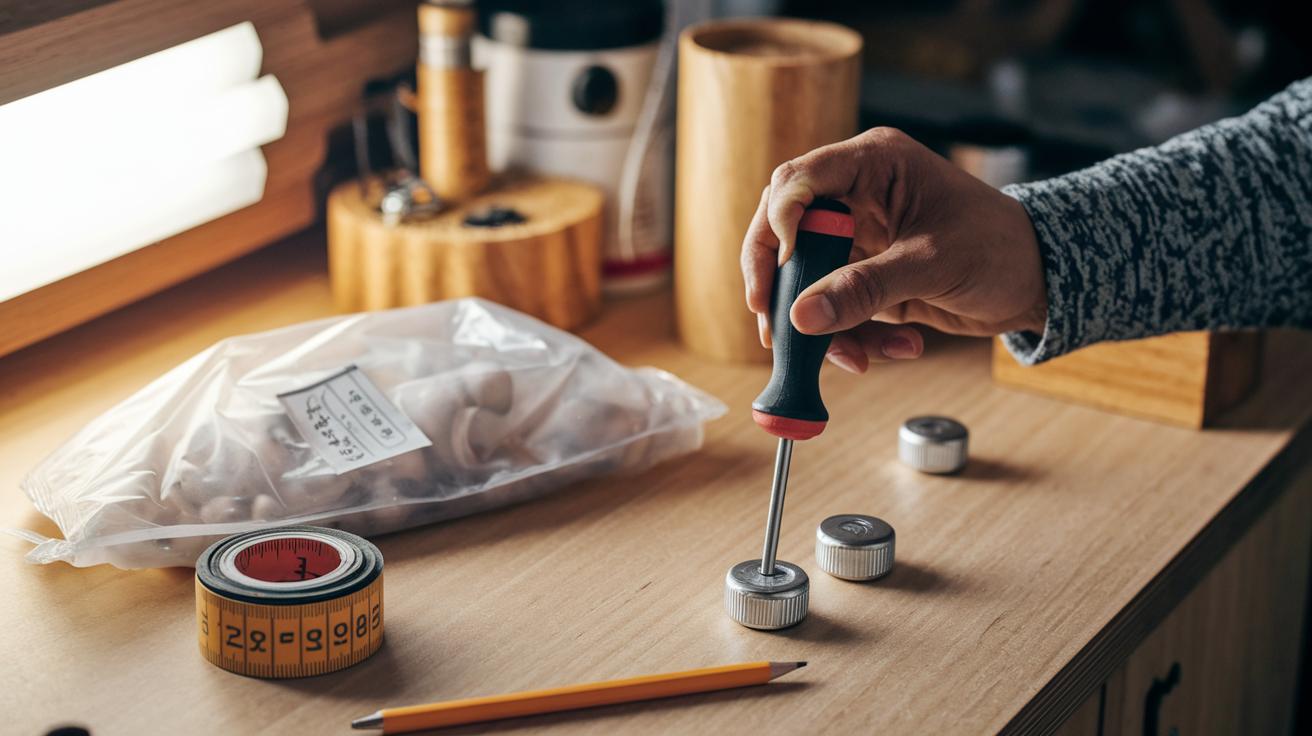
Step 1: Removing Old Hardware
Use a Phillips screwdriver to remove the old knobs and pulls. Work slowly. Keep each screw and piece in a plastic bag labeled "Original Cabinet Hardware." This helps if you ever want to go back to the original look. One neighbor mentioned that staying organized makes move-out repairs much easier.
Step 2: Measuring and Selecting New Hardware
Measure the distance from center to center between the existing holes. Use a measuring tape and a pencil to note the measurement. For example, if you find the spacing is 3 in (7.6 cm), choose new hardware that fits this size. Matching the measurements means you avoid drilling extra holes and keep a neat look.
Step 3: Installing New Knobs and Pulls
Line up your new knobs and pulls with the old holes. Insert the screws and tighten them gently with your Phillips screwdriver. Make sure every piece is straight and secure. A quick check with a level or by sighting along the cabinet front can help. This step should take about 30–45 minutes per cabinet, making it a fast and budget-friendly update.
Step 4: Cleaning Up and Storing Original Parts
After installing the new hardware, clean the cabinet surfaces with a damp cloth to remove any grease or dust. Place the old hardware and screws in a box labeled "Original Cabinet Hardware." Mark the box with the cabinet locations so you can easily restore the original state when it’s time to move out.
Applying Peel-and-Stick Wallpaper for a Quick Space Refresh: A Renter Upgrade Project for Beginners
Pick a peel-and-stick wallpaper that fits your style and budget. These wallpapers come in many designs and textures. You can expect to spend about $30–$50 per 50 sq ft (4.6 m²) roll. Whether you want a subtle look or a bold accent, you'll find a design that can quickly update your rental.
Start by cleaning your wall with mild soap and water. Dry the surface completely before you begin. A clean, dry wall helps the wallpaper stick properly and last longer. Gather your tools, such as a utility knife for trimming and a smoothing tool (or plastic card) to remove any bubbles.
Begin by aligning the top edge of the wallpaper with a measured guideline on your wall. Slowly peel off the backing while pressing the wallpaper onto the surface. Use your smoothing tool to work from the center outward to push out any air bubbles. This careful method helps ensure a neat, even finish.
When it's time to remove the wallpaper, warm the adhesive with a blow dryer. Peel it off slowly at a low angle to avoid leaving any residue. This easy removal process makes it a perfect temporary decor solution for renters.
Maintaining and Reverting Your Renter Upgrade Projects: Essential Tips for Beginners
Keep your upgrades looking new by checking and tightening hardware, dusting light fixtures, and gently wiping wallpaper edges with a soft cloth. Follow the cleaning instructions for your area rugs and floor tiles to avoid damage. A quick wipe-down each month helps keep your decor in top shape. One neighbor suggested setting a reminder for a 10-minute clean-up every month.
When you move out, restore your space to its original look to secure your full deposit. Use a gentle adhesive remover on command strips or wallpaper, and patch small nail holes with premixed spackling. Sand lightly and touch up with matching primer or paint. Save original fixtures, hardware, and unopened paint cans in labeled boxes for easy reinstallation. This way, your renter upgrades stay temporary, making your move-out process smooth and stress-free.
Final Words
In the action of updating your rental, we covered practical ways to refresh your space. We walked through quick swaps like updating light fixtures, adding peel-and-stick wallpaper, and swapping cabinet hardware.
Each step was designed with safety and affordability in mind. With these renter upgrade projects for beginners, you now have a clear path to complete your project confidently and within budget. Enjoy making your space uniquely yours.
FAQ
What are renter-friendly products and hacks for apartment upgrades?
The renter-friendly products and hacks involve using peel-and-stick solutions, no-drill curtain rods, Command Hooks, and battery-operated sconces (see our renter friendly sconces) to add style without damaging walls.
How does renter-friendly wallpaper work for a temporary design solution?
The renter-friendly wallpaper offers a reversible look by using peel-and-stick materials that easily apply and remove, letting you create an accent wall without permanent changes.
What rental-friendly upgrades can improve a bathroom’s look?
The rental-friendly bathroom upgrades include using peel-and-stick tiles or floor coverings and installing no-drill accessories, such as hooks and tension rods, to refresh the space without altering fixtures.
What are some of the best apartment upgrades that protect your security deposit?
The best apartment upgrades focus on reversible changes like updating cabinet hardware, installing removable wallpaper, and hanging art with Command Hooks, all designed to be removed easily when moving out.
Which apartment improvement ideas are ideal for beginners seeking cost-effective changes?
Beginner apartment improvements include projects like painting a single accent wall, using peel-and-stick wallpaper, swapping cabinet knobs, and hanging curtains with no-drill brackets (see renter friendly curtain rod) to boost style safely.
