
Have you ever felt that building a wall is too challenging to begin? Many believe framing is only for the pros. However, with the right tools and a clear plan, you can build a solid frame, even if you’re a beginner. This guide walks you through planning your layout, cutting pieces precisely, and securing your frame step by step. We use common, easy-to-find materials like kiln-dried Douglas Fir 2×4 lumber so you can work with confidence and save money as you complete your project.
Wall Framing Basics for Beginners: A Step-by-Step Overview
| Skill Level | Estimated Time | Estimated Cost | Tools Needed | Materials | Safety Level |
|---|---|---|---|---|---|
| Beginner | 2-4 hours (active), plus extra set time | Low-to-moderate | Measuring square, chalk line, saw, hammer | 2×4 lumber (kiln-dried Douglas Fir), fasteners | Basic |
-
Plan your layout. Measure your space carefully and mark where the top and bottom plates will go. Also plan where any door or window openings need to be.
-
Cut your pieces. Cut the top, bottom, and stud pieces to the required lengths. Remember to adjust for headers (support pieces above doors or windows) when you make your cuts.
-
Build the frame on a flat surface. Lay out your cut lumber and clearly mark where each stud will go. Make sure all the marks are accurate.
-
Install the wall. Lift your assembled frame into place and fasten it securely to the structure. Keep in mind the old saying, "measure twice, cut once," to avoid mistakes.
Use quality, kiln-dried Douglas Fir 2×4 lumber. This type of wood is strong and resists warping, which makes it ideal for wall framing. Space your studs 16 in (41 cm) on-center. This spacing fits well with standard 4×8 drywall sheets and gives your wall solid support. Use a measuring square and a chalk line to keep your angles at a true 90 degrees. With careful planning and precise execution, even beginners can build a durable and professional-quality wall frame.
Essential Tools, Materials & Safety Gear for Framing a Wall
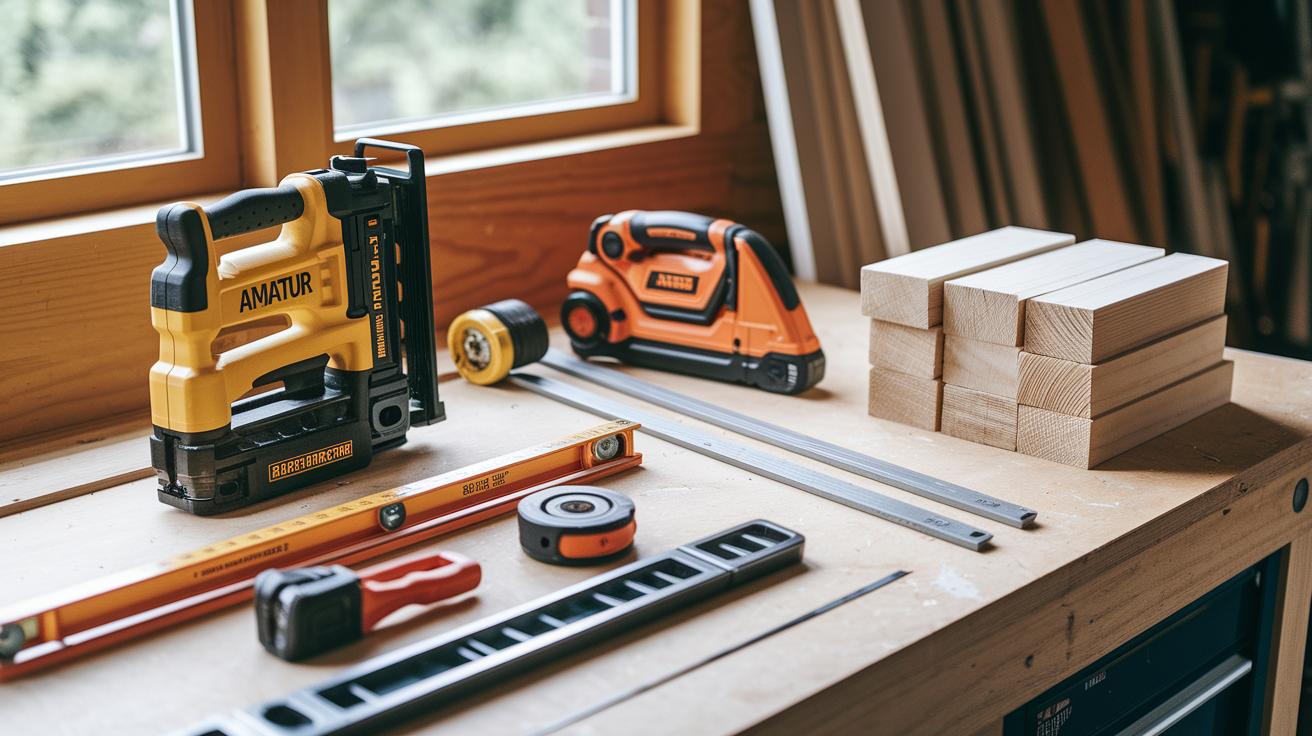
Before you begin framing your wall, take a few minutes to gather the tools, materials, and safety gear you need. Using the right equipment makes your work fast and keeps you safe.
- A framing nailer loaded with 16d sinker nails or structural screws
- A 6-ft level (1.8 m) to check both vertical and horizontal alignment
- A measuring square to confirm sharp 90° angles
- A plumb bob to ensure the wall stands straight
- A Kreg jig (a tool for making pocket holes) for extra accuracy
- A circular or miter saw for making clean, precise cuts
- A chalk line to mark straight layout lines
- Kiln-dried Douglas Fir 2×4s that resist warping
- ½-in plywood for headers when framing openings
- A full set of safety gear including safety glasses, work gloves, hearing protection, and a dust respirator
Always wear your safety gear during every step of the project. Safety glasses protect your eyes, gloves keep your hands safe, and proper ear protection helps avoid hearing damage. Double-check your measurements, and take your time to ensure a sturdy and secure wall frame.
Layout & Design Principles for Beginner Wall Builds
First, mark the top and bottom plates. Remember, measure twice then cut once. Place your plates on a flat surface. Use a measuring square to draw clear, straight lines for the placement of the studs. Next, snap chalk lines at 16 in (41 cm) on-center. This spacing fits standard 4×8 drywall sheets and adds strong support to your frame. Check that the natural curve of your lumber faces upward by using the crown up rule. For example, write “crown up” on the side of the lumber as a reminder.
When building on concrete or uneven surfaces, secure the bottom plate by fastening it every 16 in (41 cm) with concrete screws or anchors. This keeps the frame steady and stops any shifting during installation. Always check that the surface is level using a 6-ft level and a plumb bob. If the surface is uneven, add shims or layout blocks to create a flat base for the studs. This careful work ensures your wall frame is strong and well aligned for the rest of your project.
Cutting Lumber & Building Wall Components
-
Measure and cut the top and bottom plates to match the full wall length. If you need room for a door or window, mark the extra space with a pencil before sawing.
-
Prepare the header pieces by cutting two 2×4 boards to the header's length. Then, place a ½-in plywood spacer between them. This creates a header that is 3½ in thick, which helps support the load above any opening.
-
Determine the stud length by subtracting 3½ in (the combined thickness of the top and bottom plates) from the overall wall height. Use a circular or miter saw to get clean, straight cuts.
-
Cut the openings for windows or doors by measuring along the lines marked on the top and bottom plates. When you cut for door or window frames, make sure you leave extra clearance where needed.
-
Check all your cuts with a measuring square and a chalk line. Adjust any pieces that aren’t perfectly straight before you start assembling.
After all the cuts are complete, label each piece with a pencil. Mark each stud or header with a number or letter near the cut line. This clear labeling keeps your layout plan organized and makes assembly on a flat surface smoother.
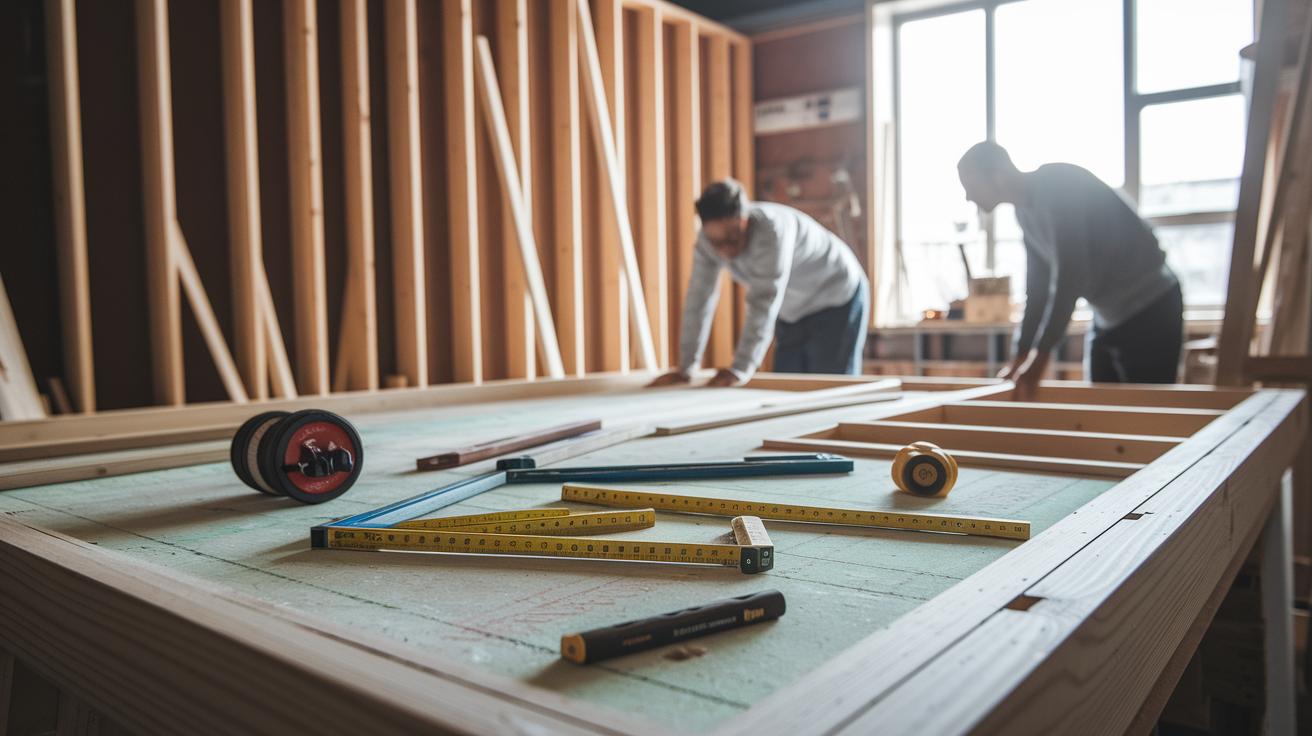
Assembling Your Wall Frame on the Floor: Squaring & Fastening
-
Lay your top and bottom plates on a large, flat surface so that the materials sit level.
-
Place the studs along the plates using the layout you marked. At every corner, check with a framing square to ensure the angle is a true 90°.
-
Measure both diagonals. If each diagonal is equal (for example, 120 in (305 cm)), your frame is square and set for the next steps.
-
Secure the studs to the plates using a framing nailer loaded with 16d sinker nails or structural screws. Fasten where the studs meet the plates. Then, use a framing square again to check that the joints remain true.
-
Re-measure both diagonals after fastening. If they match, your wall frame is secure and square, ready for raising the wall with confidence.
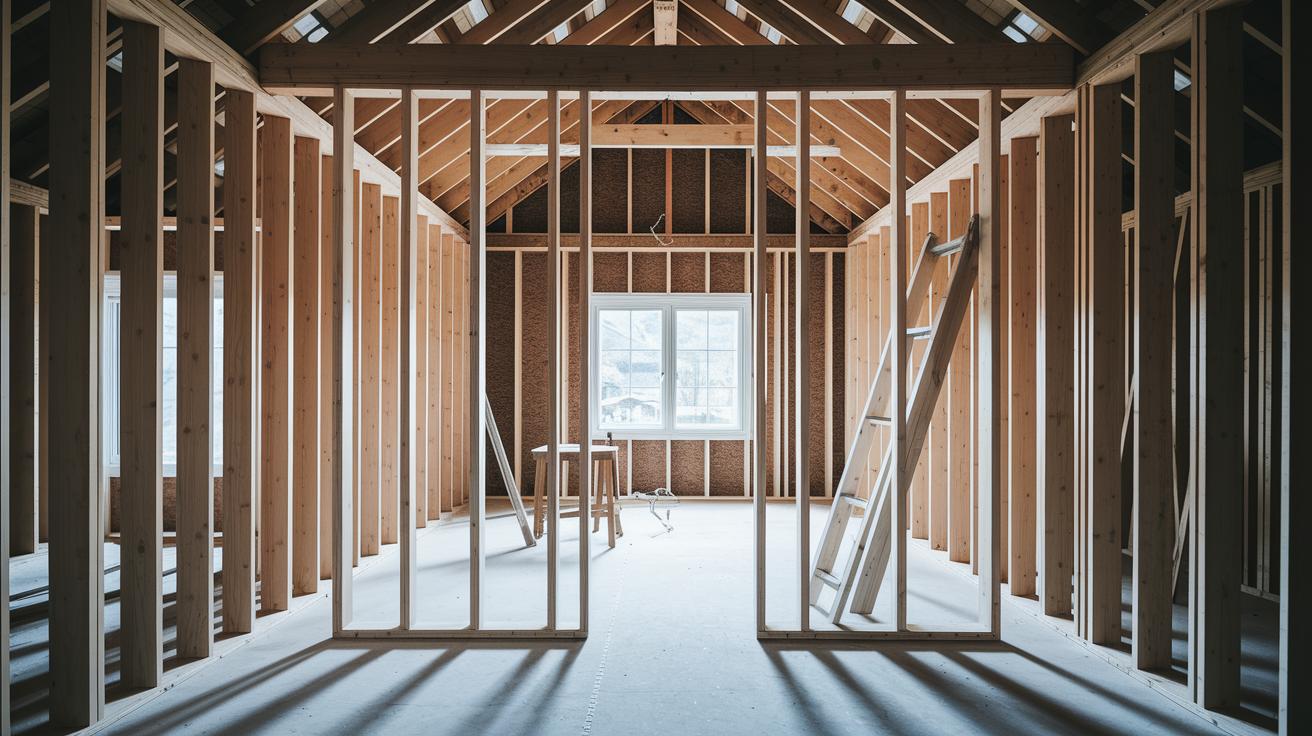
Raising & Anchoring Your Wall Frame
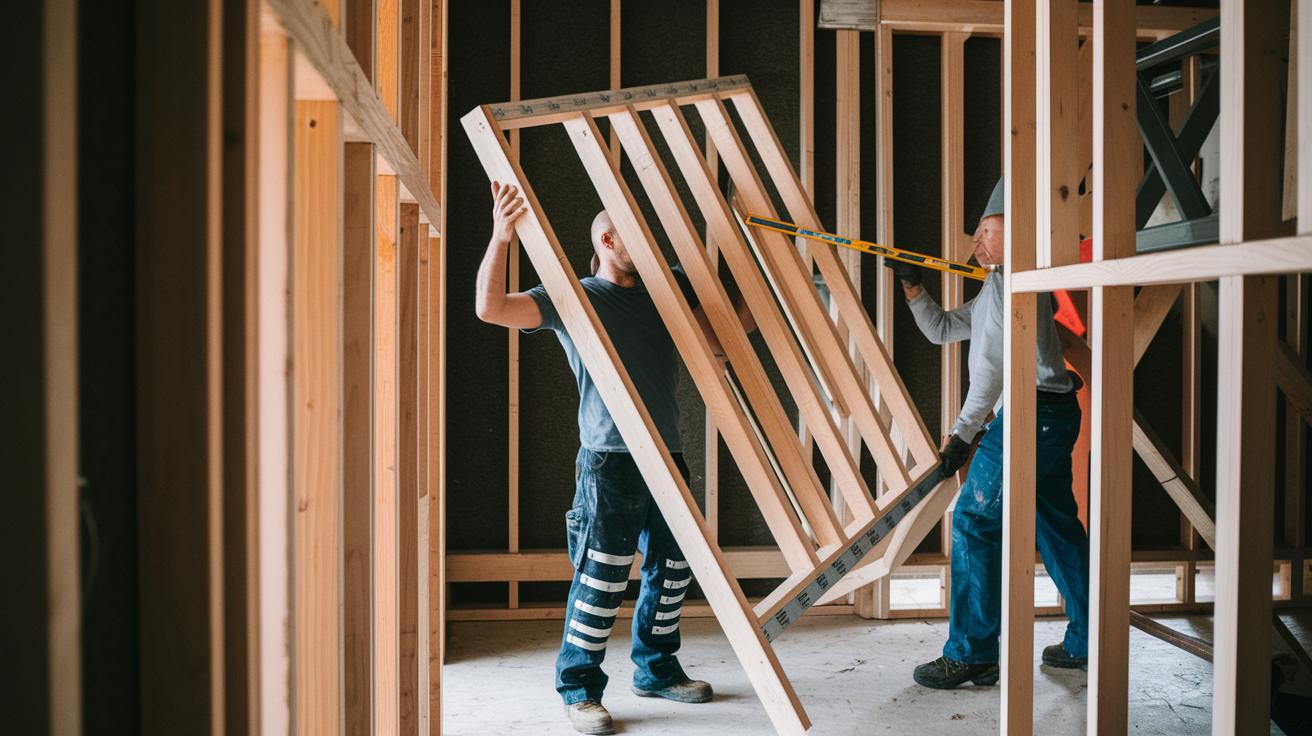
Lift the completed frame upright with a helper or use temporary braces for extra support. First, move the frame to its intended spot. Then, check that the wall is straight by placing a 6-ft level or plumb bob against several studs. Make sure the wall stands perfectly vertical before moving on.
As you raise the wall, use braces to hold it firmly in place until you can secure it permanently. Watch the wall closely and have someone else check that the top plate lines up with the ceiling joists or header above. For example, use a brace to keep the wall steady and verify its straightness using a 6-ft level.
Secure the wall according to the surface underneath. If you are working on a concrete slab, fasten the bottom plate with ½-in concrete screws, spaced every 16 in (41 cm) on-center. On a wooden base, attach the top plate directly to the supporting ceiling joists or headers. After anchoring, double-check each connection with your level to make sure nothing has shifted.
These steps help you build a solid and durable wall frame that is ready for the next phase of your project.
Installing Openings in Your Framed Wall: Doors & Windows
Start by adding king studs on each side of your openings. These tall studs run the full height of the wall and help keep the structure stable. Next, install trimmer studs (also known as jack studs) right below the header (the top horizontal beam). They support the load above the opening and line up the header with the top and bottom plates. Then add short studs, called cripples, above the header to provide extra backing for the drywall. This method strengthens the opening and distributes the weight evenly. Getting these studs in the right place from the start can save you time and materials later.
Once your studs are set, check that the header forms a smooth, continuous line with the top and bottom plates. Use a 6-ft level to make sure the header and all the attached studs stay horizontal. Then, use a plumb bob to confirm that the cripples and side studs are perfectly vertical. Finally, use a framing square at each corner to ensure every angle is exactly 90°. Taking these careful steps helps prevent misalignment during drywall installation and gives you a strong, professional finish.
Common Pitfalls Sidebar During Wall Framing
When building your wall frame, use these quick checks as you go:
- Make sure studs are spaced right. Snap chalk lines to confirm each stud is 16 in (41 cm) on-center.
- Avoid cutting too much from the plates. Measure with a square before you cut to prevent extra gaps.
- Check lumber orientation. Place boards with the natural bow (crown up) so the wall stays straight.
- Ensure the frame is aligned. Use a framing square for corners and measure diagonally for a 90° angle.
- Secure the bottom plate on concrete firmly. Install ½-in concrete screws every 16 in (41 cm).
- Label each board after cutting to keep your layout clear.
Review these points as you work to keep your wall frame strong and true.
Final Words
In the action, you moved from outlining your project to cutting lumber, assembling the frame, raising the wall, and even installing openings. Each step builds skill and confidence using clear measurements, proper spacing, and the right safety gear. The process outlined lets you review common mistakes while following easy-to-read steps. This guide shows how to frame a wall for beginners, ensuring your project stays on schedule and budget. Keep these tips in mind, and soon you'll enjoy a solid wall that stands as proof of your growing DIY expertise.
FAQ
How to frame a wall for beginners?
Framing a wall for beginners means planning the layout, cutting lumber accurately, assembling the frame on a flat surface, and finally raising the wall. This method usually includes spacing studs 16 in (41 cm) on center.
How to frame a wall corner?
Framing a wall corner involves aligning the studs for both adjoining walls, using proper corner boards or blocking, and checking for a tight fit to prevent gaps and ensure a solid join.
How to build a wall in an existing room?
Building a wall in an existing room starts with careful measurements and marking, accounting for any floor or ceiling irregularities, and securely anchoring the frame to the existing structure.
How to frame a wall on concrete?
Framing a wall on concrete requires attaching the bottom plate with concrete screws or anchors every 16 in (41 cm) and using proper moisture barriers to keep the structure stable and dry.
How to frame an exterior wall?
Framing an exterior wall involves using weather-resistant materials, ensuring proper insulation, and including reinforced headers and studs to manage outdoor loads and weather changes.
What are common mistakes when framing a wall?
Common mistakes include off-spacing studs, misorienting the stud crown, failing to square the frame, and improper anchoring. Such errors can lead to unstable or uneven walls.
When framing a wall, which way does the crown go?
When framing a wall, the natural crown of the stud should face upward. This alignment maintains the stud’s strength and keeps the wall straight once installed.
What are the basic rules of framing?
Basic rules include accurate measurements, marking layout lines clearly, spacing studs 16 in (41 cm) on center, and continuously checking for squareness and proper crown orientation during assembly.
