
Have you ever seen a small change turn into something amazing? Imagine a tiny, outdated room becoming bright and welcoming with just a few smart fixes. Clear before and after photos can show all your hard work. In this post, we will share simple steps to capture every important moment and highlight impressive transformations. Even small tweaks can lead to big results that inspire you and others to try your own DIY makeover.
How to share DIY project before and after: Getting Started
Documenting your DIY project shows every step of your work. It guides you through each stage and tells a clear story. Start by setting a timeline. For example, imagine a home bought in April 2022 that got a makeover over 3 years. This timeline marks your start date, big tasks, and the final reveal.
Make a simple list of milestones. For example:
- Take photos of every room to record its original state.
- Capture key moments such as putting up a custom shiplap coat rack or updating the fireplace.
- Write down the dates when you finish major improvements.
When you are ready to share, use tools like the DIY project planning checklist (https://alphapix.org?p=105) to plan each phase. This checklist helps viewers see the changes quickly and may even inspire them to start their own project.
Finally, take a moment to reflect on each phase. For example, note challenges like a dim, cramped entrance hall that felt outdated before the transformation.
Planning your before and after DIY project showcase
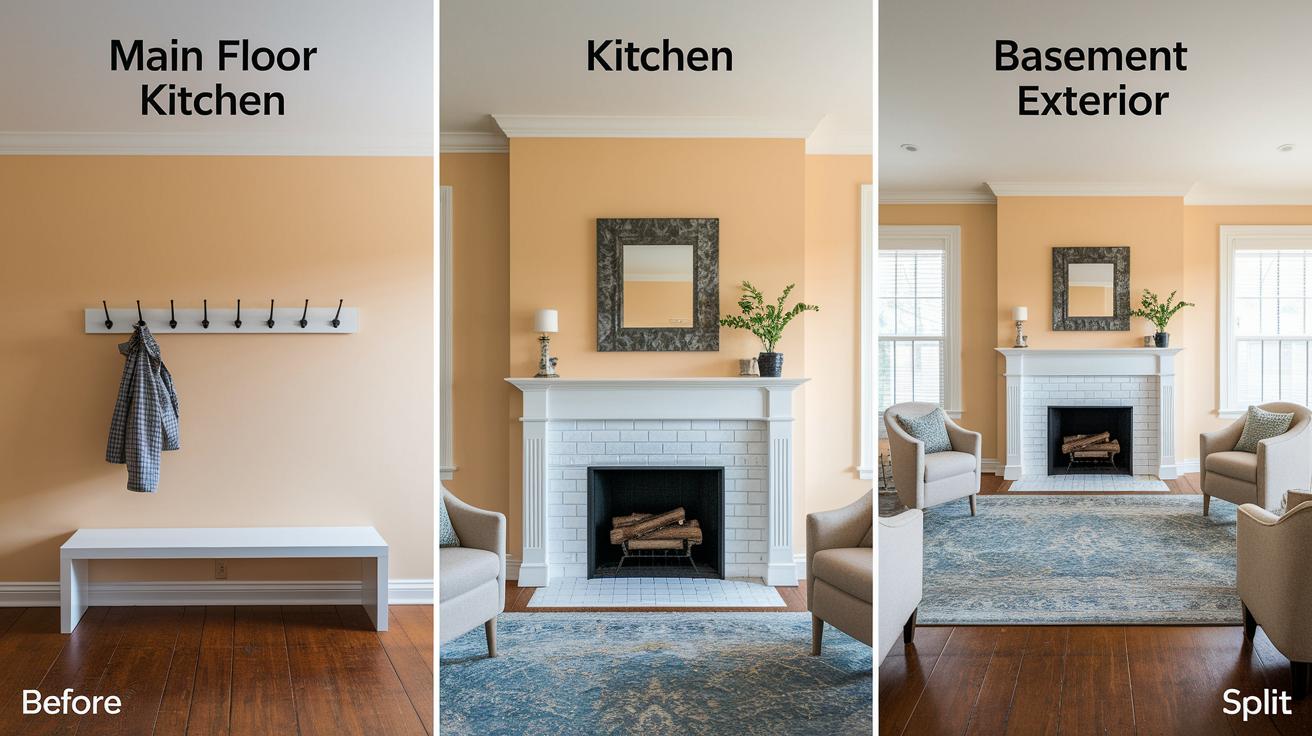
Break your renovation into simple stages that guide viewers through your journey. Start by naming main areas like the main floor, kitchen, basement, and exterior. For instance, list milestones such as installing a custom shiplap coat rack, painting walls with Sherwin-Williams Alabaster, and building a floor-to-ceiling fireplace. Each milestone marks a clear step in your timeline.
Capture key moments with before and after photos. Use a brief story format to show details like the installation of open cabinetry or the laying of modern plank flooring. Keep your camera at the same spot with similar lighting for each shot to show a clear transformation. In the basement, record improvements such as adding a drop ceiling and a Murphy bed.
Create a simple calendar with dates for each task. This helps you track your progress and lets your audience follow along easily. Consider using a printable DIY project planning template to chart each phase and date. With a clear plan, you can document every step and highlight your creative design journey.
Plan each stage by:
- Outlining key phases
- Marking before and after milestones
- Taking consistent photos and videos
- Recording the timeline for each task
This stage-by-stage method builds a strong narrative that reflects your overall journey.
share DIY project before and after: Amazing results
Taking clear before and after photos makes all the difference. Keep your camera at the same spot each time when you shoot the foyer, living room, and kitchen. For example, if you take a wide shot of the living room before installing a custom stone range hood, take the same wide shot after. This simple trick builds trust in your project gallery.
Try to use natural light when you snap your photos. Shoot during early morning or late afternoon when the daylight is soft. This gentle light shows off details like dark-gray cabinets or a freshly painted laundry room. A quick tip: Capture your photos at the same time each day. You might start by saying, "Before renovation, this kitchen was cramped and dark. Now, a bright open layout changed everything."
Combine overall room photos with close-up details. Start with a wide shot to set the scene, then zoom in on special finishes like a custom shiplap coat rack. This mix creates engaging visuals that clearly show each stage of your transformation. Keep your camera steady and settings consistent, and your clear images will guide your work and inspire others to start their own projects.
Crafting the narrative for your DIY before and after showcase
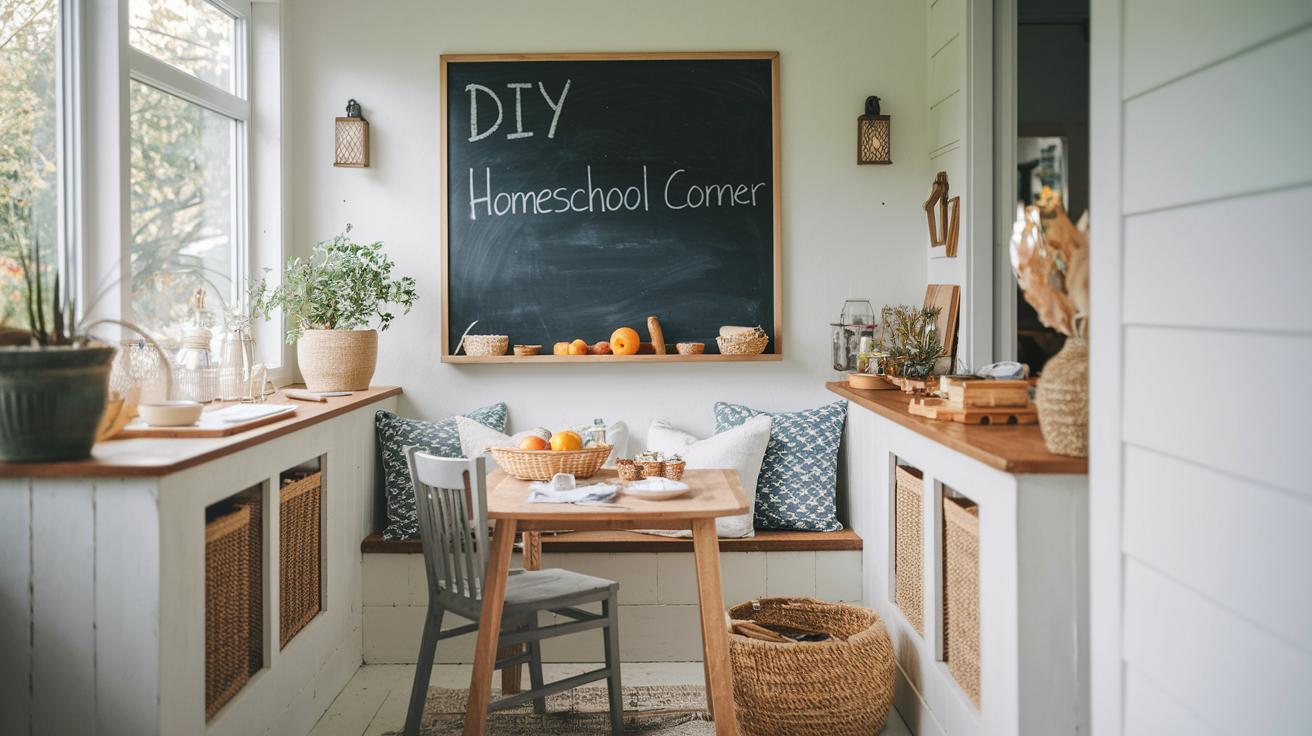
Start by writing your story like you're sharing a personal diary of change. Tell us about that time you turned a small breakfast nook into a sunny homeschool room. Explain how a budget change helped you rethink your backyard, turning an unused area into a cozy spot for gatherings. Share how you refreshed old interior doors by adding trim and new hardware without spending a lot.
List the key moments of your project:
- Take clear "before" photos to show what it looked like.
- Write down the choices you made and why you chose each material.
- Note any challenges, like setting up new lights or changing measurements.
Then, tie these details together by updating your project narrative. For example, you might say, "I wasn't sure if I should replace the fixtures or update them. I ended up painting and adding trim, and that small change made a big difference."
Every thoughtful change adds to your story. These personal touches help your audience see the value in every step and spark their own DIY journey.
Platforms to share DIY before and after transformation
Instagram and Pinterest are great for showing your home upgrades. Post simple galleries with before and after photos. You can also use side-by-side photos on your blog to show each step. A clear gallery lets viewers follow your project from start to finish.
For example, share a wide-angle shot of an old living room next to its modern version with a custom stone range hood and a cozy seating area. Use hashtags like #BeforeAndAfter and #DIYProject to reach more DIY fans. Many DIYers link their Instagram posts to detailed blog stories so viewers can learn more about each project.
Consider these tips when setting up your project gallery:
- Use the same camera angle and natural light for every shot.
- Add close-up images to show special details like custom cabinets or a fresh coat of paint.
- Write short captions that explain each step of the remodel.
- Share your photos and captions on Instagram, Pinterest, and your blog to reach a wider audience.
By using multiple platforms and clear photos, your DIY gallery will capture the spirit of your renovation and inspire others to start their own projects.
Case Study: A before and after DIY home renovation walkthrough
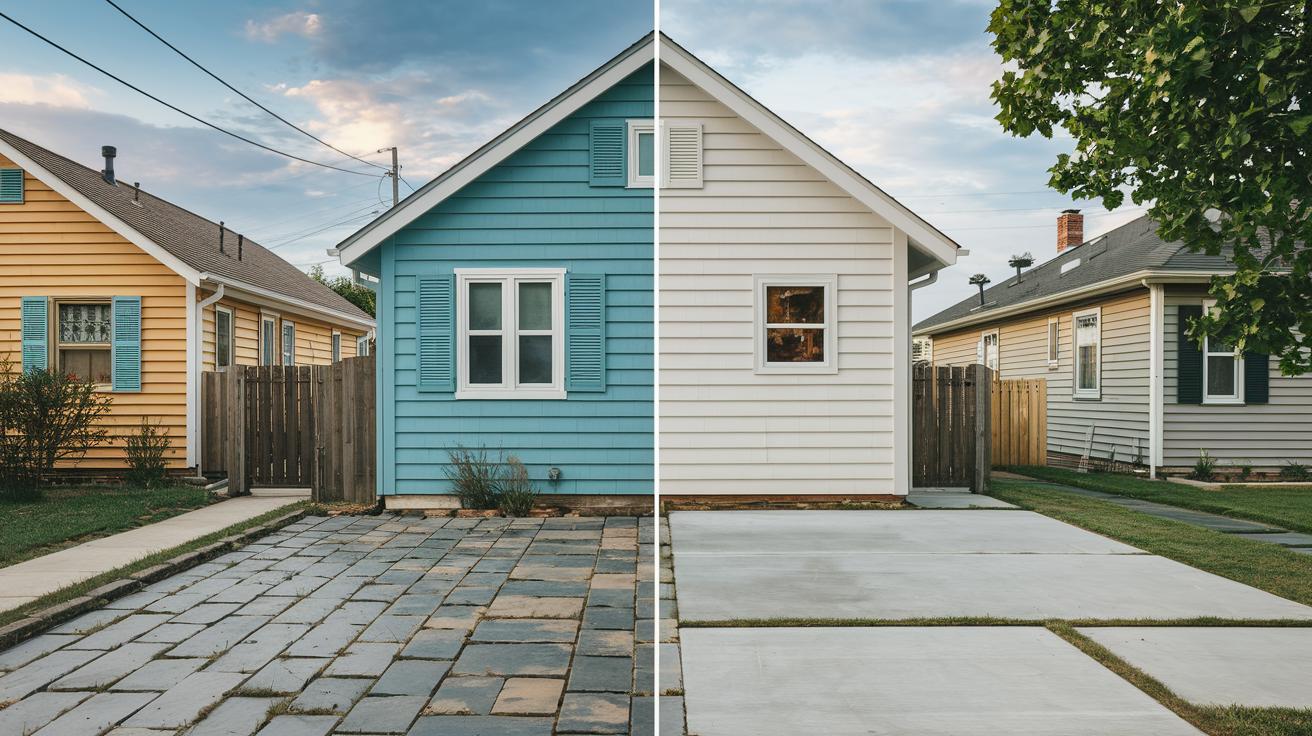
This project shows a simple update that boosted the home's curb appeal. The homeowners swapped out worn deck pavers for a solid concrete patio. One clear shot shows an old board-and-batten shutter next to a crisp, modern finish. They even noted that before the update, the front of the home was easy to miss. Now, even neighbors mention its new charm.
A small guest bathroom also got a fresh look. The makeover turned a cramped, outdated space into a bright, welcoming room that feels like a boutique hotel. A side-by-side photo shows the big change from the old layout to the stylish new design.
These updates offer clear, practical ideas for tackling specific challenges. They serve as a handy example for anyone planning a before-and-after home renovation.
Final Words
In the action, planning to share DIY project before and after sets a solid roadmap for your work. We broke down the process, from mapping your timeline to capturing every photo and detail. Simple steps and personal insights create a clear, engaging narrative. Using practical guidelines makes each stage manageable and keeps your budget on track. Let your creativity shine and continue to share DIY project before and after as a way to celebrate your achievements. Step confidently into your next project, knowing you have everything you need to succeed.
FAQ
How do I share DIY project before and after pictures?
Sharing DIY project before and after pictures means capturing clear images at key milestones. Use consistent angles and lighting, add a brief project timeline, and include a short narrative to show your progress.
How does Facebook home renovation sharing work?
Facebook home renovation posts combine images with succinct captions and relevant hashtags to tell your story. They engage your audience, invite feedback, and help spread the word about your DIY project transformation.
