
Have you ever wondered how to set up a community build day that really brings neighbors together? This guide will show you how to plan an event with a clear budget, the right materials, and well-defined roles for each volunteer.
We start by breaking the process into simple steps. First, set a budget so you know how much money you can spend. Next, choose the supplies and tools needed for the project. Then, assign roles to neighbors so everyone has a clear task. Finally, promote your event locally so people know when and where to join.
Organizing a build day can be fun and manageable when you follow these clear steps. With a solid plan in place, you can create an event that builds community pride and brings everyone together.
Structuring Your Community Build Day: Step-by-Step Roadmap
Planning a community build day can be fun when you have a clear plan. Start by setting a budget and mapping out each phase so you can manage the day with ease.
-
Create your budget. List all expenses like venue fees, supplies, and staffing. Add an extra 10% to cover any unexpected costs.
-
Assemble your planning team. Bring together local business owners and volunteers. Look for community partners who can donate supplies. Assign clear roles such as project lead, material handler, and safety monitor.
-
Promote the event. Use social media and create a Facebook event for RSVPs or ticket sales. Reach out to local radio stations or newspapers. Write a message that invites everyone to learn, help, and build community pride.
-
Create a simple schedule. Divide the day into clear time blocks for setup, building, breaks, cleanup, and a short debrief. Include 10-minute buffers between steps to keep things running smoothly.
-
List materials and plan safety steps. Make a checklist for construction items, equipment, and personal protective gear. Use a DIY project planning checklist to ensure nothing is missed.
-
Finalize the blueprint. Share the complete plan with your team so everyone knows their roles and timing. Clear instructions help the event run without surprises.
Following these steps will tie all parts of your build day together. With a careful budget, a dedicated team, smart promotion, a timed schedule, and solid safety checks, your community build day is set up for success.
Detailed Budget Planning for a Community Build Day

Start by planning your budget. A clear budget makes your community build day run smoothly. Break costs into simple parts so you can manage every expense without surprises. List expenses such as renting the venue, buying construction materials (lumber, hardware, and PPE), renting equipment, and paying for permits and insurance. If your event falls on a holiday weekend, add extra money for staffing. Also, set aside 10% of your total cost to cover any unexpected expenses.
Update your budget daily by comparing what you spend against your estimates. This habit helps you catch any changes early and keeps your plan accurate. For more guidance, check out the DIY project budget template.
| Expense Item | Estimated Cost | Notes |
|---|---|---|
| Venue | $X | Add holiday premiums if needed. |
| Materials | $Y | Includes lumber, hardware, and PPE. |
| Equipment Rental | $Z | Covers tools and machinery. |
| Permits & Insurance | $A | Cost for required permits and coverage. |
| Contingency | 10% of Total | Reserve funds for surprises. |
Keep your records updated daily. Compare your spent amounts with your estimates. This proactive approach helps reduce financial risks and makes adjustments easier as you secure supplies and services for your event.
Recruiting and Coordinating Volunteers for Your Build Day
A good volunteer team makes your build day run smoothly. Volunteers bring extra hands, local know-how, and real passion. Start by posting on community boards, talking with local businesses, and sharing in social media groups. Be clear about what each person will do so everyone has a role that matters.
- Project lead: Runs the event, makes final calls, and keeps things moving.
- Material handler: Takes care of deliveries, storage, and handing out supplies.
- Safety monitor: Checks that everyone follows safety rules.
- Communications liaison: Shares quick updates and stays in touch.
- Cleanup crew: Takes charge of cleaning up after the event.
Plan a one-hour on-site meeting before the build day. Use this time to explain safety rules, outline each role, and run through emergency steps. Show how to wear protective gear and use equipment properly so everyone feels ready.
Set up shifts for the day to spread out the work. You may even swap roles so volunteers can try different tasks and build stronger community ties. Keep the energy up with small rewards like T-shirts, certificates, or a group shout-out. Regular check-ins during the event help answer questions and keep things running well.
Securing Materials and Supplies for a Community Build Day
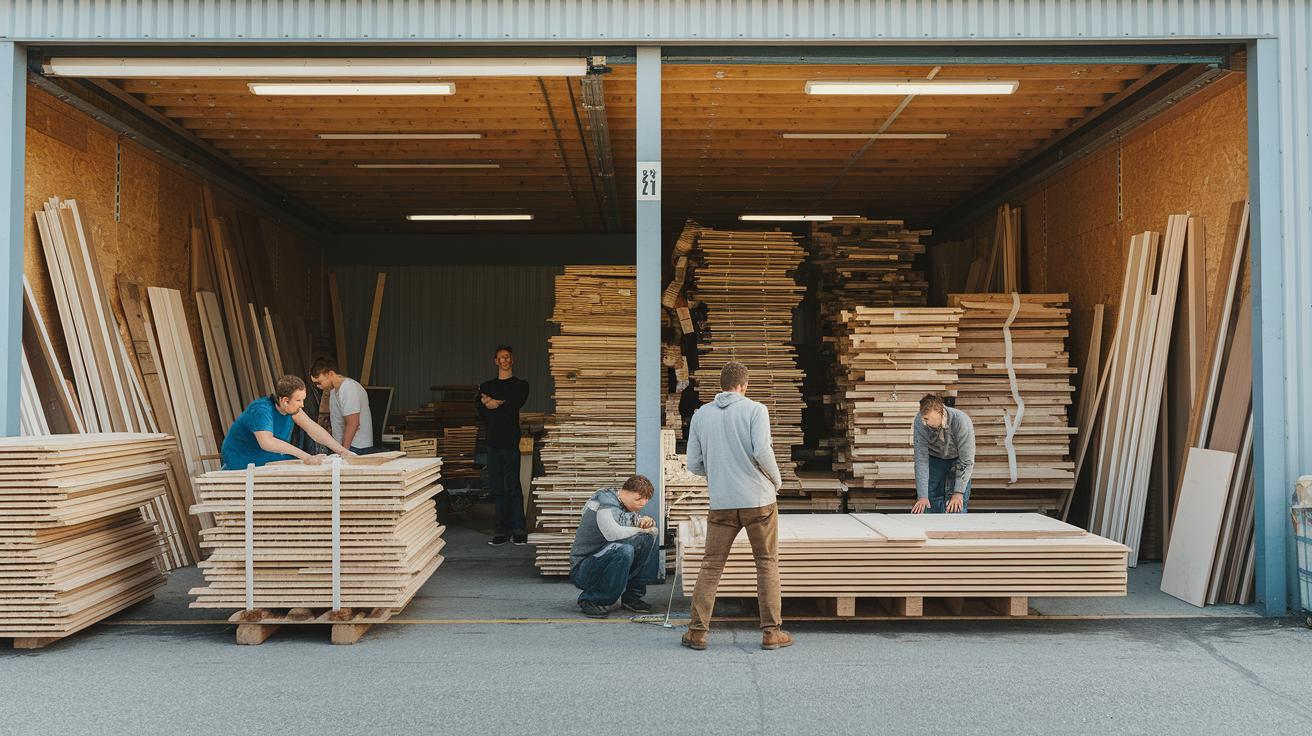
Gather your supplies by buying in bulk, renting tools, and getting help from local suppliers. You might also run a community donation drive or ask local partners to donate items. Make sure you schedule delivery or pick up your materials at least 1 week (7 days) in advance so everything is ready when you need it.
| Item | Quantity Needed | Sourcing Method |
|---|---|---|
| 2×4 Lumber | Varies by project | Bulk Purchase |
| Plywood Sheets | As per design specs | Bulk Purchase |
| Nails/Screws | Enough for all joints | Bulk Purchase |
| Power-Tool Batteries | Depends on tool inventory | Tool Rental / Donated |
| Extension Cords | Multiple units for work zones | Community Donation Drive |
| Tarps, Work Gloves & Safety Goggles | Enough for all volunteers | Partner Collaborations/In-Kind Donation |
Keep a simple checklist to track each supply. Record the status of each item, check the quantities, and note any in-kind donations. Review your checklist at least 1 week (7 days) before your event to avoid any last-minute issues.
Creating a Realistic Project Timeline and Event Schedule for Your Build Day
A clear schedule keeps everyone informed and helps your team work smoothly. It makes sure that every step, from setting up to winding down, has its place. A minute-by-minute plan improves on-site chatter and gives you wiggle room if a step takes a bit longer.
- 7:00–9:00 Set-up and Material Staging: Gather supplies and mark work areas.
- 9:00–9:30 Volunteer Check-in: Confirm who’s here and assign initial tasks.
- 9:30–10:00 Safety Briefing: Review how to use PPE (personal protective equipment), share emergency contacts, and go over safe work practices.
- 10:00–12:00 Build Phase 1: Kick off the main construction tasks.
- 12:00–12:45 Lunch: Give everyone time to refuel.
- 12:45–3:00 Build Phase 2: Continue building and fine-tuning the project.
- 3:00–4:00 Clean-up: Tidy the site and take down temporary setups.
- 4:00–4:30 Debrief: Gather feedback and recap the day’s progress.
Using a Gantt chart or a digital scheduling tool can help you see each time block clearly. Consider adding a 10-minute break between phases to handle any small delays. This lets you adjust quickly and keep the day moving forward.
Navigating Permits, Regulations, and Safety Protocols for Community Build Days
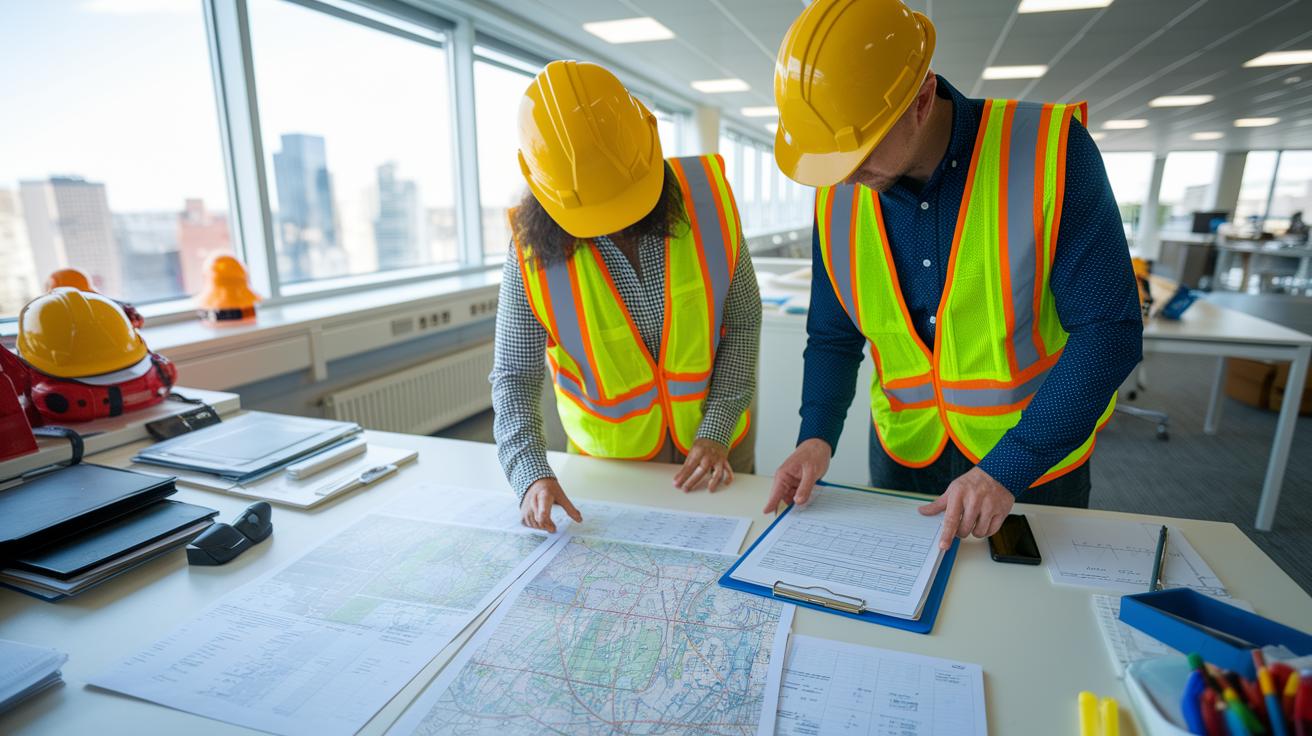
Start planning early by checking your local permit rules 4 to 6 weeks ahead. Find out if you need permits such as temporary structure permits, park use permits, or right-of-way authorizations. This step helps avoid last-minute issues and makes sure you’re in line with local legal rules.
Next, secure proper event insurance. Get a general liability policy and volunteer accident coverage to protect your event if accidents happen. It is also smart to create a risk management plan that lists potential hazards, reviews local building codes, and outlines ways to lower risks for everyone involved.
Before the build day, hold a safety meeting with all volunteers and staff. Discuss safety guidelines and emergency steps so everyone knows what to do in a crisis. Post emergency contact numbers on site to ensure that help is always within reach.
Ensure that every participant has the essential protective gear. Provide items such as:
| Item | Description |
|---|---|
| Hard Hats | Protects the head from falling objects |
| Gloves | Keeps hands safe during work |
| Safety Glasses | Shields eyes from flying debris |
| First Aid Kits | Helps handle minor injuries immediately |
By checking permits, securing insurance, and discussing safety ahead of time, you build a strong foundation for your community build day. Following these steps lets your team focus on the project and have a safe, successful event.
Marketing and Community Outreach for Your Build Day
Promotion is key to getting volunteers, sponsors, and local residents excited about your build day. It helps build local support and draws in people from different directions.
- Create a Facebook event to spark interest.
- Post project previews on Instagram to catch a bigger audience.
- Send out a neighborhood email newsletter with event details.
- Hand out printed flyers at local shops and community centers.
- Write a press release for local newspapers to get media coverage.
- Call local radio stations to mention your build day on air.
- Ask community boards to share updates and reminders.
- Work with local influencers and community leaders to spread the word.
Plan to start your promotion at least 6 weeks before the event. Then, boost your outreach during the final 2 weeks. This steady approach keeps the event visible and builds excitement so that when build day comes, people are eager to join, volunteer, and support the project.
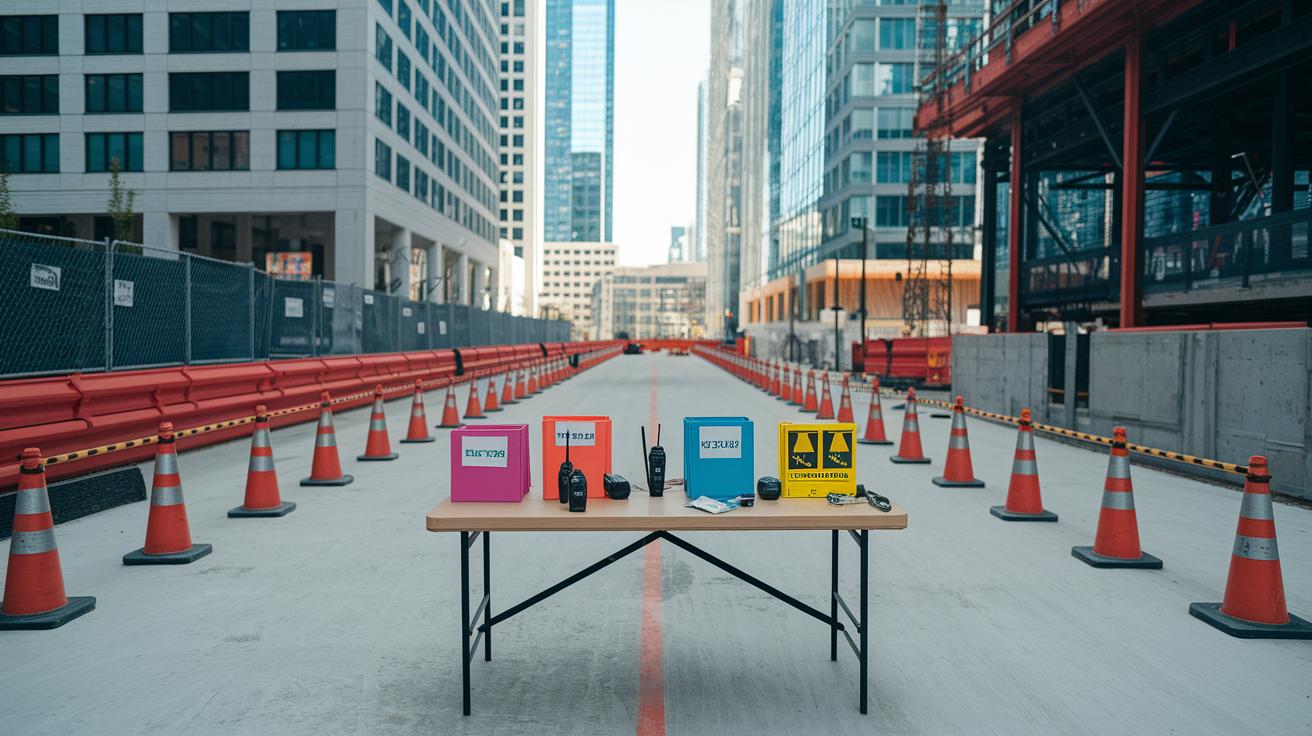
On-Site Logistics and Day-Of Coordination for Your Community Build Day
| Skill Level | Estimated Time | Estimated Cost | Tools & Materials | Safety Level |
|---|---|---|---|---|
| Beginner | 4–6 hrs active (8–10 hrs total) | Low to Moderate | Markers, signage, walkie-talkies, cones, labeled bins | Basic – clear work zones and safety checkpoints |
Getting your site ready is the first step to a smooth build day. Clear work zones help everyone know where to go and what to do. A well-organized setup makes sure tools, equipment, and volunteers all move safely around the area.
- Mark out work zones and put up clear signage so every volunteer knows where to work.
- Set up stations for checking out and returning tools to keep equipment organized and safe.
- Assign specific walkie-talkie channels and name crew leads to keep on-site communication simple.
- Schedule equipment deliveries in 1-hour slots and plan volunteer drop-off and parking areas to support smooth transport.
- Divide the site into areas for building, taking breaks, and storing supplies.
- Place labeled bins for recycling, demolition debris, and trash so waste is managed the right way.
- Confirm that all safety checkpoints and communication plans are set before work begins.
Have a backup plan ready for any unexpected challenges. For example, if heavy rain or high winds disrupt the setup, adjust shifts and delivery times. Reserve extra indoor space or plan to reschedule key deliveries. This proactive planning keeps the day safe and on track no matter what happens.
Post-Event Wrap-Up for Your Community Build Day: Cleanup and Evaluation
- Clean up the site by taking down temporary structures and removing any debris.
- Organize materials by returning rented equipment and sorting leftover items for storage or donation.
- Thank your volunteers by sending out personal thank-you emails or postcards.
- Hand out a short feedback survey to learn what worked, what could be better, and any new skills volunteers picked up.
- Hold a debrief meeting with your team to review the day and discuss overall progress.
After these steps, take time to document what you learned. Compile the total volunteer hours and prepare a cost-versus-budget report. Note the successes and the areas that need improvement. Use this feedback to adjust roles and procedures for your next community build day. This reflection helps your event get better every time and builds confidence in your team for future projects.
Final Words
In the action, we covered budget setting, team assembly, event promotion, scheduling, and material sourcing. Each step contributes to a smooth process that moves from hands-on planning to a tidy wrap-up. This roadmap shows how to organize a community build day (planning + materials) while keeping costs in check and timelines clear. The guide helps clear up doubts and keeps you on track. Keep focused, work safely, and enjoy the satisfaction of a completed project.
FAQ
How to organize a community build day planning materials pdf
Organizing a community build day planning materials PDF means you prepare a detailed document outlining your budget, schedule, volunteer roles, and supply list. This approach helps your team stay coordinated and efficient on the day.
How can I build a community across different platforms like friendships, WhatsApp, online forums, and work?
Building a community on any platform signifies gathering people with shared interests. Whether forming friendships, hosting WhatsApp groups, creating online forums, or engaging coworkers, you should foster regular communication, share activities, and provide clear group goals.
