
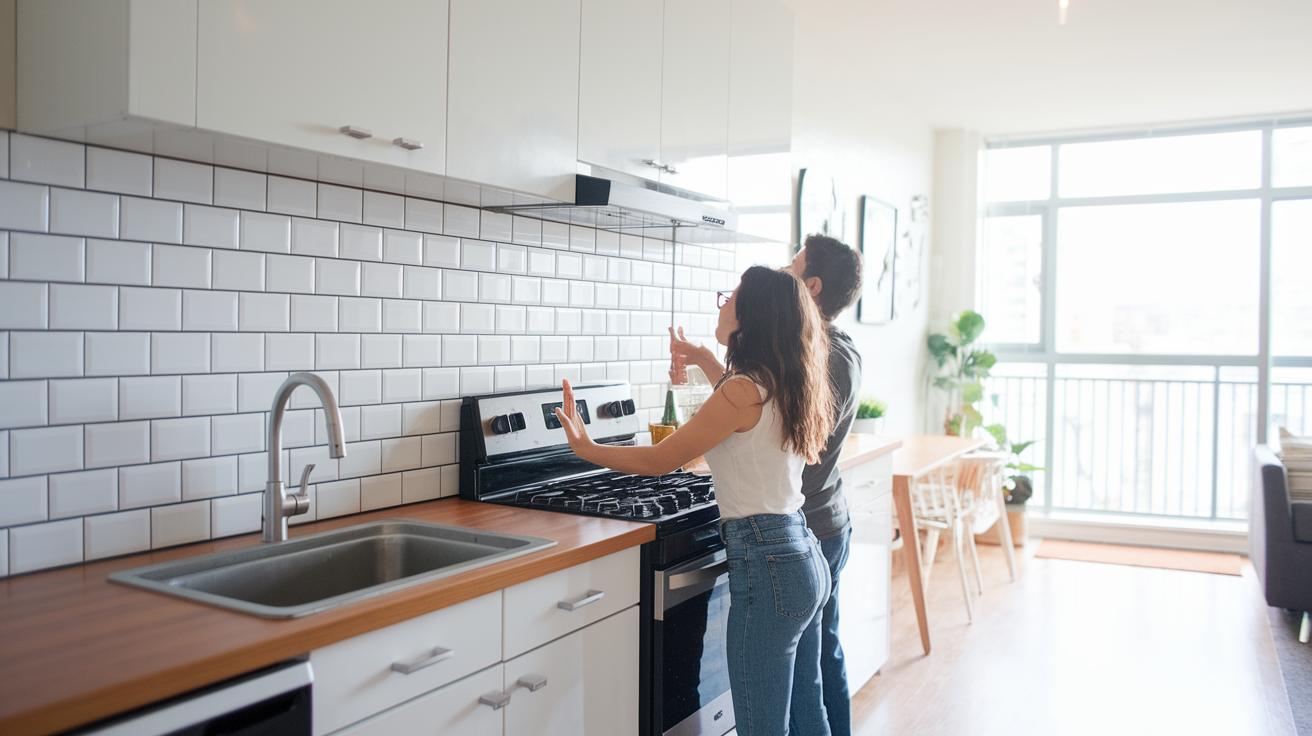
Ever thought about updating your rental without risking your deposit? Renter-friendly peel-and-stick tiles let you upgrade your space safely. They add texture and shine instantly to floors or walls without any permanent changes. You can choose classic styles like Subway White or try a bold textured 3D finish from Mosaicowall. In this guide, we explain how to boost your rental's look easily while keeping everything damage-free.
Essential Renter-Friendly Tiles Overview: Non-Permanent, Easy-Remove Options
Renter-friendly tiles are peel-and-stick products that let you update your space without causing any permanent damage. They are a great choice for improving a rental home because they protect walls and floors while giving your room a fresh look. The adhesive sets quickly, so you get instant texture and a light-reflecting finish.
Top picks include Smart Tiles and Mosaicowall. Smart Tiles come in a pack of 42 sheets, each measuring 10.95 in (27.8 cm) by 9.70 in (24.6 cm), and the Subway White option offers a modern style. Mosaicowall tiles use a high-quality PU gel (a type of durable plastic) that won’t yellow over time and includes a thicker coating for a more pronounced three-dimensional look. Both of these products are designed to come off easily, making them perfect for renters who want stylish floors without risking their security deposit.
These tiles provide a simple and affordable upgrade for walls or floors that look plain or outdated. You can stick them on and later remove them without any hassle. This easy process lets you experiment with current decor trends while keeping your rental in its original condition.
Renter friendly tiles elevate your rental vibe

If you're renting and want to update your space, removable adhesive tiles are a smart choice. It's helpful to compare a few popular options to decide which design fits best for your floors or backsplashes.
Smart Tiles, for example, use a vinyl sheet that sticks immediately when installed. Their Subway White style gives a modern look and comes in a set size of 10.95 in x 9.70 in (27.8 cm x 24.6 cm) for about $7.99 per sheet.
Mosaicowall tiles are made from a high-quality PU gel. This material is non-yellowing and rated for outdoor use. The tiles have a thicker 3D finish that holds up well in moist areas, making them perfect for places that may get a bit of water.
Generic vinyl options can be a budget-friendly way to add style. They often come at around $5.00 per sheet and can vary in water resistance, size, and durability, so it’s a good idea to check the details before choosing.
| Product | Material | Sheet Dimensions | Water Resistance | Price/Sheet |
|---|---|---|---|---|
| Smart Tiles Subway White | Vinyl | 10.95 in x 9.70 in (27.8 cm x 24.6 cm) | Moderate | $7.99 |
| Mosaicowall PU Gel Tiles | PU Gel | 10.95 in x 9.70 in (assumed similar) | High | $7.99+ |
| Generic Vinyl Alternative | Vinyl | Varies | Varies | ~$5.00 |
Smart Tiles provide an instant bond, which is great for indoor areas like backsplashes. Mosaicowall tiles offer extra durability in spots that might see moisture. Generic options let you try different styles without breaking the bank, but always check their water resistance first.
Step-by-Step Easy Tile Installation Guide for Rental Spaces
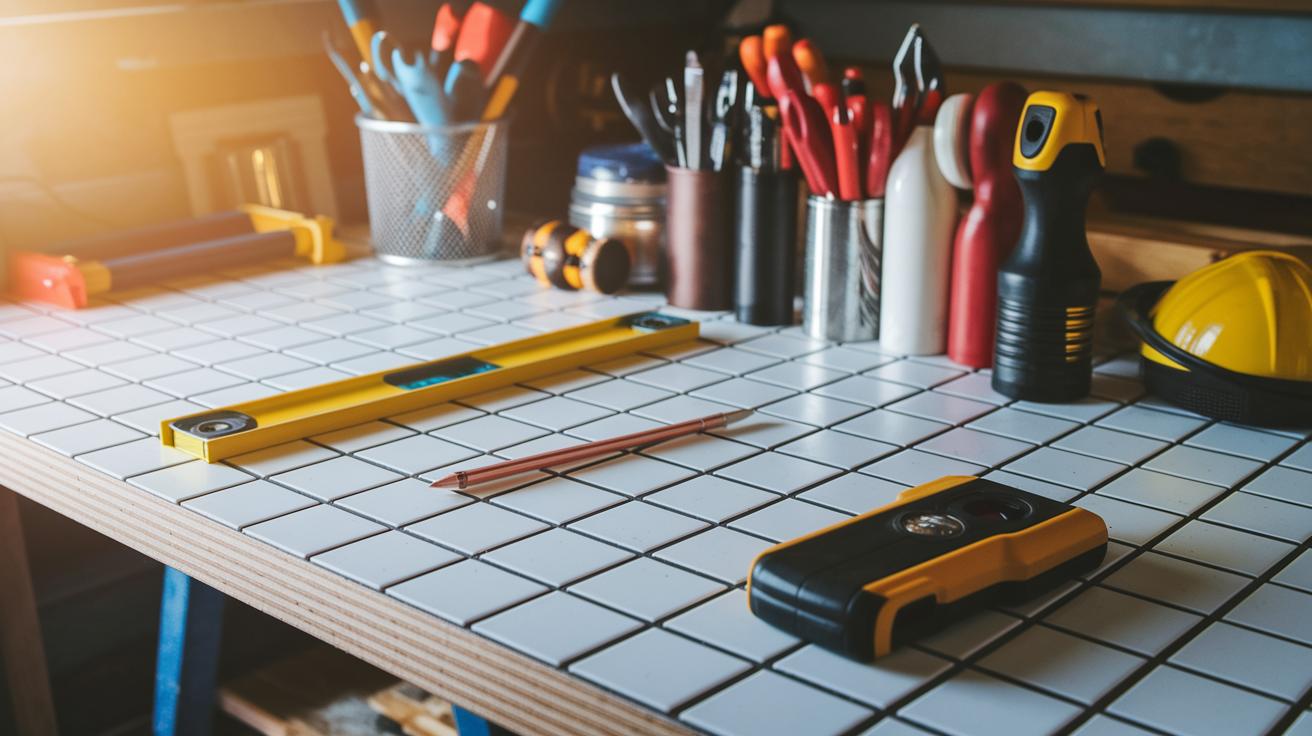
Before you start, gather your tools. Using the right tools makes the job easier and helps keep your rental undamaged. You will need:
- a pencil or chalk
- a level
- a box cutter
Follow these steps for a smooth project:
- Clean the surface. Wipe away dust, grease, or any marks using a mild cleaner. A clean surface makes the adhesive stick better.
- Mark your layout. Use your pencil or chalk and a level to draw straight lines. A good tip is to mark the center horizontally and vertically so your tiles line up evenly.
- Measure and trim the tiles. Check if any tiles need cutting around edges, outlets, or corners. Use a measuring tape and a level to guide you. Then score the tile along the mark with your box cutter. Cutting precisely saves material and keeps the look neat.
- Apply the tile. Peel off the backing slowly. Press the tile firmly against the wall or floor. Work from the center outwards and apply gentle pressure to ensure a strong bond. These tiles stick immediately, so no drying time is needed.
Enjoy your tile makeover, and take your time with each step. Have you measured twice? Remember, a little care goes a long way!
Budget-Friendly Tile Solutions & Cost Comparison for Renters
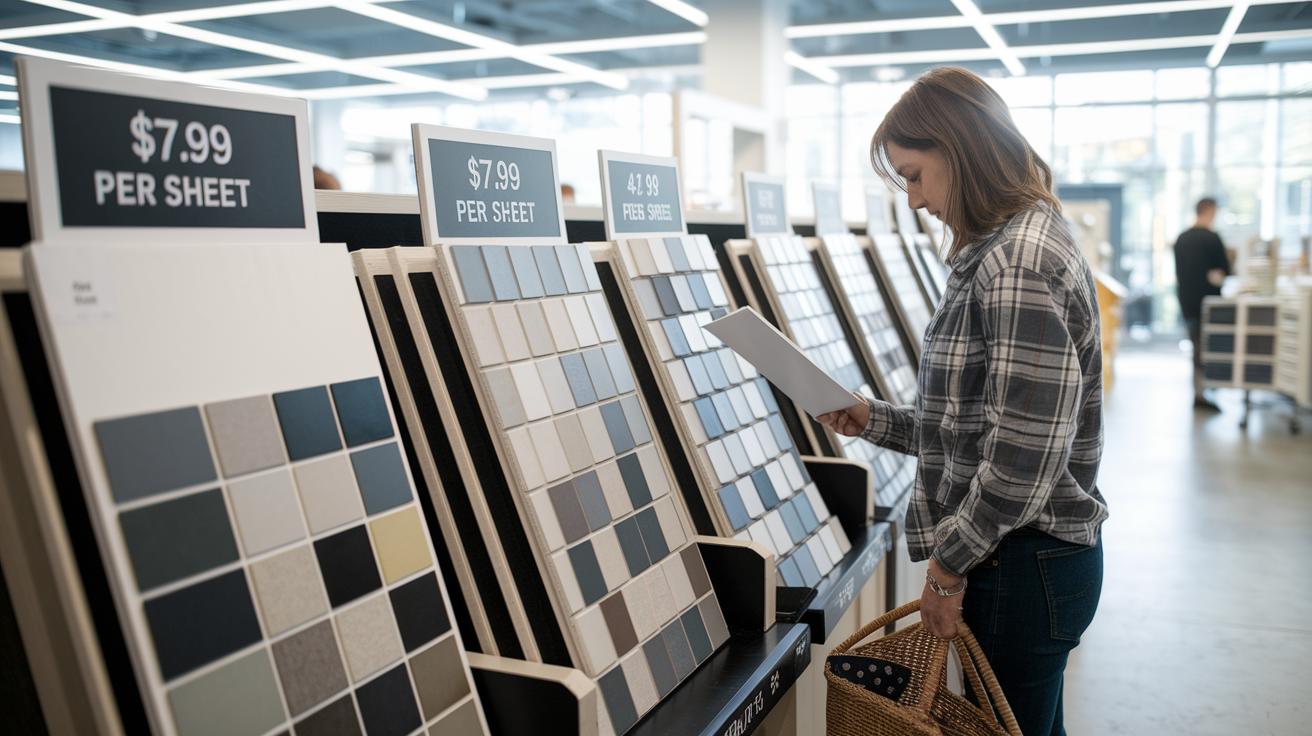
Smart Tiles cost $7.99 per sheet. A full 42-sheet kit will run you about $335.58. If you only need 25 sheets, expect to spend around $199.75. It’s a good idea to buy roughly 10% extra for cuts and mistakes. Many big retailers offer in-store samples so you can check the color and texture before you buy.
When planning your tile project, keep these points in mind:
- Cost per sheet: At $7.99 each, you know exactly what to expect.
- Kit size: A 42-sheet kit is best for larger spaces, while 25 sheets might cover a single backsplash or focal wall.
- Extra supply: Buying 10% more saves you from shortages or mismatched cuts.
- Savings tip: Look for clearance deals at Home Depot or check Amazon for extra budget-friendly options.
This breakdown helps you understand your project costs. Budget-friendly choices like these let you update your rental stylishly without overspending.
Safe Removal & Surface Care After Tile Use

Prepare your space before you start removing tiles. This keeps your walls and floors safe and protects your security deposit. When you're set, follow these steps:
-
Gently lift a corner of the tile. Use your fingernail or a plastic tool to catch the edge. Pull slowly at a 45° angle. This careful pull eases the adhesive and avoids damage. Think of it like removing a sticky note off a delicate surface.
-
Watch as you peel the tile. If you meet strong resistance, stop and check the area. This helps you avoid tearing or scratching the wall.
-
When all tiles are off, look for leftover adhesive. Wipe it with a soft cloth and a mild citrus-based cleaner. This cleaner is gentle yet effective, leaving the surface fresh and clean.
Remember, if you remove tiles within the manufacturer’s suggested timeframe, the wall or floor stays intact. This is especially important for renters who want to keep their space in its original condition.
Creative Apartment Tile Transformation Ideas on a Rental-Friendly Budget

Give your apartment a fresh look with tiles that are kind to renters and easy to use. You can try peel-and-stick tiles that let you change your design without any long-term changes. For example, use subway-style tiles in your kitchen to create a modern backsplash. They cost about $1.50–$3 per sq ft (roughly $16–$32 per m²) and can change your space in less than 2 hours.
In your bathroom, try deep-green brick tiles or waterproof patio tiles. These add character and stand up well to moisture. For the living room or balcony, choose tough tiles that look like natural stone. Mix in pieces with 3D-embossed geometric or Moroccan patterns and concrete-look overlays to give your walls texture and charm. Prices here range from $2–$5 per sq ft depending on design and quality.
| Tile Type | Features | Price per sq ft | Best For |
|---|---|---|---|
| Subway Peel-and-Stick | Modern look, easy removal | $1.50–$3 | Kitchen backsplashes |
| Mosaicowall | Deep-green brick-grunge style | $2–$4 | Bathroom accents |
| 3D-Embossed Tiles | Geometric/Moroccan patterns | $2–$4 | Feature walls in living areas |
| Waterproof Patio Tiles | Durable, natural stone look | $2–$5 | Balconies & splash zones |
• Clean and dry the surface thoroughly before you start.
• Measure the area carefully to plan your layout.
• Follow the manufacturer's instructions for each tile type.
• Press each tile firmly to ensure it sticks well.
• Enjoy your updated space, knowing you can remove the tiles without damage if you ever decide to change them.
Final Words
In the action, we explored renter friendly tiles and their simple, damage-free benefits. We compared products, broke down installation steps, and shared cost-saving tips to help you transform your rental space with ease. We also covered safe removal and creative ideas to keep your apartment looking fresh. With clear steps and practical advice, you now have the confidence to tackle your project. Enjoy the freedom and flexibility of renter friendly tiles as you refresh your home on a budget.
FAQ
What are renter friendly tiles and how do they work?
Renter friendly tiles are peel-and-stick, non-permanent options that bond instantly to surfaces. They are designed to upgrade walls, floors, kitchens, and bathrooms without causing lasting damage during removal.
How can renter friendly tiles be used in bathrooms and kitchens?
Renter friendly tiles for bathrooms and kitchens include waterproof, adhesive options that work on both walls and floors. They offer a stylish update while ensuring easy removal without harming the underlying surface.
What are the benefits of peel-and-stick backsplash and wall tiles?
Peel-and-stick backsplash and wall tiles provide quick installation, immediate bonding, and easy removal. They leave no residue behind, making them perfect for renters who need a temporary, stylish upgrade without damaging surfaces.
What makes IKEA’s renter friendly tile flooring unique?
IKEA’s renter friendly tile flooring uses a peel-and-stick design for easy, damage-free application and removal. This budget-friendly option is ideal for temporary spaces where preserving the original floor is important.
