
Have you ever wondered if a small tool could change the way you work? The oscillating multi-tool makes hard cuts, smooth sandings, and clean scrapes on wood, metal, tile, and more. This guide shows you how picking the right blade can transform your project. We cover which blades work best for each material and share tips to keep your cuts neat and straight. If you're ready to work smarter and get flawless results, keep reading to discover the power of this tool.
oscillating multi-tool uses and blade guide: Powerful Edge

The oscillating multi-tool is a handy power tool that cuts, sands, scrapes, and grinds many materials such as wood, metal, plastic, tile, and concrete. Its small size lets you work in tight spots, making it perfect for flush cuts along baseboards, undercutting door jambs, or making plunge cuts for electrical boxes. For example, when you adjust a door frame, start with a careful plunge cut, like neatly trimming a delicate piece of baseboard without affecting the nearby trim.
Choosing the right blade is important. Match your blade to the material you are working on. For wood projects, use a high-carbon steel blade that works well for trim and plunge cuts. For metal parts or bolts, pick a bi-metal blade. This type combines high-speed steel with spring steel, adding durability. And when you work with tile or masonry, a carbide or diamond-coated blade is your best bet. For instance, choose a carbide blade when you need to cut through stubborn grout.
Pay attention to details like tooth pitch (teeth per inch) and blade thickness. A blade with more teeth gives you a smoother, more detailed cut, while a thicker blade handles denser materials better. Also, adjust your speed settings: use 5,000–10,000 OPM for delicate tasks like sanding or grout removal and 15,000–20,000 OPM for heavier cuts in wood or metal.
Use a straightedge or guide rail to keep your cuts clean and straight. The tool’s quick-change cutter feature makes it easy to swap blades fast, so you can keep working confidently and precisely.
Oscillating Multi-Tool Blade Installation and Rapid Swap Techniques
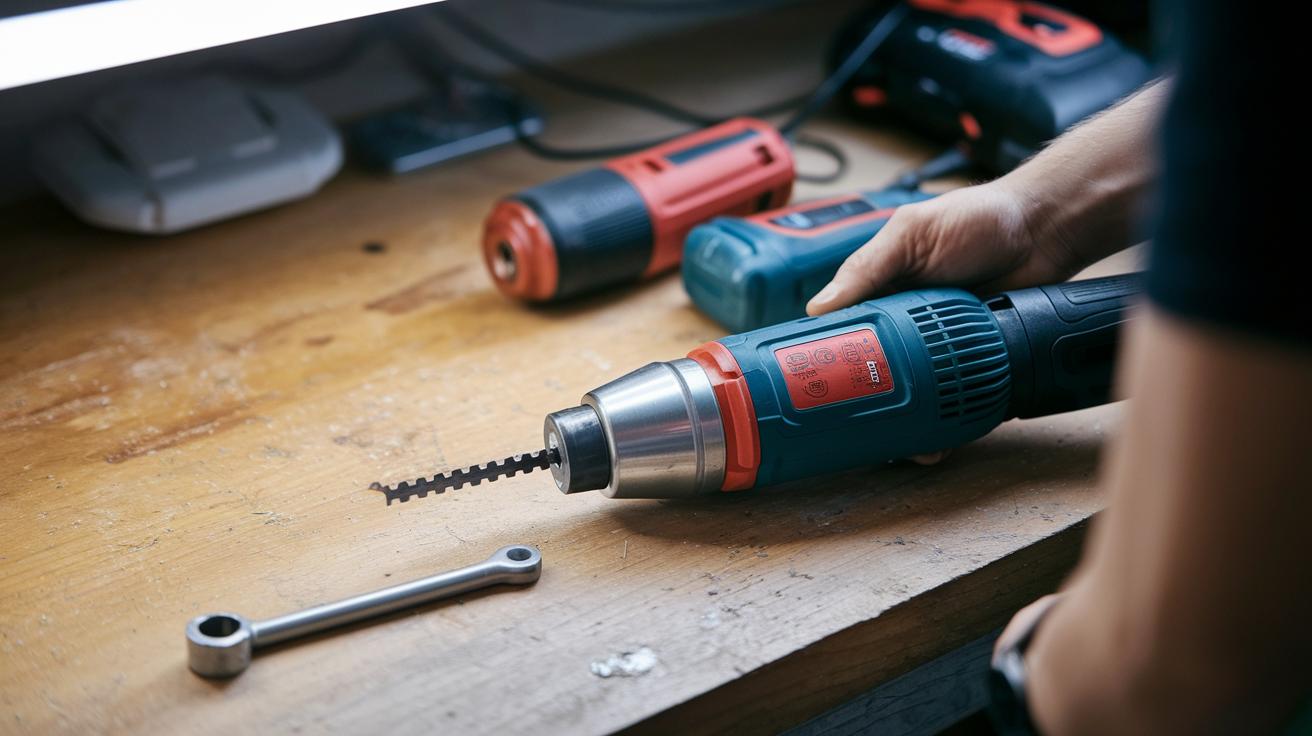
Before you begin, always disconnect your tool from power or remove the battery. This simple step keeps you safe during blade changes. Many oscillating multi-tools feature a quick-change system and even include a small hex wrench for securing the blade.
- Disconnect power or remove the battery.
- Align the blade slot with the tool head. Make sure the slot lines up exactly so the blade sits flush.
- Insert the blade and fasten it with the provided wrench or lever. Apply firm, steady pressure without overtightening.
- Tug lightly on the blade to check that it is secure. A tight grip prevents debris from entering the joint and ensures consistent performance.
- If you need a special blade, use adapter rings to help it fit. With practice, you can complete these steps in under 30 seconds.
For example, if you switch to a bi-metal blade for cutting bolts, follow these steps closely and make sure each contact point is clean and tight. This careful method boosts speed and keeps your work precise and safe.
Precision Cutting System and Speed Control for Oscillating Tools
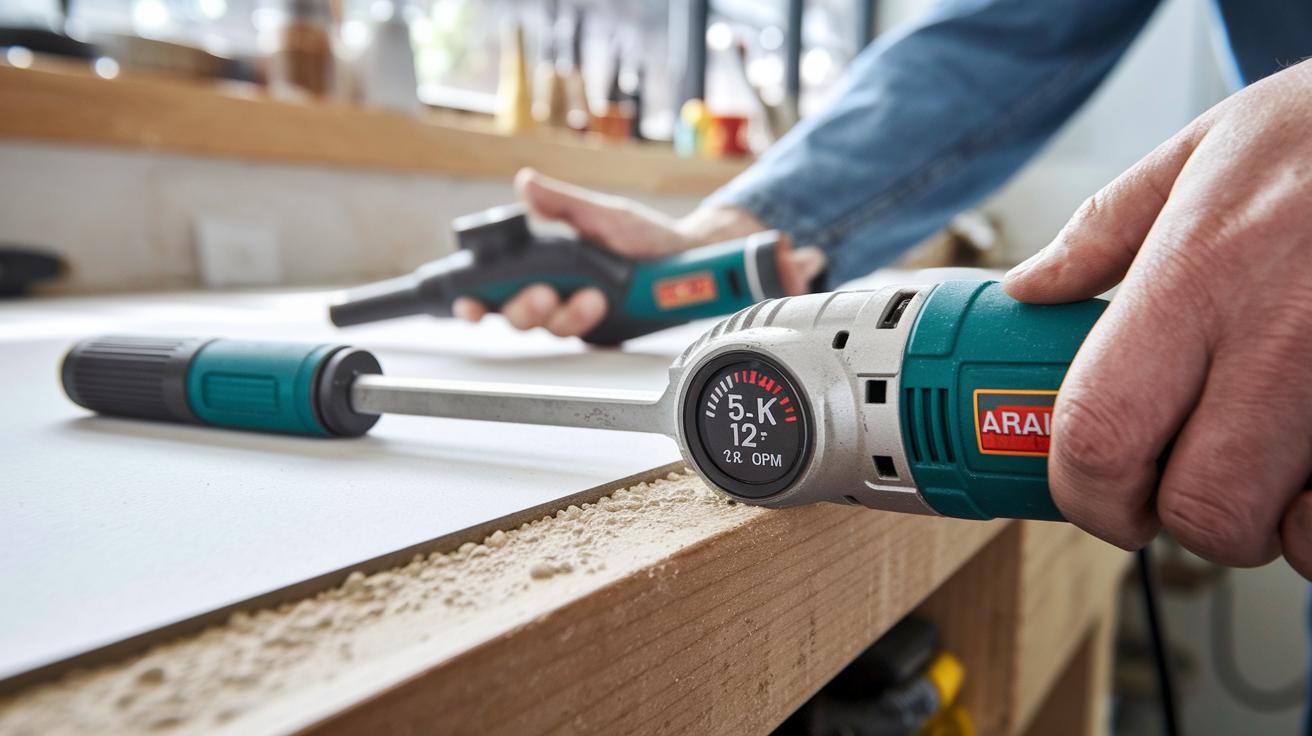
Get clean and controlled cuts by matching your oscillating tool's speed to the job at hand. For tasks like removing grout, scraping adhesive, or working on delicate trim, set the tool to a low speed of 5,000–8,000 OPM. For example, when you take off old caulk, start slow to protect nearby surfaces.
If you're doing wood plunge cuts or trimming plastic, choose a medium speed between 8,000–12,000 OPM. This speed gives you a good mix of control and speed while preventing too much heat from building up. When cutting wood for cabinetry, try a test cut on scrap material and adjust the speed gradually to avoid burns and blade wear.
For tougher jobs like framing and metal cutting, use a high speed from 12,000–20,000 OPM. Always test on a similar piece first to fine-tune your settings. This way, you get the best performance without stressing the blade.
Using a straightedge guide or fence can help you achieve perfectly straight plunge or flush cuts.
| Application | Recommended Speed (OPM) |
|---|---|
| Grout Removal | 5,000–7,000 |
| Adhesive Scraping | 6,000–8,000 |
| Wood Plunge Cuts | 8,000–12,000 |
| Metal Cutting | 12,000–16,000 |
| Tile Cutting | 10,000–14,000 |
Accessory Safety Protocols and Maintenance Checklist Essentials

Always wear safety goggles and ear protectors when you work with oscillating multi-tools. Safety comes first. Before changing blades or swapping attachments, disconnect the power or remove the battery. This step stops accidental startups and lowers the risk of injury.
Inspect your blades and attachments before every use. Look for cracks, chips, or other signs of wear. If a blade is dull or misshapen, replace it right away. For example, if you notice irregular edges while cutting wood or metal, stop immediately and swap in a new blade.
After each use, follow these maintenance steps:
- Remove attachments from the tool.
- Clean the contacts to clear any debris.
- Lightly lubricate the pivot to keep it moving smoothly.
- Check the seals and O-rings for any damage.
- Store the blades and attachments in a protective case.
These simple steps help keep your blades sharp and your tool in top condition. Regular maintenance means you get reliable, precise cuts every time.
For more details, check out our power tool safety checklist for beginners at this link. This routine keeps you safe and extends the life of your multi-tool so you can tackle projects with confidence.
Advanced Blade Material Comparison and Durability Insights

Different blades work best for different jobs. Wood-cutting blades made from high-carbon steel give you clean plunge and trim cuts. Bi-metal blades use high-speed steel (HSS) with spring steel so they can handle metal pipes, bolts, and nails with great strength. Carbide-grit and diamond-coated blades work well for tile, masonry, and grout line work, often lasting 2 to 3 times longer than bi-metal blades. This extra durability is a big plus for tough materials.
Blade design is important too. A thinner blade with more teeth works well for delicate trim work, while a thicker blade can handle heavy-duty jobs. Hardened steel scraper attachments help remove adhesives or old paint. Hook-and-loop sanding pads make it easier to prep surfaces before you cut or fit pieces together. This careful balance of design and durability helps you choose the right accessory for each project.
| Blade Type | Material | Ideal Use | Durability |
|---|---|---|---|
| Wood Blade | High-Carbon Steel | Plunge & Trim Cuts | Good |
| Bi-Metal Blade | HSS + Spring Steel | Metal Pipes & Bolts | High |
| Carbide Grit Blade | Carbide-Coated | Tile & Masonry | Very High |
| Diamond Blade | Diamond-Coated | Concrete & Grout | Exceptional |
| Scraper | Hardened Steel | Adhesive & Paint Removal | Moderate |
Use the table above to compare blade types. Choosing the right tool speeds up your work and gives you cleaner cuts. If you are starting a new project, think about getting a kit with these blade types. Many homeowners like a kit because it makes sure you always have the right accessory on hand. Check for smooth, even edges and long blade life to boost both safety and project success. Try it out and see the difference.
Angular Adjustment Methods and Dynamic Motion Efficiency

Improve your oscillating multi-tool performance by adjusting both the swing angle and the blade tilt. A typical swing angle of 2°–4° helps reduce kickback, while tilting the blade 5°–10° into the cut makes it easier to remove material and create smooth, flush cuts. Getting this balance right boosts both efficiency and safety.
Setting the Optimal Oscillation Angle
Use the tool’s built-in pivot system or make your own angle gauge with something simple like a cardboard template. For instance, if you're undercutting door jambs, try setting a 15° bevel. Always test the angle on a scrap piece first. This approach ensures that your blade cuts clean and steady with minimal vibration.
Maneuvering in Tight Spaces
When working in confined areas, choose a blade with a shorter profile and reduce the oscillation amplitude. Keep a firm, two-handed grip, one hand steadying the tool’s housing while the other guides the head. Make gradual, small cuts and shift your body as needed to keep control and cut precisely in tight spots.
Multi-Functional Oscillating Applications in Common DIY Projects

Oscillating tools do more than just make plunge cuts and remove trim. You can also use them for careful sanding and decorative carving to add special touches to your projects.
Detail-sanding furniture edges smooths out rough spots for a refined finish. Attach a fine-grit sanding pad and run the tool gently along the edge. Slide the pad slowly over a reclaimed wood table edge and use your hand to feel that smooth finish.
For decorative grooves, first mark your design on wood panels or crown moldings. Then switch to a groove-carving blade. Slowly score along your marked line until you get a clean cut. This method creates an elegant recessed groove that catches the light.
| Advanced Application | Blade Attachment | Usage Tip |
|---|---|---|
| Detail-sanding Furniture Edges | Fine-grit sanding pad | Work slowly and check for smoothness |
| Carving Decorative Grooves | Groove-carving blade | Score lightly and remove material gradually |
- Choose the right attachment for your task.
- Clearly mark the area on your workpiece.
- Use the tool slowly to control depth and detail.
- Frequently check your progress by sight and touch.
Final Words
In the action, we reviewed oscillating multi-tool uses and blade guide essentials. We broke down tasks like plunge cuts, precise sanding, and grout removal. You learned how to select the ideal blade based on your project needs and install it safely using rapid swap techniques. With tips on setting optimal speeds, angles, and safety checks, you're ready to tackle home improvement projects confidently. Embrace these practical strategies and let your next cut be a smooth, successful step forward.
FAQ
What are the best oscillating multi-tool uses and blade guide instructions?
The oscillating multi-tool is ideal for grout removal, plunge cuts, and sanding. Its blade guide helps keep cuts precise, especially in tight spaces like door jambs and baseboards.
What oscillating multi-tool attachments are available?
Oscillating tools come with attachments such as sanding pads, scraper blades, and specialized cutting blades for metal or wood. These options boost versatility and precision for diverse projects.
What is an oscillating multi-tool used for?
The oscillating multi-tool is used for cutting, sanding, scraping, and grinding materials like wood, metal, plastic, and tile. It is especially useful for precision work in hard-to-reach areas.
How do you use an oscillating tool to cut wood?
To cut wood, select a dedicated wood-cutting blade, set the proper speed, and guide the tool along your marked line. Using a straight edge improves accuracy.
Where can I find multi-tool uses videos?
Multi-tool uses videos are available on DIY websites and video-sharing platforms. They offer step-by-step instructions to help you master various techniques and applications.
What should I consider when selecting multi-tool blades?
Blade selection depends on the material and cut type. Choose high-carbon steel for wood, bi-metal for metals, and carbide or diamond-coated blades for tile and masonry to ensure durability and clean cuts.
How do you use a straight edge guide with an oscillating tool?
Clamp the straight edge along your desired cut line, align your tool with the guide, and move steadily. This method ensures your cuts are consistently straight.
What are common uses for the Dewalt oscillating tool?
The Dewalt oscillating tool is popular for undercutting door jambs, precision trimming, and occasional sanding. Its quick blade changes and adjustable speeds make it a favorite for detailed DIY projects.
