
Have you ever thought about turning your DIY project into a fun get-together? Imagine your latest creation sparking an evening of shared tips, creative exchanges, and friendly smiles. Hosting a project show-and-tell night gives you the chance to learn new tricks, share your proud moments, and enjoy a laid-back evening with friends. With a simple plan and a warm theme, your crafting session can become a memorable social event. Ready to turn your space into a creative hub where everyone can feel inspired?
Designing Your DIY Project Show-and-Tell Night: Step-by-Step Planning
Start by choosing a clear theme that fits your DIY goals and excites your guests. For example, focus on upcycling decor or handmade greeting cards to keep the idea simple and fun. A small group of 4–8 people works best so that everyone has plenty of table space and can join in on the conversation.
Look online at craft blogs or Pinterest for ideas that spark inspiration. Make a detailed list of all materials needed, include what you already have and note any items you need to purchase. Pre-assembled craft kits can also help make things easier since they come with pre-cut pieces and essential tools included.
A solid plan keeps you on budget and on time. Set aside money for supplies, refreshments, and any extras for a smooth event. Check your current supplies first so you don't buy duplicates. Create a schedule for setup, crafting, and your show-and-tell discussion. Write down each step and go over the plan with a friend to catch any missing details. This way, you can focus on creativity while feeling confident about running the event.
- Pick your theme and set clear goals.
- Choose the date, time, and guest count.
- Make a detailed budget for supplies and snacks.
- Gather craft kits or loose supplies.
- Plan a timeline for setup, crafting, and the show-and-tell.
- Confirm RSVPs and send reminders one week ahead.
Careful planning makes everything clearer and easier. With your theme set, budget planned, and supplies organized, you’re ready to transform your space into a warm, creative hub where every guest feels encouraged to share their DIY skills and projects.
Setting Up the Perfect Venue for Your DIY Project Show-and-Tell Night
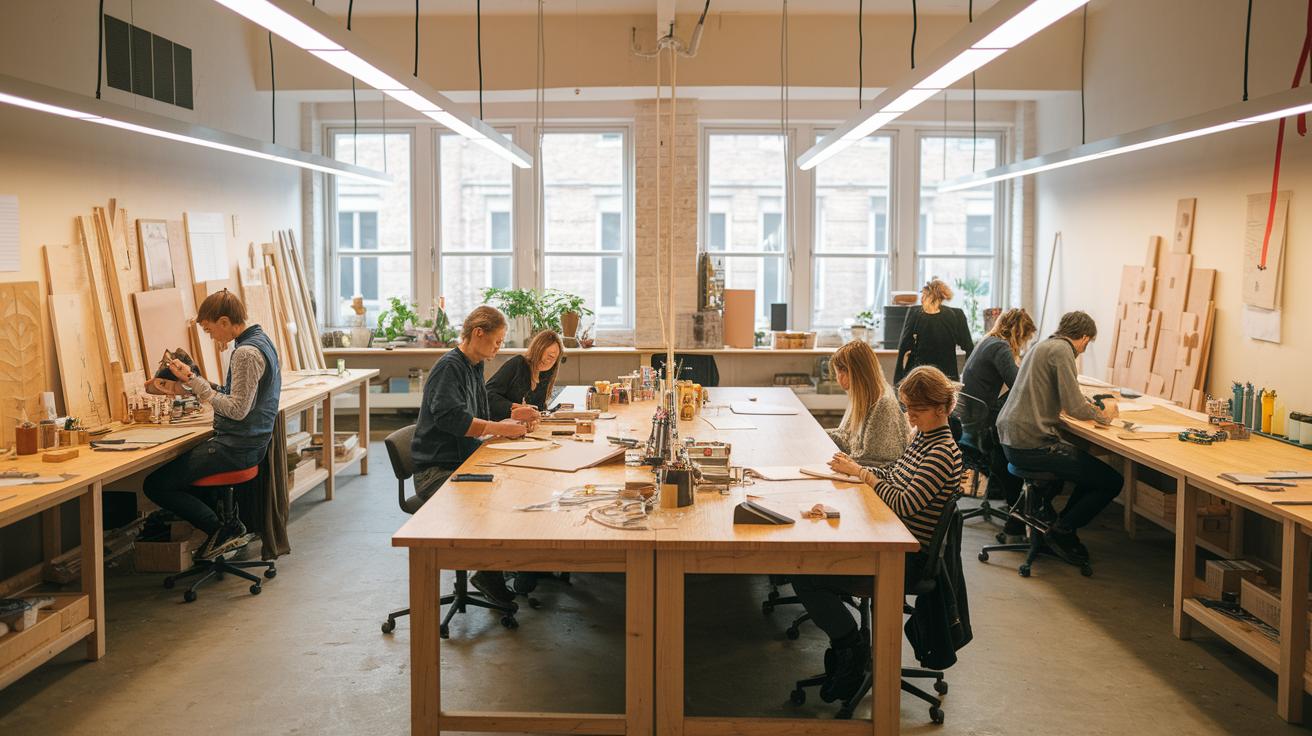
Pick a table layout that gives everyone enough room to work. Use a large table in the center for group projects, or place several smaller tables around the room so each guest gets plenty of elbow room. For example, a long table in the middle helps everyone feel part of the creative process.
Divide your workspace into clear stations. Create separate areas for cutting, assembly, and finishing. Set up a central supply station with extra materials, basic tools, and cleanup items. This plan makes it simple for guests to go from one station to the next without crowding or confusion.
Set the mood with good lighting and simple decor. Use both overhead and task lights to brighten each work area so every detail is easy to see. Play some light acoustic or mellow jazz music to keep things relaxed. Add a table of themed snacks to bring a touch of style and taste to the evening, making the space welcoming and energizing for everyone.
Curating Engaging DIY Project Displays for Show-and-Tell
Choose a mix of DIY projects that suit different skill levels. Start with simple tasks like greeting cards for beginners, then add a bit more fun with terrariums, and challenge advanced makers with macramé plant hangers that need extra attention. You can also include craft kits that come with pre-cut items, clear instructions, and basic tools to make setup easy.
Label every finished project with its title, a list of the materials used, and the creator's name. Keep each build short, around 20-30 minutes, so the event stays lively and everyone gets a turn to talk about their work.
Mix in a variety of projects. Include wearable crafts, upcycled decor, paper crafts, and small woodworking tasks. Set up a neat display by placing each item on its own table or board with a clear description card. This arrangement invites conversation and sparks ideas, making the show-and-tell interactive and fun for everyone.
| Project | Skill Level | Materials Needed |
|---|---|---|
| Greeting Cards | Easy | Cardstock, markers, stickers |
| Terrariums | Medium | Glass containers, soil, plants, pebbles |
| Macramé Plant Hangers | Advanced | Rope, scissors, wooden ring |
| Upcycled Decor | Medium | Reused items, paint, glue |
| Small Wooden Planter | Advanced | Wood, nails, sealant |
Promoting and Recruiting Attendees for Your DIY Project Show-and-Tell Night

Start your promotion at least 2 weeks before the event. This gives you enough time to get the word out and build excitement. First, set clear goals and a schedule so every promo task is on track.
- Reach out on different channels. Post on community boards, in local Facebook maker groups, and on Meetup. Email your contact list and share on top DIY sites like https://alphapix.org?p=208.
- Write messages that state the event theme, sample projects, date and time, plus a basic venue layout. Let people know they can enjoy hands-on demos and share their work.
- Send a reminder 48 hours before the event. A quick text or email helps boost attendance and gets everyone ready to bring their creativity and energy.
These steps help cut down no-shows and ensure a lively start to your event.
Running Your DIY Project Show-and-Tell Night: Agenda and Engagement
Start your event with a clear plan. Begin by welcoming guests and moving on to the show-and-tell. This simple schedule helps everyone join in and share their work.
Welcome and Icebreaker
Begin with a 10-minute welcome. Have everyone introduce themselves by name. Ask two fun questions like, "What is your favorite craft memory?" and "What new DIY skill do you want to try tonight?" This helps everyone feel at ease and ready to share.
Guided Crafting Session
Next, hold a 30- to 45-minute crafting demo. Show the main techniques one step at a time. Walk around to help anyone who gets stuck. Remind everyone to work at their own pace and enjoy the creative process.
Project Show-and-Tell
After crafting, let each guest spend 20 minutes showing their project. Set up stations where they can explain the materials they used, the choices they made, and any challenges they faced. This format lets everyone share in their own unique way.
Feedback and Social Sharing
Finish with a 10-minute group feedback session. Invite guests to share what they learned and take photos of their work. Encourage them to use a common hashtag when posting on social media. This helps capture memories and inspires ideas for future events.
Troubleshooting and Post-Event Follow-Up for DIY Show-and-Tell Nights

During your event, you may face a few common challenges. Supplies like glue or decorative items might run low, and some guests may need simpler projects. Different skill levels or an overrun schedule can also slow things down. Tackle these issues right away to keep everything on track.
After the event, gather feedback to help improve your next DIY night. Send out a short survey asking what worked well and where you could make changes. Share photos and guest creations in a follow-up email or a private online group to build community spirit and spark fresh ideas.
Plan ahead by keeping extra supplies on hand and offering simpler project options when needed. Build extra time into your schedule and pair experienced crafters with newcomers. Regular check-ins during the event will help catch little problems before they grow. Use the feedback to adjust your pacing, setup, and project choices for future show-and-tell nights.
Final Words
In the action, we broke down planning, venue setup, project displays, and promotion into simple, clear steps. We mapped out how each part fits together for a fun, hands-on event you can run with confidence.
Review your plan, follow the step-by-step process, and adjust details to fit your space. This guide shows how to run a DIY project show-and-tell night so you know exactly where to start.
Keep moving forward with a positive spirit and watch your event come to life.
