
Ever wondered if a few basic hand tools could spark your creativity? Woodworking goes well beyond just hammering nails. With a solid hammer, a set of bench chisels, and a low-angle block plane (a tool used for smoothing and shaping wood), you can make strong joints, measure with precision, and work safely. In this guide, we'll show you how to use a small set of tools as your entry point to fun, hands-on projects. Each simple step you learn now builds the foundation for larger, skill-building woodworking adventures later on.
Kickstart Your Basic Woodworking Journey
Start your woodworking adventure with a few simple hand tools. Keeping it simple lets you focus on essential skills like measuring accurately, creating neat joints, and working safely. This approach helps you build confidence and creativity, one project at a time.
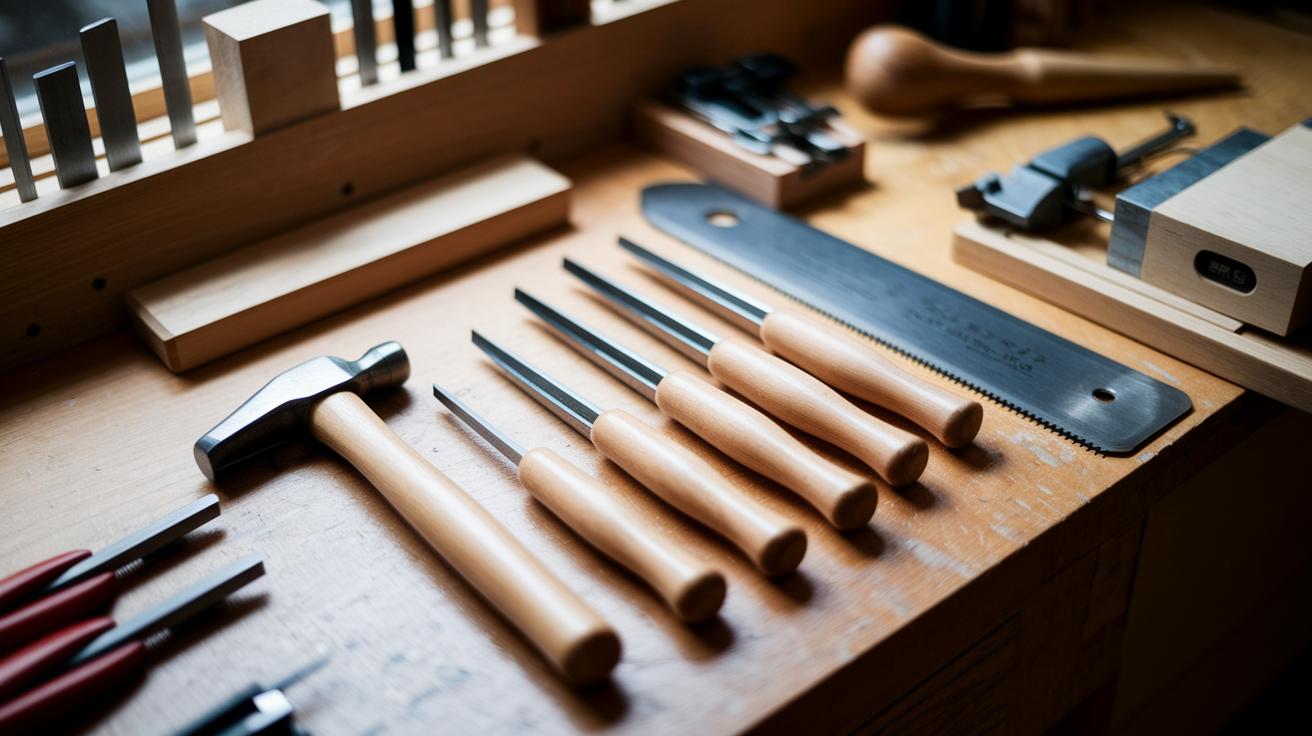
Gather these five tools to begin: a quality hammer, a set of bench chisels, a low-angle block plane, a right-hand saw, and reliable clamps. These tools let you drive nails, carve details, smooth surfaces, cut with precision, and secure pieces when gluing them together.
For example, a 375g Japanese carpenter’s hammer has a flat face for driving nails and a curved face for adjusting joints. A bench chisel set with sizes of 1/4, 1/2, 3/4, and 1 in (0.6, 1.3, 1.9, and 2.5 cm) gives you the option to make clean, detailed cuts. The low-angle block plane excels at trimming and finishing surfaces. Also, knowing the difference between a rip saw (with fewer, larger teeth for cutting along the wood grain) and a crosscut saw (with more, finer teeth for cutting across the grain) improves your cutting precision. And using 24 in (61 cm) clamps helps secure your work during glue-ups.
Learn these basics and build a strong foundation for your future projects. Each simple task you master today is a step toward more creative and advanced woodworking tomorrow.
Essential Hand Tools for Basic Woodworking

A simple set of hand tools helps you work safely and confidently on woodworking projects. With just a few quality tools, you can focus on proper techniques without getting lost in extra details.
- Hammer (375g Japanese carpenter's hammer): Use this tool to drive nails and adjust joints. For example, when you need to tap in delicate trim, a 375g hammer gives enough weight for a secure nail without damaging the wood.
- Bench chisels (1/4" to 1"): These let you carve and shape wood once they are sharpened. Start with a 1/4" chisel for small details and use a 1" chisel for bigger cuts.
- Low-angle block plane: This tool trims edges and smooths surfaces. Its low-angle design helps reduce rough tears in the wood.
- Rip and crosscut saws (like the ryoba nokogiri): The rip saw cuts along the grain, while the crosscut saw slices across it. Use the rip side for long grain cuts and the crosscut side for smooth, precise finishes.
- 24-inch bar clamps: They hold glued joints firmly so your pieces set correctly as the adhesive dries.
- Bevel: This tool measures angles to ensure joints align perfectly. Check that it shows the exact angle you need, such as 45° for a miter cut.
- Router plane (optional): This specialty tool refines edges and cleans up grooves, ideal for detailed trimming work.
Always follow safety guidelines by wearing protective gear and checking your tools before you begin. Regularly sharpen chisels, clean saw teeth, and double-check measurements to keep your tools in top shape.
Setting Up Your Beginner-Friendly Workshop Space

When you choose a spot for your workshop, look for a bright area with a flat, level floor. This could be a part of your garage, basement, or even a small room in your home. A well-planned layout means keeping tools and work areas close at hand and safe. Natural light helps you see details, and adjustable lights keep your space bright day or night.
Invest in a strong workbench that can hold heavy materials and give you a steady surface for clamping workpieces. Use a vice, holdfasts (tools that secure your work), and extra clamps when you glue or assemble pieces. Keep your tools organized with wall shelves or a portable toolbox. Choosing flexible, multipurpose fixtures saves money and keeps your shop setup simple.
Keep safety a top priority by staying organized and clearing clutter. Always store tools properly and keep walkways free from obstacles to prevent trips and falls. Use vertical storage to save floor space. Have a waste bin and a first-aid kit ready, and never forget your protective gear. For more workspace ideas, check out how to find a community woodshop near you.
Choosing the Right Wood and Materials for Basic Woodworking
Pine and whitewood are great for beginners. These woods are soft, easy to cut, and you can find them at most home improvement stores. Pine is lightweight and has a natural, rustic look. Whitewood is budget-friendly and works well for many projects. Using these softwoods helps you gain confidence as you learn the basics.
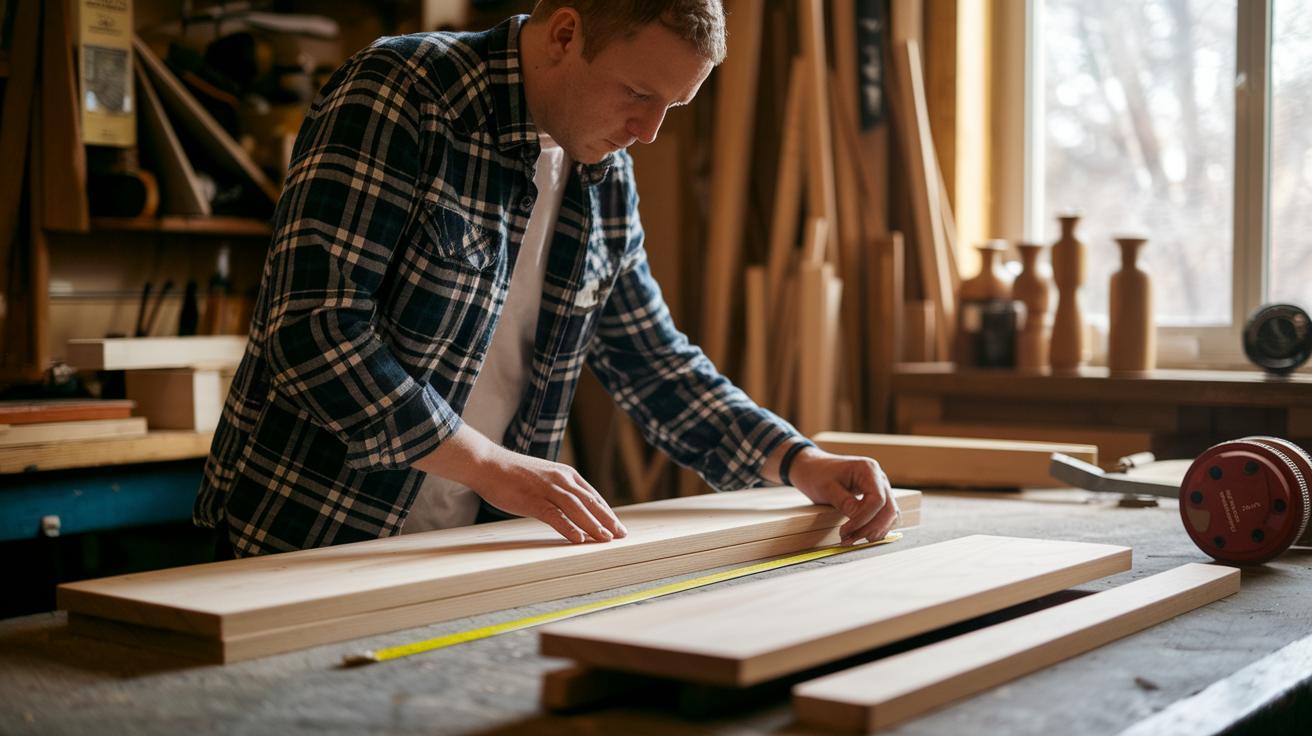
Check the wood's grain pattern before you buy. Look for boards with straight, even grains. This not only makes your project look nice but also adds strength. If a board curves when you roll it on a flat surface, it might not give you the precise cuts you need.
To keep costs low, shop smart. Visit your local home center early when new stock comes in. Compare prices and ask for off-cuts that are still straight and in good shape. Keeping a supply list and a budget for each project will help you choose materials wisely while saving money.
Mastering Fundamental Wood Joinery Techniques
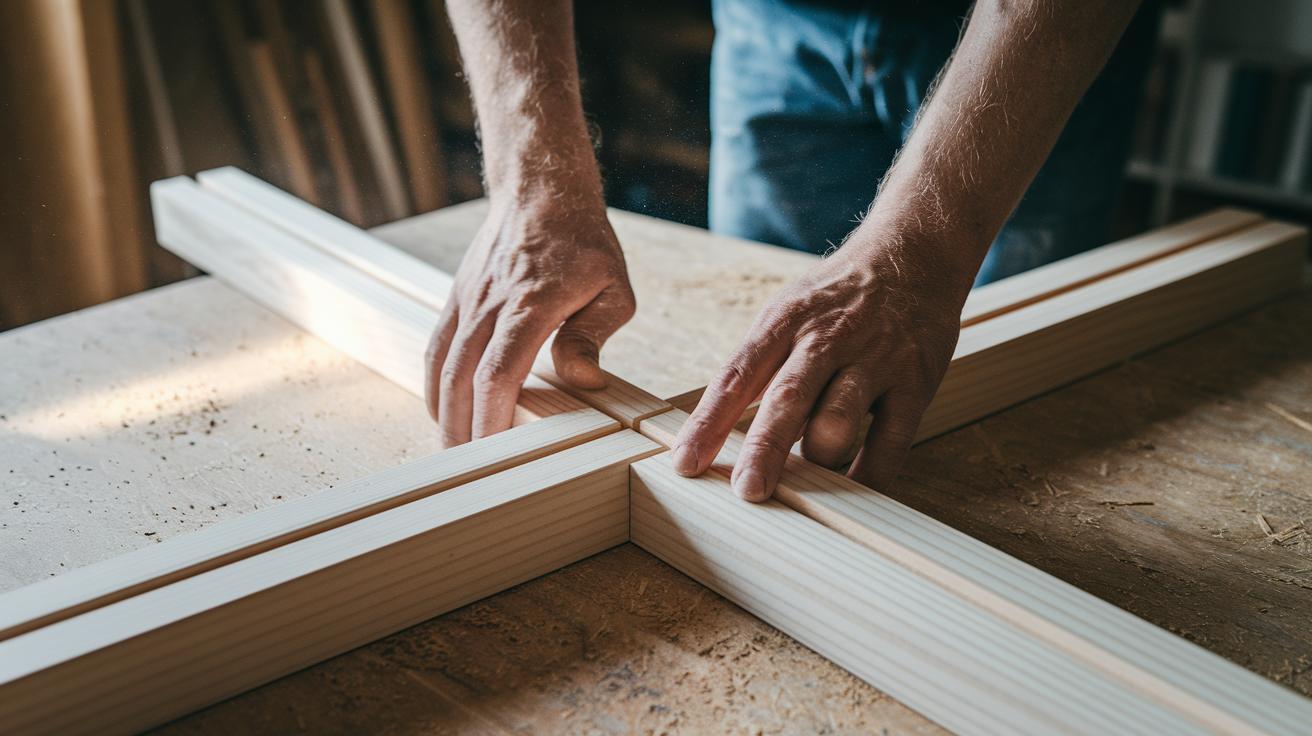
Joinery is an essential skill in woodworking. It helps you create joints that hold strong and last a long time without always using nails or screws. There are several techniques to choose from such as butt joints, miter joints, biscuit joinery, and dovetail joints. Each method offers its own mix of strength, accuracy, and style.
A butt joint is the simplest option. You align the end of one piece of wood against the flat face of another and then secure them with glue or fasteners. This joint works well for quick repairs or simple frames where perfect alignment is not crucial but you still need a sturdy connection.
Making a miter joint takes careful measurements and precise angles. Cut both pieces at the same angle, usually 45°. A well-made miter joint creates a seamless corner that looks like the wood was carved from a single piece. Taking the time to measure correctly helps you avoid unwanted gaps.
Biscuit joinery strengthens your project by using small, football-shaped biscuits. Set up your biscuit joiner and cut slots right along the edge of the wood. Insert a biscuit into the slot with glue before it starts to swell. This method makes a secure and exact connection between the pieces.
Dovetail joints are highly regarded for their strength and attractive look. They use interlocking parts called pins and tails that hold the pieces together firmly. Although dovetail joints take more practice to master, they are the best choice when you want both a reliable and decorative finish on your project.
Quick Starter Projects to Build Your Basic Woodworking Skills

Starting with small projects is a great way to learn woodworking. These builds help you practice measuring, cutting, and joining wood. They also boost your confidence while you learn the basics for bigger projects later.
Project 1: Build a Simple Bookshelf
Use pine or whitewood boards, wood glue, and finishing nails. Your tool list should include a tape measure, a basic saw, clamps, and a screwdriver. You will spend about 2-3 hours on this project, learning to cut accurately and join pieces neatly.
Project 2: Create an Entry-Level Bench
Cut your wood to size and sand each piece well. Use wood glue and clamps to secure the pieces. Focus on aligning everything carefully. This project helps you learn proper assembly techniques while working with a larger layout.
Project 3: Craft a Basic Picture Frame
Use a miter saw to make clean 45° cuts for perfect corners. This project improves your skills in precise cutting and corner joinery, which are important in detailed carpentry work.
Keep trying new designs and refining your techniques. Free downloadable blueprints can give you fresh ideas and help you tackle more DIY wood projects with confidence.
Essential Finishing Steps and Safety Practices in Basic Woodworking

Start by sanding your wood through three stages. First, use 80-grit to take off rough spots and old finish. Next, move to 120-grit for a smoother feel. Finally, work with 220-grit for a silky surface. Different sanders serve different jobs. Use a random-orbit sander on flat areas to avoid swirls, an orbital sander for detailed edges, and a belt sander when you need to remove material quickly.
Follow these steps for sanding flat surfaces and edges:
- Secure the board on a stable work surface.
- Use a random-orbit sander on flat areas. Press gently along the wood grain.
- Switch to a finer grit for edges and corners. Keep even pressure to avoid gouges.
- Remove sanding dust with a tack cloth before you apply any finish.
Next, add the finishing touches. Test a small patch of stain or sealant first. Then, use a brush or rag to apply a thin and even coat. When working with sealants, make sure you are in a well-ventilated area. Apply a protective topcoat to protect and harden the finish.
Always check your tool manuals and put on safety gear like goggles and dust masks. Keep your workspace tidy to reduce dust and prevent accidents. Regularly inspect your tools to make sure they work safely and efficiently.
Final Words
In the action, you learned how to start with a minimal tool kit and master elements like the Japanese carpenter’s hammer and bench chisels.
We explored selecting quality wood and setting up a safe, efficient workspace for your projects.
Key joinery techniques and practical starter builds were detailed to help boost your skills.
Keep practicing basic woodworking, and trust that every measured cut and clamped joint builds your confidence and leads to rewarding projects.
FAQ
FAQ
What is woodworking?
The term woodworking refers to the craft of shaping and joining wood into functional or decorative items using hand and power tools. It involves careful planning, precise measurements, and safe tool use.
What are basic woodworking projects for beginners?
Basic woodworking projects for beginners include simple builds like bookshelves, benches, or picture frames. These projects help you practice measuring, cutting, and assembling, building skills and confidence step-by-step.
What are the 9 essential woodworking joints?
The phrase “9 essential woodworking joints” covers methods such as butt, miter, dovetail, mortise-and-tenon, lap, box, rabbet, finger, and biscuit joinery. Each joint offers distinct strength and design advantages.
What does a basic woodworking course cover?
A basic woodworking course covers selecting the right tools and materials, understanding common wood types, practicing measurement and cutting skills, following safety protocols, and often includes downloadable guides or PDFs.
What are common woodworking mistakes to avoid?
Common woodworking mistakes include inaccurate measurements, improper tool use, rushed joinery, neglecting safety protocols, and poor planning. Avoid these by double-checking your work and following clear, step-by-step instructions.
What are the fundamental woodworking tools?
Fundamental woodworking tools include a Japanese carpenter’s hammer, bench chisels (various sizes), a low-angle block plane, rip and crosscut saws, and 24-inch bar clamps. These basics form a solid, efficient toolkit.
Where can I find beginner woodworking classes near me?
Beginner woodworking classes are often available at community centers, local colleges, and trade schools. Check online local listings or community woodshops to find courses that suit your schedule and learning style.
What is the golden rule in woodworking?
The golden rule in woodworking is to measure twice and cut once. This principle emphasizes careful measurement to avoid mistakes, reduce waste, and achieve precise, accurate cuts.
Where can I access a woodworking guide in PDF format?
A woodworking guide PDF offers detailed instructions and diagrams on techniques and tool use. Look for free, reputable downloads on woodworking sites or blogs to help you learn and complete projects confidently.
