
Deck footings are the hidden anchors that keep your deck safe and strong. They hold up your deck during storms and under heavy loads. In this guide, we explain simple steps to install your footings. We cover how deep to dig and how to add rebar (metal support rods) for extra strength. Follow these steps to build secure supports that meet local codes and give you confidence every season.
Deck Footings: Secure Solutions for a Sturdy Deck
Deck footings are the strong supports that carry your deck's weight safely into the ground. They keep your deck level, stop warping, and help prevent cracks over time. No matter how big your deck is, you need good footings that match your deck design, soil type, and local weather.
Key design tips:
- Make sure your footings go below the frost line. In cold areas, you might need holes that are 12 in (30 cm) to 48 in (122 cm) deep to fight freeze-thaw cycles.
- Use a footing that is at least 12 in in diameter and 6 in thick. These sizes usually follow building codes and support the expected deck weight.
- It is smart to add rebar (steel rods for strength) inside the footings, especially if the soil is not stable or the deck will have heavy loads.
Here is a simple guide to install deck footings:
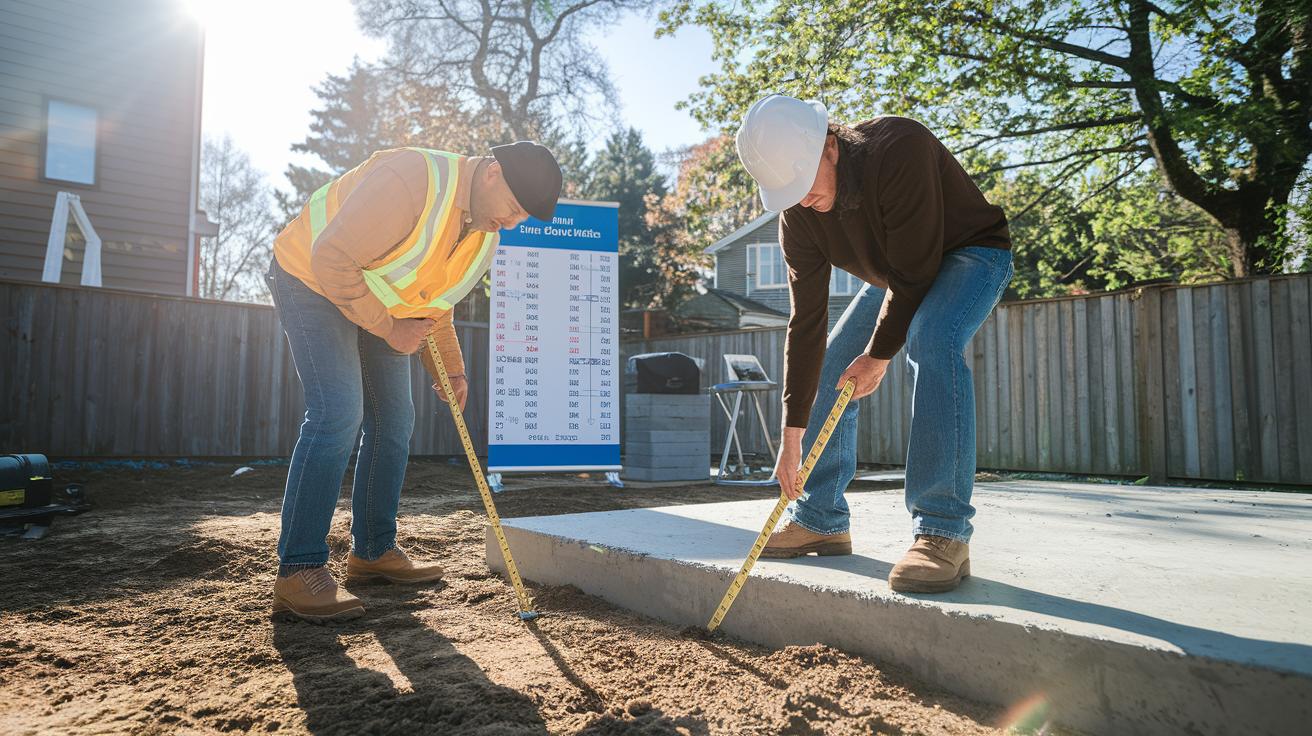
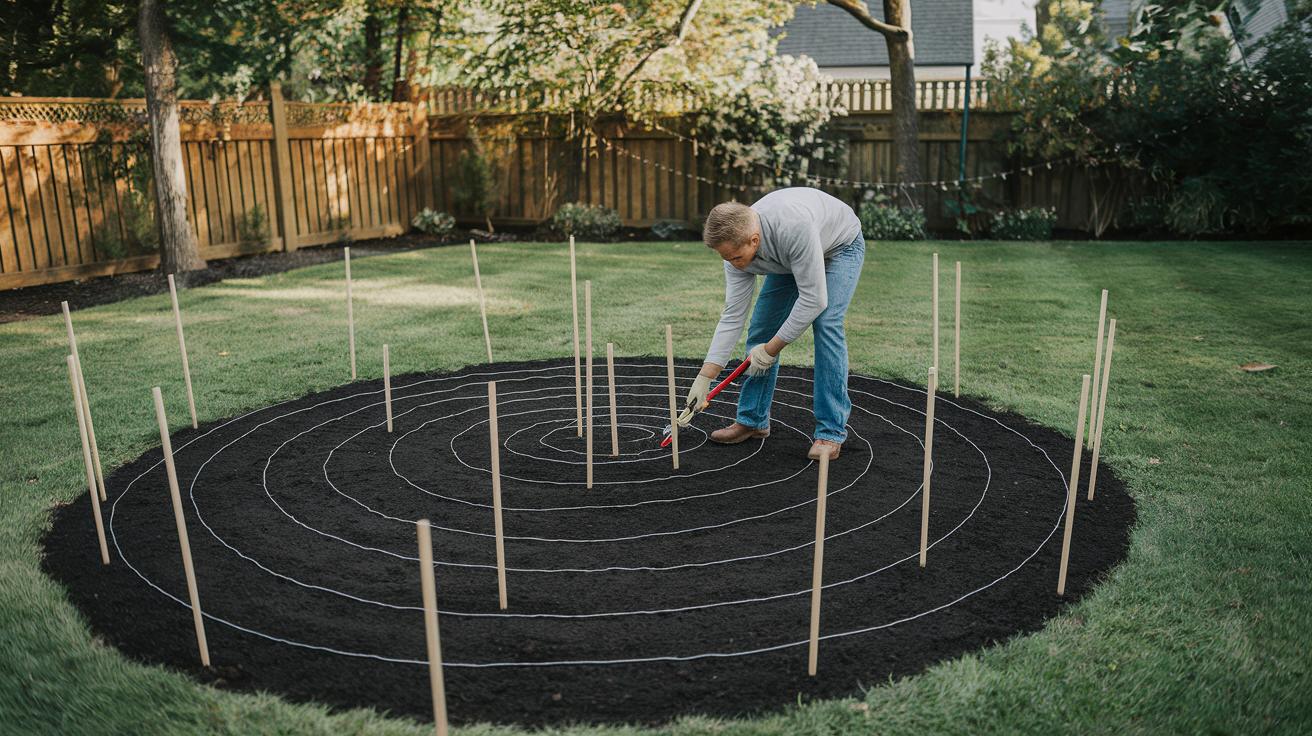
- Clear the area. Remove weeds, plants, and debris. Mark each spot with stakes and string.
- Dig holes to the proper depth and width. Make sure the sides of the hole are straight.
- Build a form (a mold to shape the concrete) and place horizontal and vertical rebar in the middle.
- Mix and pour concrete that has a strength of at least 3,000 psi. Fill the form evenly and keep the surface level. If needed, set post base connectors into the wet concrete.
- Let the concrete cure for at least 48 hours before putting any weight on the deck.
Safety note: Always check your local building codes to be sure your footings go deep enough and are the right size. Regular checks can spot small problems before they turn into big issues.
Calculating Dimensions: Footing Depth, Diameter, and Placement for Deck Footings
When planning your deck footings, the first step is to choose the correct depth. Your footings must go below the frost line to stay solid during freeze-thaw cycles. In milder areas, a 12 in (30 cm) depth may be enough, but in colder regions, you might need up to 48 in (122 cm). For example, I once found that a 24 in (61 cm) footing worked great in my area based on local frost depth maps.
Next, decide on the diameter of your footings. For a small deck, a 12 in diameter is typical. If your deck is heavy or the soil isn’t as strong, opt for a larger size. You can use a deck footing guide or a simple calculator to get the right dimensions. Laying them out in a grid helps spread the load evenly and avoids overloading a single point. Always double-check that your spacing follows local building codes.
Here are some quick tips for setting out your deck footings:
| Tip | Action |
|---|---|
| Mark positions | Use stakes and string lines to measure and mark exact spots. |
| Confirm Depth | Check local frost-depth maps or use online calculators. |
| Test Soil | Schedule a soil test if the ground is loose or inconsistent. |
For frost depth, check municipal websites or use zip-code tools to find accurate data. In northern regions, you may need footings that are 36 in (91 cm) to 48 in (122 cm) deep. In milder climates, a depth of 12 in (30 cm) to 18 in (46 cm) is common. Adjust your excavation depth based on these guidelines and local code requirements to ensure a stable deck foundation.
Material Options: Comparing Concrete, Precast, and Helical Deck Footings
Concrete deck footings need you to dig down past the frost line and build a form. Mix a concrete with at least 3,000 psi (pounds per square inch) strength and pour it into the form. Then let it cure for 48–72 hours. This method gives you a solid support that spreads the deck’s weight evenly into the soil. It works well but takes a lot of work and care.
Precast deck footings come as cement blocks or stackable forms. They are made off-site with engineered strength similar to poured concrete. Because you don’t have to dig as deeply or set up formwork, these footings are faster to install. They also offer consistent quality that many DIYers like. The cost of these footings depends on the unit, but they usually balance ease of installation with strong performance.
Helical deck footings, or screw piles, are installed by driving steel shafts with helical (spiral) blades into the ground using hydraulic or electric tools. This process minimizes soil disturbance and provides instant support. Although the cost is higher, you save time by not having to dig, fill, or backfill.
| Type | Installation Method | Pros | Cons | Approximate Cost Range |
|---|---|---|---|---|
| Concrete | Pouring on-site with formwork | Durable and proven | Time-consuming and labor-intensive | $Z per footing |
| Precast | Made off-site and quickly placed | Faster installation and consistent quality | Costs depend on the unit | $X–$Y per unit |
| Helical | Driven into the ground with torque tools | Less soil disturbance and immediate support | Higher initial cost | Varies; saves on labor |
Step-by-Step Installation Guide for DIY Deck Footings
-
Start by clearing your work area. Remove all weeds, grass, and debris. Then, mark where each footing will go using stakes and string lines. I once used this method to draw perfect circles, and it worked really well.
-
Dig each hole to the required depth and width. Keep the sides straight so the concrete will have a solid base.
-
Place reinforcement in the hole. Tie horizontal and vertical rebar (steel bars) at the middle of the hole. Check that the rebar is well-centered before you add the concrete.
-
Pour a 2 in (5.08 cm) layer of concrete at the bottom. Fill the rest of the form to the proper level. Use a trowel to smooth out the surface. You should feel it is even as you work.
-
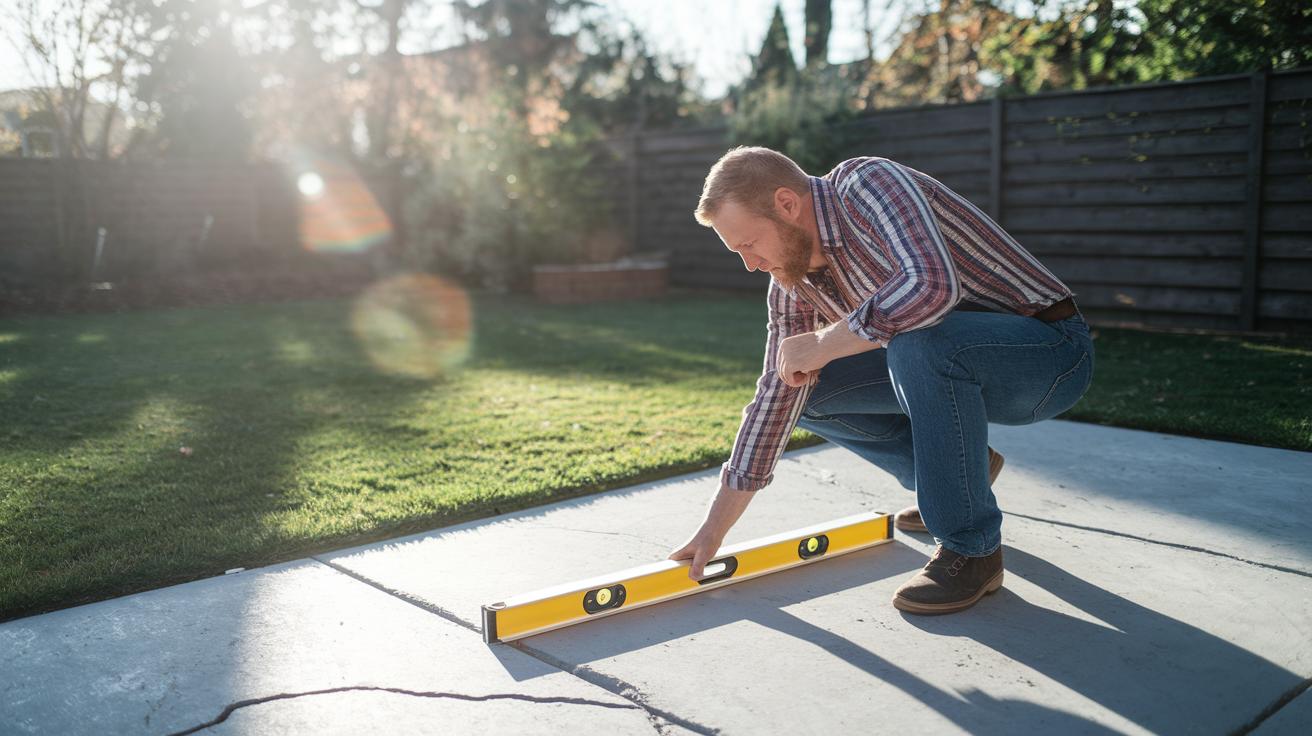
Fit or bolt the post base connectors into the wet concrete following the maker's instructions. Make sure to use a level to verify that the connectors are straight and secure.
-
Protect your new footings by applying a curing compound or by keeping them moist for at least 48 hours. This step helps the concrete gain full strength.
-
Once the concrete has cured, backfill the area around the footings with soil and compress it tightly. Ensure there are no gaps, which keeps the footings stable.
Essential tools for this project include a shovel, a level, a concrete mixer, and a trowel.
Meeting Code Requirements and Safety Standards for Deck Footings
Deck footings must be dug deep enough to go below the frost line. This keeps your deck stable over time. In most places, you need to dig deep to avoid damage from freezing and thawing. Often, the code calls for a footing diameter between 12 in (30.5 cm) and 16 in (40.6 cm) and a minimum thickness of 6 in (15.2 cm). Be sure to use a concrete mix rated at 3,000 psi or more so it can support your deck's weight.
Before you pour concrete, inspectors check your digging and formwork. They make sure the depth is enough, the rebar (steel reinforcing bars) is set properly, and the connectors match manufacturer guidelines. A typical checklist includes checking the permit display, verifying frost-depth numbers, and confirming that the rebar is evenly spaced. Tip: Always double-check that the rebar is centered in the form so the load spreads evenly.
Safety rules matter as much as the structure itself. Wear your safety glasses, gloves, and hard hat when you dig and pour concrete. If you dig deeper than 4 ft (1.2 m), use shoring to prevent cave-ins. Also, avoid removing soil around the edge of your digging; it helps keep your formwork steady.
Key code and safety verification steps include:
| Step |
|---|
| Permit display and on-site approval |
| Frost-depth check using local maps |
| Rebar spacing and placement verification |
| Concrete strength testing |
| Connector alignment verification after placement |
Following these steps will help you meet local building codes and keep your work area safe.
Troubleshooting and Maintenance of Deck Footings: Repair, Replacement, and Long-Term Care
Check your deck footings every year. Look for small cracks, any tilt, or bare rebar. If you see minor spalling or surface cracks, use a hydraulic cement patch to fix them. I once used a hydraulic patch kit on tiny cracks, and the footing looked smooth again in just a few hours. If the damage is worse, you might have to dig around the footing and repour it completely.
For decks on uneven ground, try using adjustable deck blocks or retrofit helical anchors. These options let you fix any settling without removing the whole footing. This saves you time and money while keeping things secure.
Remember:
- Check your footings once a year for signs of damage.
- Use hydraulic cement to fill small surface cracks.
- Dig out and repour the footing if the damage is extensive.
- Consider adjustable deck blocks or retrofit helical anchors for uneven surfaces.
Repair costs can vary. A hydraulic cement patch kit might run around $X per tube, while a full footing replacement usually costs about $Y in labor per hour plus $Z in materials. Also, be sure to maintain good drainage around your footings and clear away any nearby vegetation. These steps help prevent moisture buildup and freeze-thaw damage, extending the life of your deck foundation.
Final Words
In the action, you learned how each step plays a key role in building secure deck footings. We covered design guidelines, proper depth and diameter calculations, and a step-by-step installation guide. You also reviewed material options and code requirements to protect against frost and ensure compliance. Remember, careful planning and adherence to safety standards set the stage for a stable and long-lasting deck. Every step brings you closer to a project finished confidently and on schedule. Happy building!
FAQ
What deck footings are available at Bunnings?
Deck footings at Bunnings include various types such as concrete, plastic, and wood options. These products meet local building codes, and checking product details ensures you select one that fits your deck’s requirements.
What are the benefits of concrete deck footings and should rebar be used in them?
Concrete deck footings provide a strong base that transfers loads to the soil. They often include rebar reinforcement to boost strength and durability, ensuring the deck remains level and secure according to local codes.
How can you install deck footings without digging?
Installing deck footings without extensive digging can be achieved using precast or helical options. These alternatives minimize excavation, speed up installation, and still meet necessary load-bearing and frost protection requirements.
Are there plastic and wood deck footing alternatives available?
Plastic deck footings offer a lightweight, easy-to-install option for small decks, while wood deck footings use treated lumber for low-load applications. Always check that these alternatives meet local safety and load requirements.
How do precast and helical deck footings compare to poured concrete options?
Precast footings eliminate on-site concrete mixing and speed up installation, while helical footings use steel screw piles for minimal excavation. Both alternatives deliver engineered load support similar to traditional poured concrete footings.
What building codes apply to deck footings?
Deck footings must extend below the frost line, meet minimum diameter and thickness standards, and use a concrete mix rated at 3,000 psi or greater. Local codes also require proper reinforcement and inspection compliance.
How deep should footings be for a deck?
Footing depth depends on local frost line and soil conditions. Typically, depths range from 12 in (30 cm) in temperate zones up to 48 in (122 cm) in colder areas to ensure stability and prevent freeze-thaw damage.
What alternatives can be used instead of traditional deck footings?
Alternatives include precast blocks, plastic supports, and helical piles. Each option reduces digging, meets specific load requirements, and may simplify installation while adhering to safety standards.
What is the best footing option for a deck?
The best deck footing varies by design, soil type, climate, and budget. Common reliable choices include reinforced concrete footings, precast footings, or helical piles, all designed to meet your local building codes and structural needs.
