
Ever worry that a small leak might turn into a big problem? Basic plumbing skills can stop minor issues from becoming expensive repairs. This guide offers quick fixes, trusted tools, and easy steps to fix leaks and taps so you feel confident doing it yourself. With a few clear techniques, you can protect your home and save money on repairs. Get ready to boost your DIY skills and handle water repairs like a pro.
Essential Home Water Repair Basics for DIY Enthusiasts
Knowing basic plumbing can save you money and prevent big issues. A small leak spotted early can stop a disaster in its tracks. A slow leak might give you only about 20 minutes to find and close the shut-off tap. Being ready with the right tools and know-how helps you fix the problem quickly and safely.
Before you start any repair, gather your essential tools. A well-stocked toolkit is a real lifesaver in emergencies. It keeps the shut-off tap accessible and makes sure you have the right tool for every job. Here are some must-have items for your kit:
- plunger
- basin wrench
- pipe wrench
- adjustable wrench
- plumber’s tape
- slip-joint pliers
For a convenient option, check out the Best Home Tool Kit for Homeowners that bundles many of these tools. Spend some time practicing with each tool. Learn how to turn off your water using the stop valve. Try a simulated leak scenario to get used to the quick steps needed in an emergency. The more you practice, the more confident you'll feel when a real problem arises. This hands-on approach saves money and builds your DIY skills, helping you tackle plumbing challenges with ease.
Locating and Operating Your Main Water Shut-off Valve
When water starts leaking, every second really counts. Knowing where your main water valve is can stop serious damage quickly. For slow leaks, you might have about 20 minutes to act, but big floods need you to move fast. Most valves are under your kitchen sink or near where water first comes in. Keep these spots clear so you can reach them easily.
- Find the valve under your kitchen sink or where your main water line enters.
- Turn the valve clockwise until it's firmly closed.
- Check by running a faucet to make sure no water is flowing.
- Label the valve so you can quickly identify it in an emergency.
Regular checks of your valve help make sure it works when you need it. A quick inspection can catch early signs of wear or blockages, so you aren’t caught off guard when trouble strikes. Taking a little time to know your system builds your confidence and helps you handle leaks safely.
Clearing and Preventing Common Drain Blockages
Slow drains usually happen because of small buildups you might not see right away. Food scraps, hair, and soap scum can stick around and slow down your sink, bath, or shower. These clogs get tougher if you wait too long. Regular cleaning and quick fixes keep things flowing and save you from a big clog later.
Here are 6 simple methods to clear clogs and prevent them from coming back:
- Use a plunger. Push and pull to force debris out.
- Mix baking soda and vinegar. Let it work for 15 minutes, then flush with warm water.
- Clean the trap. Take out the curved pipe under your sink to remove built-up sediment.
- Insert a drain snake. Feed it into the drain to break up stubborn clogs.
- Use an enzyme cleaner. It slowly breaks down organic matter in your pipes.
- Try a high-pressure water jet. This blasts debris off the drain walls.
Adding screens over your drain openings can catch hair and food before they pile up. Taking a few minutes each week to clear out visible debris and flush your drains can keep problems away. If clogs keep coming back, try combining these methods to keep your pipes clear and flowing smoothly.
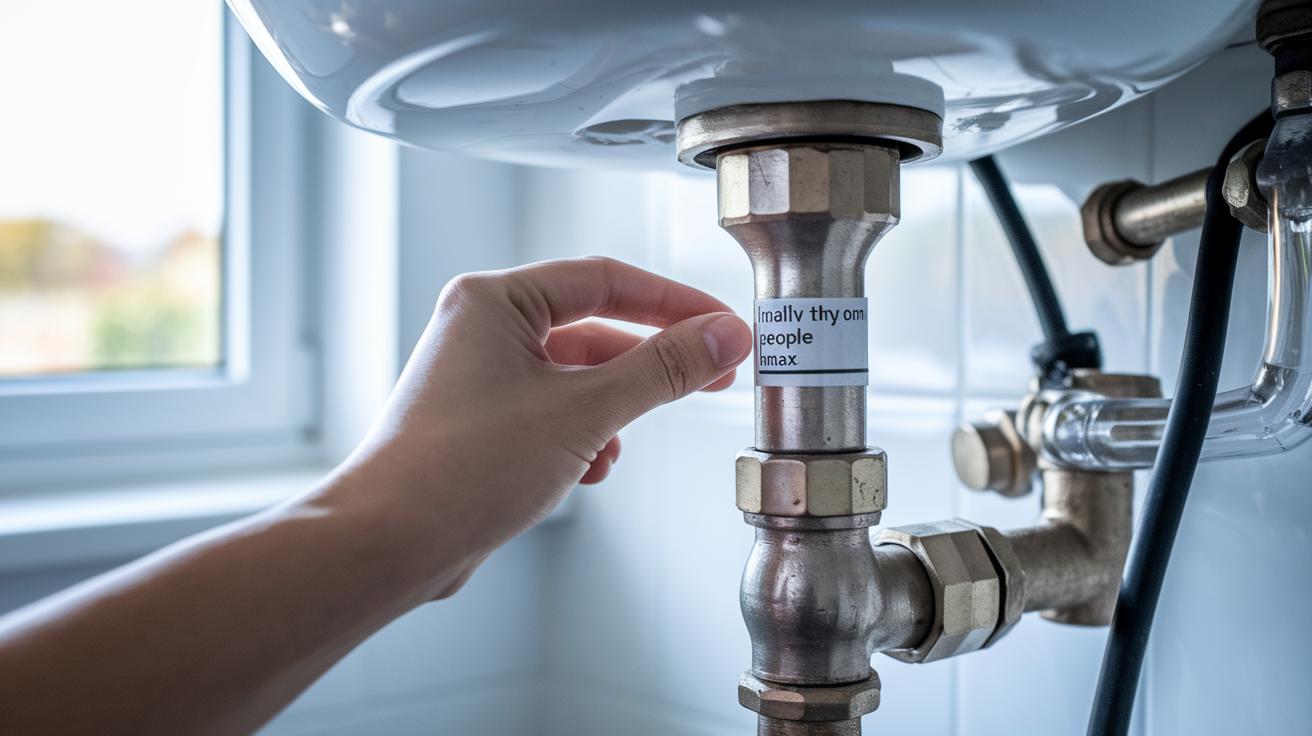
Pinpointing and Repairing Leaks with DIY Leakage Solutions
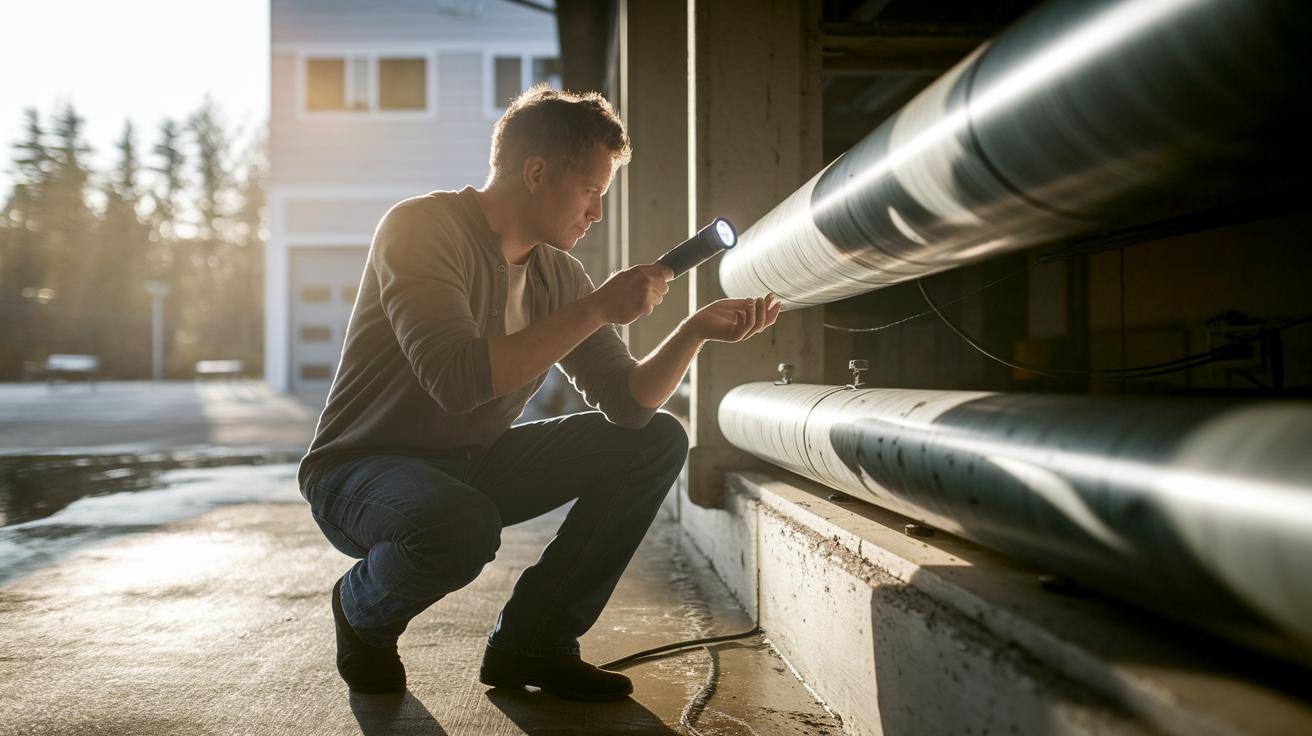
Start by checking both your eyes and ears for signs of leaks. Look for wet spots or water stains around pipes, fittings, or joints. Run your hand over surfaces to feel for hidden moisture. Use a flashlight to inspect dark or hard-to-see areas. Tip: Place a piece of tissue or paper near a suspected joint. If it gets wet, you likely have a slow leak that needs fixing.
For small pinhole leaks, epoxy putty can work well. First, clean the area thoroughly to remove dirt and grime. Then, use sandpaper to rough up the surface so the putty sticks better. Mix the epoxy putty as directed on the package. Press it firmly into the leak so it fills the gap completely. Let it cure for the recommended time before testing. After the cure, run water gently through the pipe to do a pressure test. If you notice any leaks during the test, reapply the putty or adjust how you applied it.
When leaks happen at threaded connections, resealing these joints can stop the leak. Wrap some plumber’s tape (a type of waterproof seal) around the threads or apply a bead of silicone sealant. If you see any gaskets that are worn or cracked, replace them right away. This simple step helps keep each connection watertight and stops small issues from turning into bigger problems.
Repairing and Installing Faucets and Fixtures: A Troubleshooting Guide
Faucets come in different styles like compression, cartridge, ball, and ceramic disk. Each style has its own design and common problems. Old washers, worn O-rings, or misaligned cartridges can cause drips or leaks. Knowing your faucet type helps you choose the right repair method.
Troubleshooting Leaky Faucets
When you have a leaky faucet, first find the cause.
- For compression faucets, check if the washer is worn.
- In cartridge faucets, inspect and replace small O-rings if water leaks around the handle.
- If the handle is loose, try tightening it to stop the drip.
- If water leaks from the base, you might need to replace the cartridge.
These steps can help lower your water bill and stop unnecessary drips.
Installing a New Faucet
Before you start, shut off the water supply.
- Remove the old faucet gently to avoid damaging the sink or countertop.
- Clean the mounting area well.
- Wrap new plumber’s tape (a thin tape used to seal threads) around the connecting pipe threads.
- Position the new faucet correctly and secure it with mounting nuts.
This process will keep the faucet tight and help prevent leaks from a poor fit.
Restoring and Sealing Sinks
Sink care is just as important as fixing faucets.
- Remove the old caulk from around the sink rim with caution.
- Apply a new, even layer of caulk to seal the area and block water from getting behind the fixture.
- For small chips, use a repair kit that matches your sink material.
These steps not only improve the look of your sink but also stop moisture damage and mold from developing.
| Faucet Type | Common Issue | Fix Complexity |
|---|---|---|
| Compression | Drips at washer | Low |
| Cartridge | Handle leaks | Medium |
| Ball | Spout drip | Medium |
| Ceramic Disk | Slow flow | High |
Under-Sink Maintenance: Disposal Unit Reset and Trap Care

First, turn off the power to your garbage disposal to keep safe. Press the reset button on the unit. Then, use pliers to remove any debris that might be stuck and causing the jam. This simple reset can get your disposal working again without needing extra parts.
Next, take care of the P-trap to help your sink drain well. Turn off the water supply to avoid spills. Place a bucket under the P-trap to catch any water. Loosen the slip nuts and remove the trap carefully. Clean out the sediment and grime inside. Once it is clean, reassemble the trap and turn the water back on. Run the faucet and check for leaks at all joints and connections.
For a lasting fix, tighten the slip nuts evenly. It’s a good idea to check your disposal unit and P-trap every 6 months. Regular care helps prevent clogs and keeps your plumbing working smoothly.
Recognizing Limits: Safety Protocol and When to Call a Professional
Always wear the right safety gear when doing plumbing repairs. Put on gloves and goggles to protect your hands and eyes from splashes and debris. This basic step helps keep you safe when you use water and tools.
Check the risk of each repair before you start. Small leaks or faucet fixes you can usually handle on your own. But if you have issues with gas appliances or major sewer repairs, you need a licensed expert. Know your local rules and codes to decide if you need help. Also, stay aware of electrical hazards. If your work is near wiring, review the Electrical Safety for DIYers guidelines.
In an emergency, stay calm. Shut off the water valve quickly and try to stop any big leak. If you see damage to the structure or suspect a gas leak, call a licensed professional right away.
Final Words
In the action, this post covered everything from quick fixes for leaky faucets to proper valve operation and routine under-sink care. We broke down key tasks like clearing blocked drains and resetting disposals, so you have a clear picture of each step.
A short checklist helped highlight essential tools, techniques, and safety protocols. Using basic plumbing skills for home repairs now means you can tackle minor issues before they become major ones. Keep practicing, stay safe, and enjoy the satisfaction of a job well done.
FAQ
Basic plumbing skills for home repairs near California
Basic plumbing skills for home repairs near California include leak detection, shut-off valve operation, and drain unclogging. These skills help homeowners handle emergencies and routine fixes quickly.
Basic plumbing skills for home repairs near Texas
Basic plumbing skills for home repairs near Texas include identifying leaks, operating shut-off valves, and performing minor drain repairs. Homeowners benefit from these skills by saving on repair costs and reducing response times.
Basic plumbing skills for home repairs PDF
Basic plumbing skills for home repairs are available in PDF guides that cover leak detection, shut-off valve location, and drain cleaning, providing step-by-step instructions for effective DIY solutions.
Basic plumbing skills for home repairs free
Basic plumbing skills for home repairs can be learned through free resources like online tutorials and downloadable PDFs that explain leak repair, valve operation, and drain unclogging techniques.
What are some basic plumbing skills?
Basic plumbing skills include detecting leaks, operating shut-off valves, unclogging drains, and repairing fixtures using the right tools, which help reduce repair costs and improve emergency response.
What are the essential home repair skills?
The key home repair skills cover plumbing, basic electrical work, and minor carpentry. In plumbing, knowing how to locate shut-off valves and fix small leaks is vital for quick, cost-effective solutions.
What is the 135 rule in plumbing?
The 135 rule in plumbing offers a guideline for estimating water flow and pressure drops. It provides quick reference numbers that help troubleshoot system performance during minor repairs.
What are the skills needed for plumbing?
The skills needed for plumbing include diagnosing issues, using wrenches and other tools properly, repairing leaks, and operating shut-off valves, all of which contribute to safer and cost-effective repairs.
