
Ever wonder why your garage feels more like a junk room than a creative workshop? With a few smart organizing ideas, you can turn even the messiest space into a neat and inspiring area where every tool has its own spot. Imagine grabbing your favorite tool in seconds instead of digging through piles. From pegboards and slatwalls to rolling chests, these tips will help you set up a workshop that saves time and cuts down on stress while you work. Read on to see how a few simple changes can make your garage a brilliant, efficient space.
Key Tool Organizer Ideas to Transform Your Garage Workshop
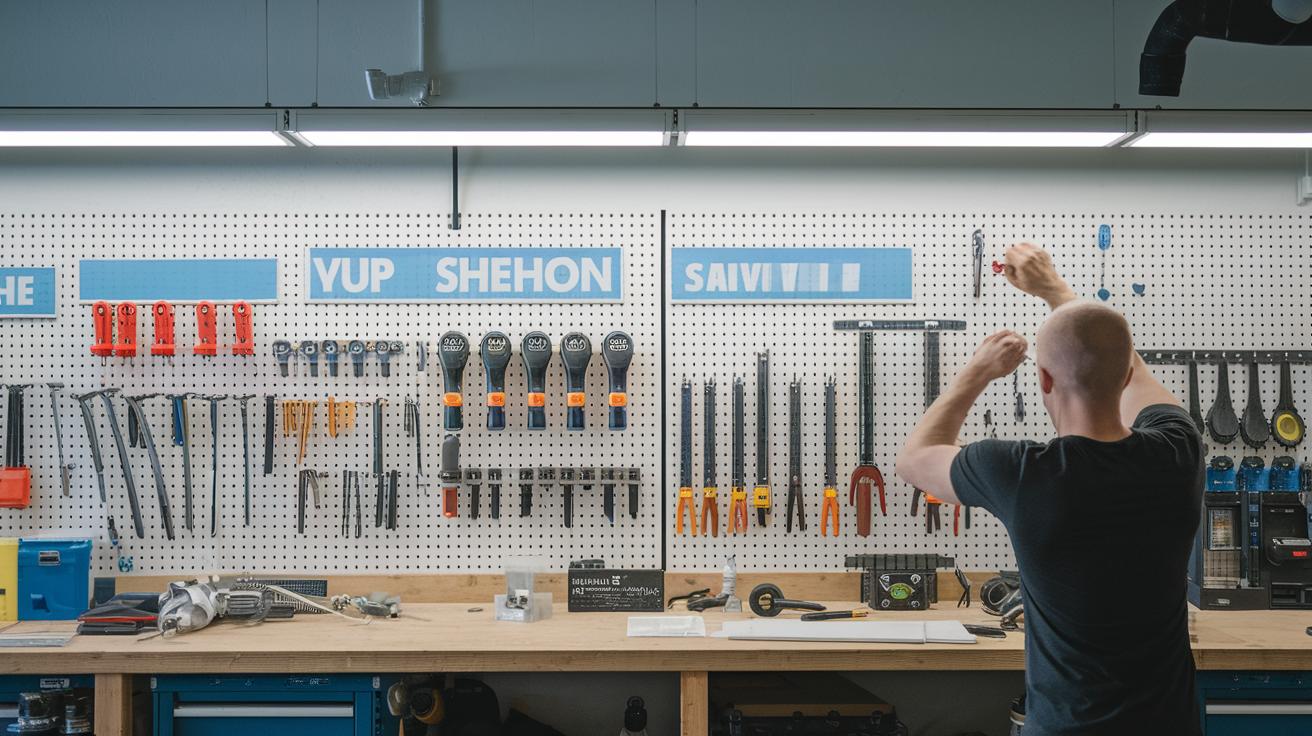
Maximize your workspace by using smart storage systems. For wall storage, try pegboards and slatwalls. With pegboards, you can easily move hooks and holders as your tool collection grows. For instance, you might rearrange your pegboard during a project so that your favorite tools are always close at hand.
Slatwalls, such as those from Rubbermaid Fast Track or Gladiator GearWalls, cover your wall from floor to ceiling. They offer lots of customization while giving your workshop a professional look. Magnetic tool strips are also useful. They let you quickly grab small metal items like screwdrivers and pliers.
Sturdy cabinets made of metal or wood protect your tools from dust and moisture while keeping them organized. Many cabinets come with built-in drawer dividers. This helps separate items like wrenches, sockets, and pliers so you save time during your projects.
Rolling tool chests are another great option. For example, the Gladiator rolling bench features 5‑in (13 cm) lockable casters that remain durable over many moves. Portable, stackable organizers work best when modules from the same brand lock together, giving you a cohesive storage system to carry from one task to the next.
Tip: Use pegboards for flexible changes, slatwalls for full-wall solutions, and magnetic strips for quick access to small tools. This blend of creative storage ideas and efficient cabinets creates a safe, organized, and effective workspace where every tool has its place.
DIY Wall-Mounted Organizer Systems for Garage Workshops
Pick the right wall organizer first. A pegboard lets you move hooks and holders as your collection grows. Choose one with smooth edges to avoid scratching your tools and to prevent rust.
Next, plan your layout. Measure your wall space and mark where you want items like hammers and screwdrivers. Group similar tools together. For example, keep power tools close to their chargers and set smaller items nearby.
If you want to cover the whole wall, consider installing slatwalls. They give you a full floor-to-ceiling look and let you arrange your tools in many ways. A typical 8×4 slatwall panel runs about $150–$400 (or $150–$400 US dollars) so plan your budget before you start. Make sure the panels are mounted securely and are level.
Add magnetic strips to hold metal tools such as screwdrivers and pliers. These are great for small items and can help free up extra space in your workshop.
Follow these steps to create a neat and accessible wall storage system that makes your garage workshop more productive every time you step in.
Rolling Tool Chests and Portable Organizer Options
Rolling tool chests are built for durability and easy movement. For example, the Gladiator rolling bench features 5 in (12.7 cm) lockable caster wheels that stand up to heavy daily use for 10 years and even three moves. Safety tip: Clean and inspect these wheels every month. Wipe them down after each use to keep them rolling smoothly.
Stackable portable organizers work best when you use brand-matching modules that lock together. This creates a secure and flexible system that grows with your tool collection. Tip: Check the latches every few weeks to keep the lock firm.
Modular transport systems let you mix and match toolboxes on one locking rolling base. Unlike traditional rolling chests, you can replace just one faulty module instead of the whole unit. This can cut down repair costs and lets you customize your setup for different tasks. Traditional rolling chests are strong as one solid frame, while modular systems make maintenance and upgrades easier.
| Feature | Traditional Rolling Chests | Modular Transport Systems |
|---|---|---|
| Design | Single sturdy unit with integrated casters | Multiple customizable modules on a common rolling base |
| Maintenance | Inspect casters and locks periodically | Replace individual modules if needed |
| Cost Benefit | Higher upfront cost; integrated design | Potential savings by upgrading only parts |
Cabinet and Drawer Organization Techniques in Garage Workshops
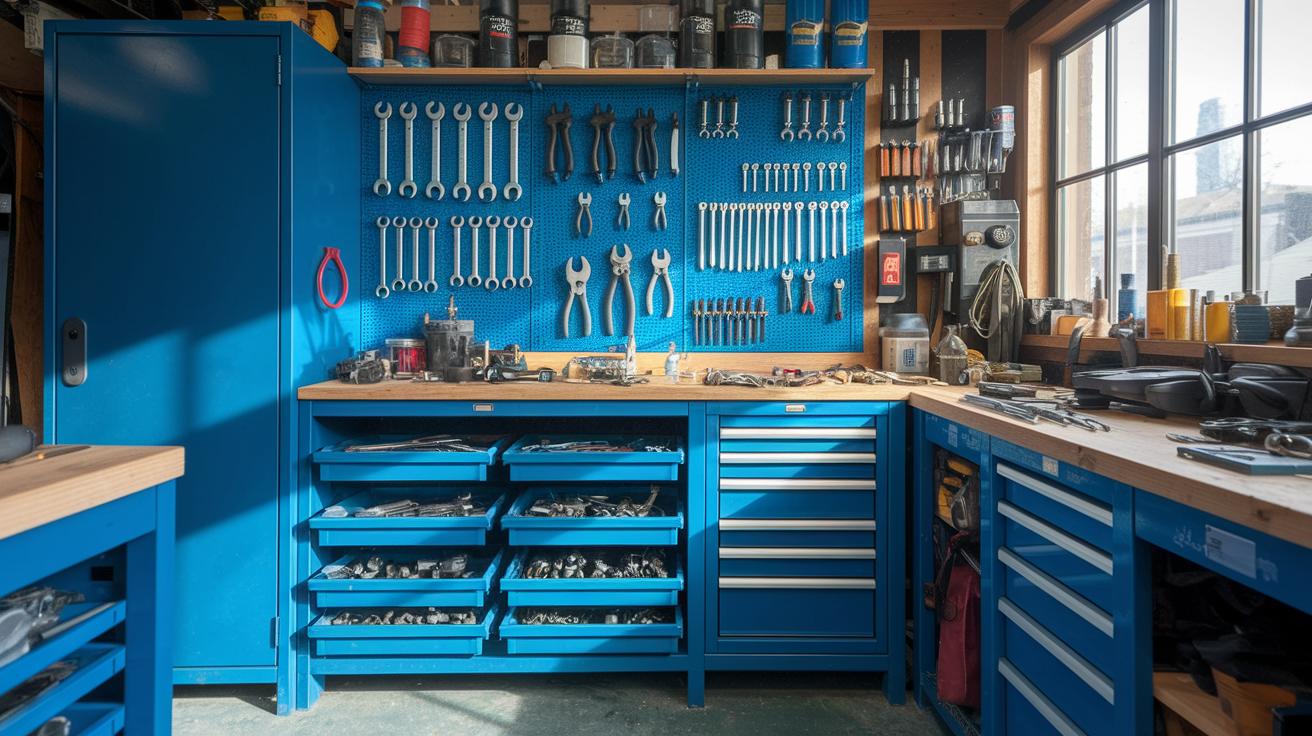
Begin by planning a cabinet layout that keeps your tools safe from dust and moisture. Choose a heavy-duty metal cabinet for lasting protection or a budget-friendly plastic cabinet if you need to save money. Either option helps keep your workshop clean and secure.
Next, make sure your drawers are easy to use. Add adjustable dividers to separate items like wrenches, sockets, and pliers. Dividers keep each tool in its own spot so you can grab what you need quickly. I once noticed that using removable dividers saved a lot of time during busy repair sessions.
Group like items together to simplify your space. For example, assign one drawer for hand tools and another for automotive supplies. Keeping similar tools together helps prevent damage and lowers clutter.
Improve your setup with clear labeling. Use adhesive labels or color-coded bins to mark each section. Labels such as "pliers," "sockets," and "screws" make it easy to find the right tool fast, letting you concentrate more on your project.
A well-planned cabinet and drawer system organizes your workspace and boosts the productivity of your garage workshop.
Workbench-Based Storage and Surface Organizer Solutions
Give your workbench a smart upgrade by adding extra storage. Start by installing shelves underneath your bench. These shelves create extra space for larger tools. You can also add pull-out drawers under the work surface. For example, a pull-out drawer can store power tools and spare parts so they’re neatly hidden yet easy to reach. Look at local DIY workbench plans to see how others manage their under-bench storage.
Next, install rails and hooks above your worktop. These help you hang clamps, extension cords, and face shields. Group similar items together. This way, you can quickly grab what you need when you start your project.
If you need to move your workspace, think about using mobile workbenches. Choose a workbench with lockable storage compartments and heavy-duty casters. That makes it easy and safe to reposition your setup as your project areas change.
Finally, plan your layout by measuring your workbench and marking the best spots for shelves, drawers, and hooks. A good plan combines open shelving, pull-out drawers, and overhead storage to keep your tools within reach and your workspace comfortable.
Ceiling and Wall Shelf Racks for Maximizing Vertical Space
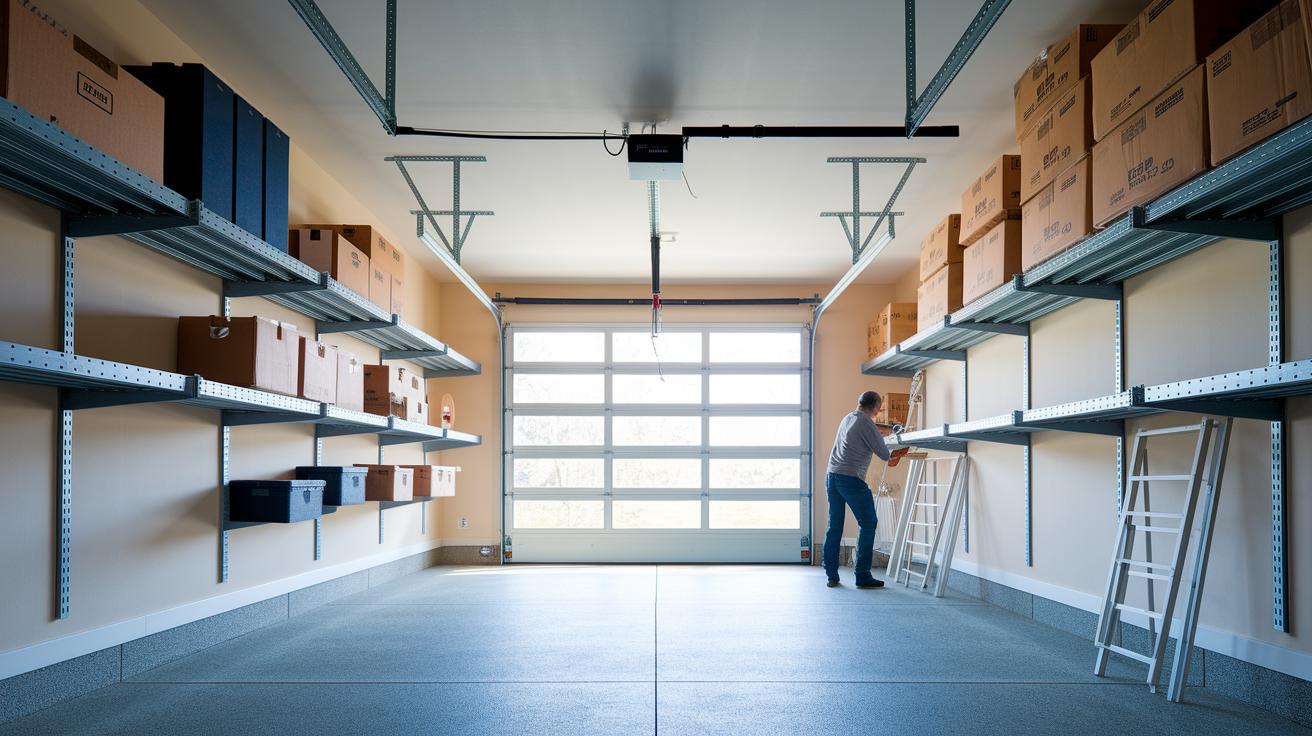
Measure your garage and decide where to add ceiling and wall storage. Overhead metal racks that hold 250–600 lbs (114–272 kg) work well for storing seasonal or bulky gear. Always check that you distribute the weight evenly and secure the racks into ceiling joists. For example, use 2×4 supports to help spread the load.
Install wall-mounted shelves next. Choose either 2×12 pine boards or sturdy steel brackets. These open shelves cost about $20–$50 per linear foot and are ideal for displaying tools and small equipment. Check for wall studs and anchor the brackets securely. Keep frequently used tools at an easy reach while placing items you seldom use on higher shelves.
To complete the look, add slatwall panels. They cost roughly $150–$300 each and span the wall from floor to ceiling. These panels allow you to hang hooks or small bins for special items. Sketch the layout of your overhead racks, wall shelves, and slatwall panels to make sure every inch of vertical space is used.
Safety tip: Always follow the manufacturer’s weight limits during installation.
Organizing Small Parts, Fasteners, and Consumables
Plan your setup first. Use wall-mounted bin systems with clear plastic bins for screws, nuts, and bolts. A typical bin measures 2″×2″×4″ (5×5×10 cm). You can mount a grid of bins to keep different fasteners separated.
In your drawers, add multi-compartment inserts to keep nails, washers, and anchors from mixing together. Sorting the items by size makes it easy to find the one you need.
Try a magnetic spice-jar hack by using small jars with magnetic lids. Stick these jars to a metal strip. The lids hold tiny items like screws or nuts in place. This trick works great when you have limited drawer space but still need a clear view of your parts.
Finally, label each container or drawer. Use simple adhesive labels to note what’s inside so your parts stay organized for your next project.
Maintenance and Decluttering Strategies for a Tidy Garage Workshop
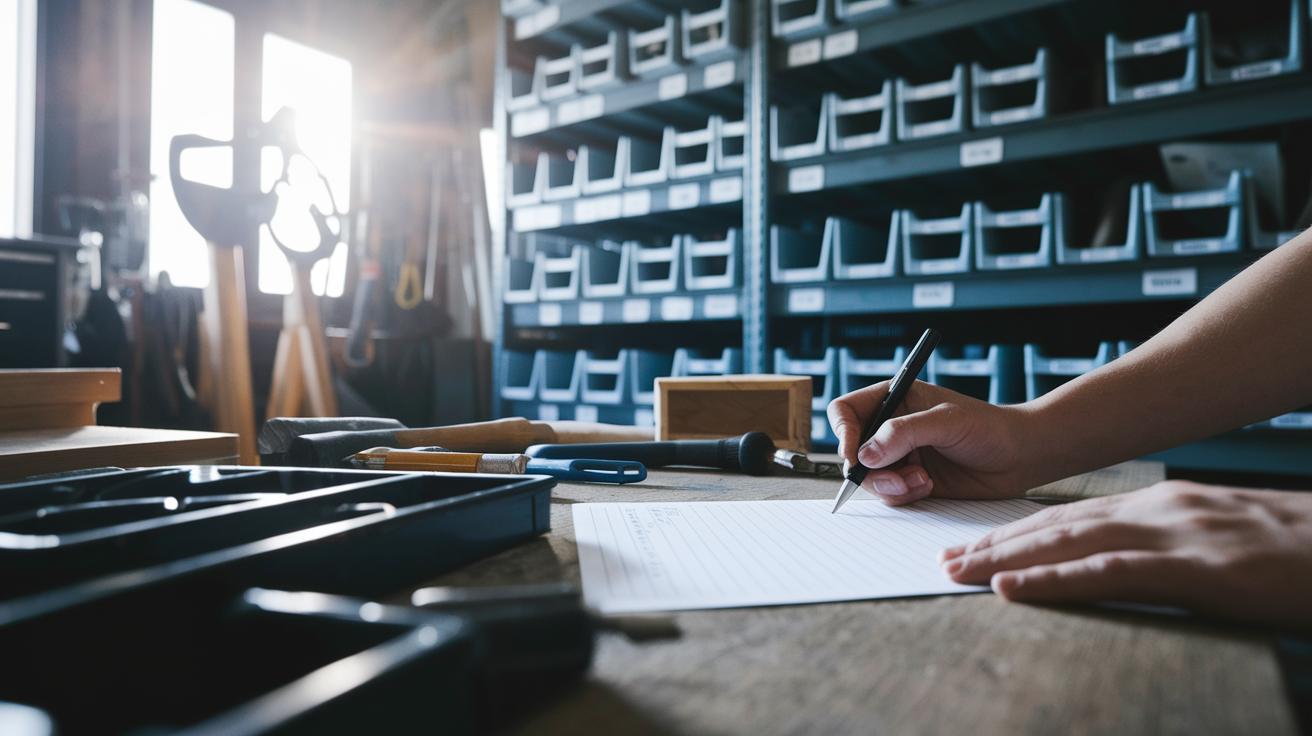
Check your tools every 3 months. Write down where each tool is and how it appears. For example, note if you moved your power drill or if your hammer is worn. Doing this helps you keep track of your tools and avoid losing them.
Clean up right after you finish a project and again every season. These clean-ups let you remove dust, debris, and tools that you no longer need. Keeping a regular cleaning schedule makes your workshop clutter-free and ready for the next task.
Sort through your supplies and get rid of duplicate tools you haven't used in the last 12 months. Try selling or donating them. Doing this frees up space and makes it easier to manage your essential tools.
Steps for a neat workshop:
- Log tool details each month.
- Take photos to check tool condition.
- Record any changes in frequently used items.
Stick with these steps to keep your garage workshop organized and efficient.
Final Words
In the action of planning your garage workshop, these tool organizer ideas for a garage workshop give you clear guidance. We covered wall-mounted storage like pegboards and slatwalls, rolling tool chests, and cabinet organization to make your space efficient and safe.
Each solution makes setting up your workshop straightforward and budget-friendly. Enjoy creating a neat space where every tool has its place, helping you work smarter and complete your project confidently.
FAQ
What are simple, small, and best tool organizer ideas for a garage workshop?
The simple, small, and best tool organizer ideas use wall-mounted pegboards, cabinet systems, and rolling chests to maximize space, protect tools, and speed up retrieval in your garage workshop.
What woodworking tool organizer ideas work for a garage workshop?
The woodworking tool organizer ideas focus on custom pegboards and modular cabinets that neatly store chisels, saws, and other woodworking tools while keeping them safe and easy to access.
What tool organizer ideas are popular on Pinterest for a garage workshop?
Pinterest-favored tool organizer ideas highlight creative wall systems with pegboards, slatwalls, and magnetic strips that blend practicality with style, inspiring DIY setups that are both functional and neat.
What tool storage ideas are effective in small spaces?
Effective tool storage ideas for small spaces include vertical racks, slimline cabinets, and magnetic strips, which maximize every inch and keep tools organized and within reach.
What are some DIY tool storage ideas for garages?
DIY tool storage ideas involve building custom pegboards, slatwalls, and rolling chests that match your workshop’s layout, ensuring tools are secure, organized, and accessible.
What are effective ways to organize tools in a garage workshop?
Effective organization in a garage workshop means grouping like items, using clear labeling, incorporating modular storage, and scheduling regular clean-ups to maintain a tidy and efficient workspace.
