
Ever wonder why some DIY projects feel like guesswork? A clear planning checklist guides you step by step. It breaks down a big project into small, simple tasks, making the whole process easier and more fun. This tool helps you list supplies and skills while saving money and cutting down on extra store trips. Try it out and see how a planning checklist can keep your project on track and spark your creativity.
How a DIY Project Planning Checklist Streamlines Your DIY Projects
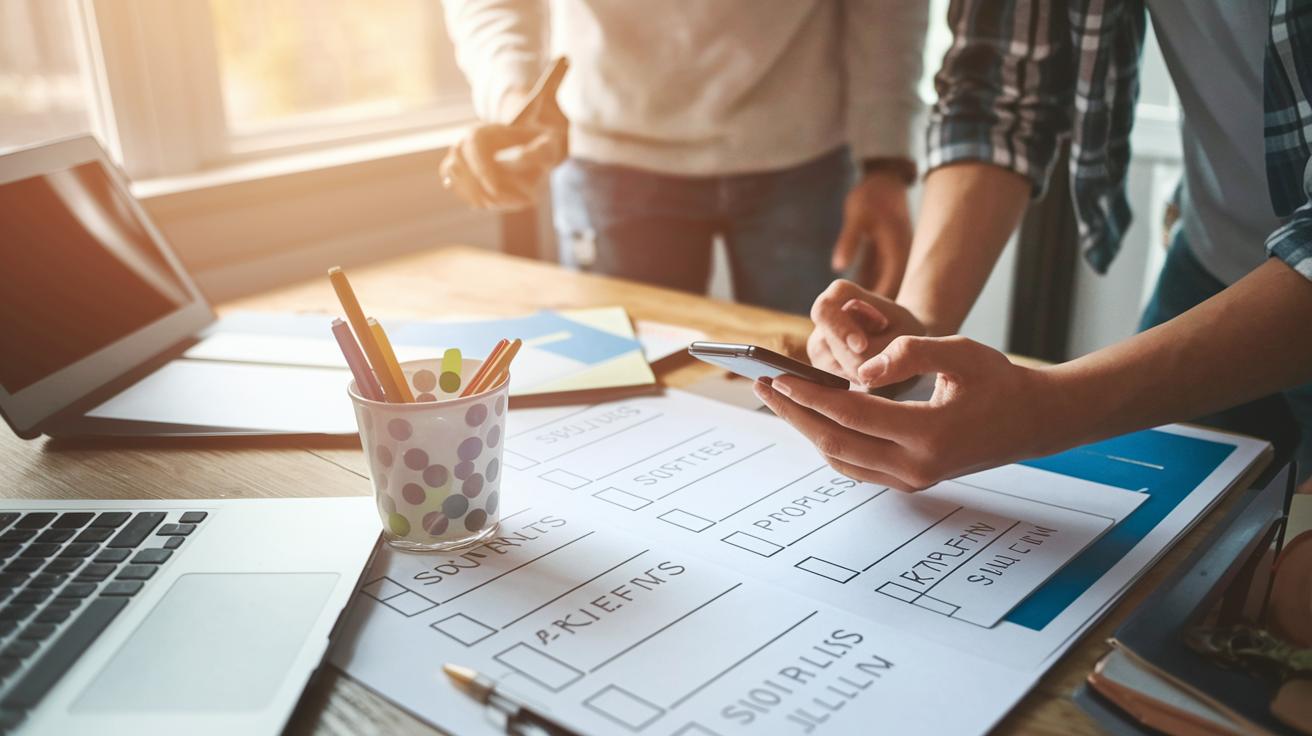
A DIY project checklist is a simple guide that breaks your work into clear, small steps. It helps you see what skills you need, list all your supplies, plan each action, and keep track as you go. For example, writing down "Gather all tools" as your first step sets a clear start to your project.
Spend just 10 minutes planning ahead. This short time helps you avoid extra trips to the store and saves money. Mark clear tasks like "Measure and cut wood for shelves" on your checklist. Each step is simple and shows you exactly what to do next.
A well-made checklist lets you work room by room. Write down tasks such as "Install new light fixtures in the living room" and note the tools needed. This breaks a big project into smaller, easy-to-manage parts.
Following your checklist builds confidence and keeps you on track. With every step outlined, from checking your skills to finishing the last task, you reduce the risk of missing important details. This clear plan helps you turn your DIY ideas into real results.
Key Elements to Include in Your DIY Project Planning Checklist
Begin your DIY project with a clear checklist. Start by adding a Skills and Help Needed section. Write down the skills required for each task and note if extra help is needed. For example, you might write, "Assess painting skills and note if additional hands are needed."
Next, create a Supplies to Purchase section. List every item with exact quantities and measurements. For instance, note "2 gallons of paint" and "24 in (61 cm) brushes." You can also add a tool inventory to show what you already have versus what you need to buy or borrow.
Then, organize your tasks in a Project Steps section. Write each task as a step in the order you will complete them. Include a material sourcing plan to mark where you will get items like lumber, screws, or adhesives. This clear, step-by-step layout helps keep the project on track.
Finally, add a Progress Notes section to record daily wins and challenges. Use this space to track your budget as well, noting any extra costs or savings. For example, you could write, "Completed wall prep, used 5 ft (1.52 m) extra trim." Together, these sections build a strong framework covering skill assessment, material planning, budget control, and project review.
DIY project planning checklist: Ignite Your Creativity
A clear timeline can make your DIY project run smoothly. This one-page planner shows your project plan. It helps you spot priorities, deadlines, and what supplies you need. With this simple guide, you can plan work in clear steps and avoid many trips to the store.
You can split your project into small, easy tasks with a timeline mapping template. For example, you might write "Set up work area by 9 AM" as a milestone to check off. Create a schedule that marks key dates for planning, shopping, and final assembly. A milestone tracking sheet lets you mark finished tasks and adjust the plan if needed.
Follow these steps to set up your timeline:
- List all parts of the project and add deadlines (use equal time for simple projects).
- Mark key points with a timeline mapping template to see your progress.
- Record each finished phase on your milestone tracking sheet.
- Update the schedule as your project moves along.
This organized plan helps you manage your time, sparks your creativity, and keeps every step on track. Enjoy turning your ideas into action!
Saving Time and Money with a DIY Project Planning Checklist

Planning ahead helps you save both time and money. Spend about 10 minutes listing what supplies you need before you start. This quick step can stop extra trips to the store and cut down on surprise costs.
Use an expense estimation form to note prices for items like lumber, paint, or tools. For instance, you might write down the cost for 2 gallons of paint and 3 brushes. Writing prices down early keeps your budget in check.
A spending tracker sheet is a handy tool. It helps you compare what you expected to spend with what you actually paid. This way, if costs go up, you can adjust your plan right away.
Follow these steps:
- Write down every supply with its cost.
- Fill out your expense estimation form.
- Update your spending tracker regularly.
Using these planning tools makes your DIY project smoother and less stressful.
Customizable DIY Project Planning Checklist Templates: One-Page vs. Five-Page Planner
Start by looking at the differences between the one-page and five-page planners. The one-page design is short and covers your main tasks, deadlines, and supplies all in one view. For example, you might write "Complete prep work by 2 PM" to set a clear deadline.
The five-page planner gives you extra space to plan in more detail. It includes an Inspiration page where you can sketch ideas or note things like paint colors and favorite DIY blogs. Think of it as your creative corner to quickly design your final look.
This version also offers a full-page To-Do List that lets you check off tasks one by one, room by room. There is a separate Notes page as well to record any changes or extra ideas. For instance, you might write "Needed extra trim for better finish" so every detail is captured.
Here are some steps to decide which planner fits your project best:
- Write down your main tasks and deadlines with the one-page if you prefer a simple layout.
- Use the five-page planner if you need extra space for detailed planning and creative ideas.
- Update your progress daily with the full-page To-Do List to make sure nothing is missed.
Tool Inventory Ledger & Supplies Checklist in Your DIY Project Planning Checklist

Keep your purchase list and inventory checklist together. Group your materials by category, such as Projects + Crafts, Home + Family, and Home + Garden. Write down exact amounts, for example, "2 gal (7.6 L) of paint" or "Buy 1 package of decorative trim for your holiday decor."
Also, track your tools in an inventory ledger. Write down if you already own a tool, need to buy one, or can borrow it. List common tools like a hammer, saw, and drill. For a clear view, check out this example table:
| Tool | Status |
|---|---|
| Hammer | Owned |
| Power Drill | Need to Buy |
| Saw | Borrow |
Also, jot down notes on where to find materials like screws or fasteners at your local hardware store. This helps avoid delays during your project.
Tracking Progress & Notes in Your DIY Project Planning Checklist
Keep daily updates alongside a milestone checklist so you can see your project grow step by step. At the end of each workday, jot down wins, problems, and any changes you made. For example, you might note: "Day 1 – Finished base installation by 3 PM; discovered an extra gap needing filler."
Mix these daily notes with a list of key milestones. Write down the exact times and details for each important step. For example, you could list:
- Measure and mark cutting layouts
- Complete the first coat of paint
- Adjust the installation based on your measurements
Use the table below to capture all the details:
| Time | Milestone | Notes |
|---|---|---|
| 3:00 PM | Base installed | Found a small gap and used extra filler |
| 4:30 PM | First paint coat | Smooth finish with slight brush marks |
Recording these details every day helps you review your progress, learn from each step, and plan a thoughtful project review once you're finished.
Final Words
In the action of tackling your project, a DIY project planning checklist guides your every step. It breaks tasks into simple chunks, from listing tools to scheduling milestones. You learn to manage supplies and keep costs in check while tracking progress. A clear, step-by-step roadmap helps avoid extra trips and wasted time. Embrace this organized approach and see how planning leads to smoother project completion. Enjoy the process and celebrate each small win along the way.
