
Ever wonder if a small mistake with your ladder could make your painting project dangerous? Most ladder accidents happen because the ladder was set up wrong or wasn’t the proper type for the job. In this guide, we share simple and clear tips to help you stay safe during painting or repair work. We explain how to choose the right ladder and follow key safety practices, such as using the 4:1 rule (for every 4 units of ladder height, the base should be 1 unit away) and keeping three points of contact at all times. Follow these steps to work confidently and lower your risk of injury.
Achieving Safe Ladder Use for Painting and Repairs
Ladder accidents occur more often than you might expect during painting and repair projects. Many mishaps start from using the wrong ladder, placing it at a bad angle, or setting it up on uneven ground. Always read the warning labels and steer clear of risky actions like climbing to the very top or stretching too far. Following these steps will help keep you safe and prevent falls:
- Check that the ladder is the right height and weight rating. Never stand on the top rung.
- Use the 4:1 angle rule (for every 4 ft of ladder height, set the base 1 ft away from the wall).
- Maintain three points of contact (two hands and one foot, or two feet and one hand) at all times.
- Tap the ladder’s base gently to check it sits firmly on a level, non-slip surface.
- Use standoffs or padded rail covers to protect surfaces and keep a safe distance.
Before climbing, make sure to tap the ladder base to ensure it is stable. The 4:1 rule works like a simple recipe to keep your ladder in the safe zone. If you’re ever in doubt about handling the ladder safely, it’s best to call in a professional who is trained in proper safety techniques.
Selecting the Right Ladder for Painting and Repairs

Choosing the right ladder keeps you safe and helps your project go smoothly. The right ladder lets you reach your work area without standing on the top rung, which lowers your risk of falling. Always pick a ladder that suits the height and weight needs of your job. Check safety labels and material specs before you start.
Step Ladder Selection
For small jobs indoors, a step ladder works best. Use it when painting trim or reaching shelves. Make sure the ladder is tall enough so you never stand on the top rung. First, fully unfold the ladder. Then check that all spreaders lock securely. This keeps the ladder steady and prevents collapse. Also, verify the ladder’s weight rating to support you and your tools safely.
Extension Ladder Selection
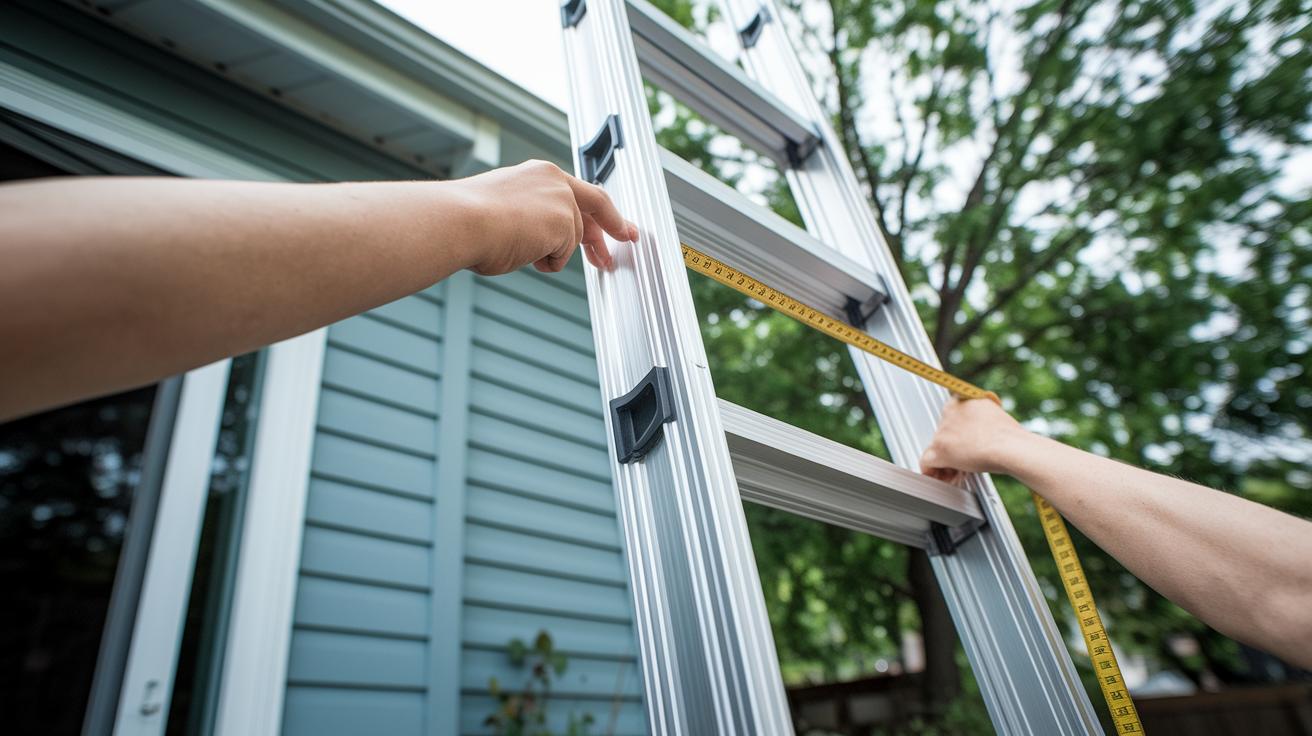
An extension ladder works well for high-elevation tasks like painting exterior walls or reaching rooflines. Look for a ladder that extends at least 3 ft (91 cm) above the landing area for extra stability at the top. If you are near electrical hazards, choose a ladder made of fiberglass because it insulates better than aluminum. Confirm that the ladder’s load rating is higher than the total weight of you and your equipment. This careful selection helps you work without overreaching and with confidence.
Proper Ladder Setup and Positioning for Painting and Repairs
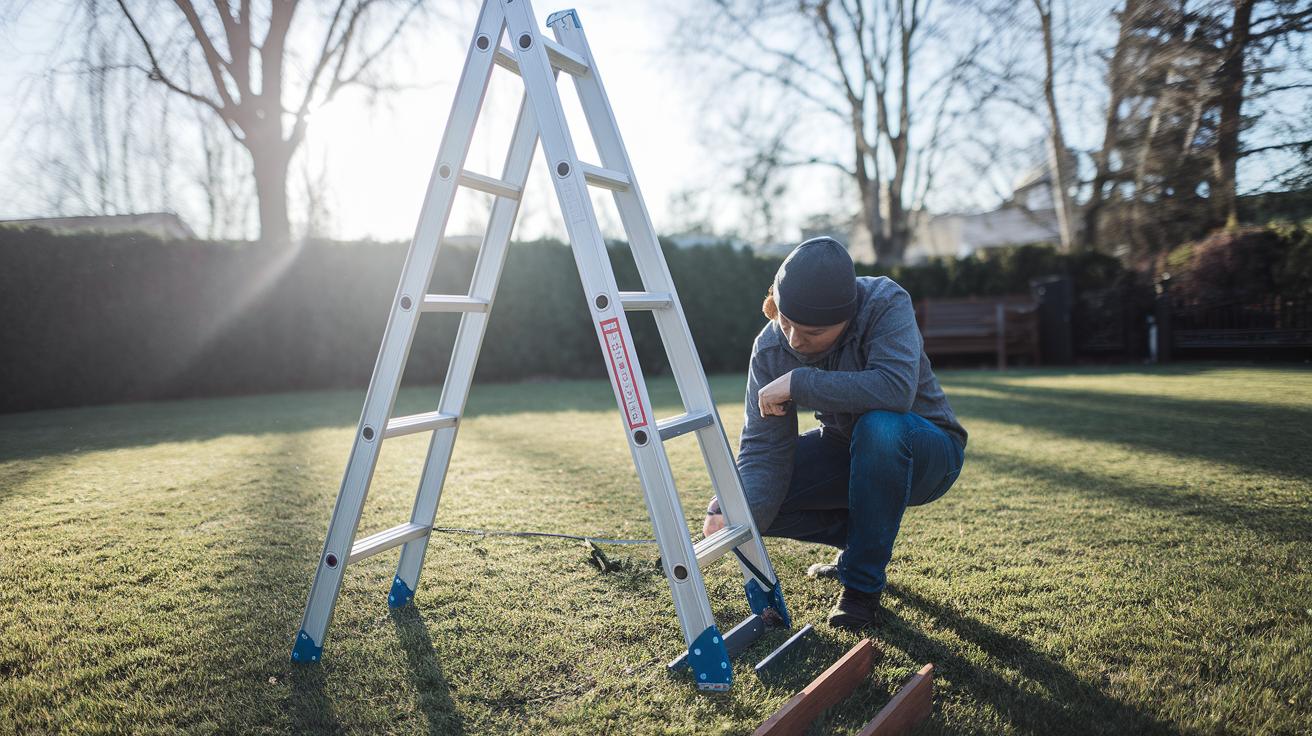
Before you begin your project, check the work area and make sure the ladder stands on firm, level ground. Remove any debris and clear the space around the ladder. If you are on soft ground like grass, mulch, or stone, flip the built-in ladder spikes upward. Then adjust the ladder levelers to boost stability.
Surface Stability
Make sure the ground feels solid under the ladder. Remove any obstacles that might cause it to wobble. When working on soft surfaces, flipping the spikes upward helps the ladder get a better grip. Adjust the levelers to even out small dips. Think of it like moving a heavy piece of furniture on an uneven floor, you make small adjustments for a secure setup.
Angle and Distance
Place the ladder at the proper angle for safety. Measure the distance between the ladder's base and the wall. Use the 4-to-1 rule: for every 4 ft (1.2 m) of ladder height, move the base 1 ft (0.3 m) away from the wall. When using an extension ladder, cover the top rails with padded covers or use standoffs. This protects nearby surfaces and ensures the ladder sits correctly.
| Ladder Height (ft) | Base Distance (ft) |
|---|---|
| 8 | 2 |
| 12 | 3 |
| 16 | 4 |
| 20 | 5 |
Climbing, Descending, and Working Safely on Ladders

Always stay centered between the ladder rails. Stand balanced and face the ladder so you feel secure with every step.
When climbing, always use three points of contact. That means use both hands and one foot, or both feet and one hand. Step firmly on each rung with your whole foot to keep stable. Keep your hands free by using a tool belt or a hoist for your equipment. Check your grip before you move to the next step. Stay aligned with the center of the ladder to avoid overreaching.
When coming down, hold the rungs with your hands and move slowly. Use three points of contact at all times. Let your body adjust with each step and take your time. Avoid carrying tools while descending by using your tool belt or hoist. Always keep a safe distance from power lines, stay at least 10 ft (3 m) away from high-voltage areas.
Preventive Maintenance and Inspection for Ladders Used in Repairs and Painting

Regular checks keep you safe on the job. They help spot small issues before they turn into big problems. A well-maintained ladder means every climb is steady and secure.
Before using your ladder, follow these simple steps:
- Look over every part of the ladder. Check for loose rungs, bent rails, missing rivets, and any signs of rust.
- Make sure the slip-resistant feet are in good shape and not worn away.
- For step ladders, confirm that the spreader locks are tight. For extension ladders, test that the rung locks hold securely.
- If the ladder has been exposed to paint or debris, clean the rails and feet to remove all residue.
Taking these steps helps extend the ladder’s life and keeps you safe during repairs and painting projects.
When finished, store your ladder in a dry, sheltered area. This protects it from moisture and harsh weather, preventing rust and keeping it ready for your next project.
Essential Safety Gear and Environmental Considerations for Ladder Tasks
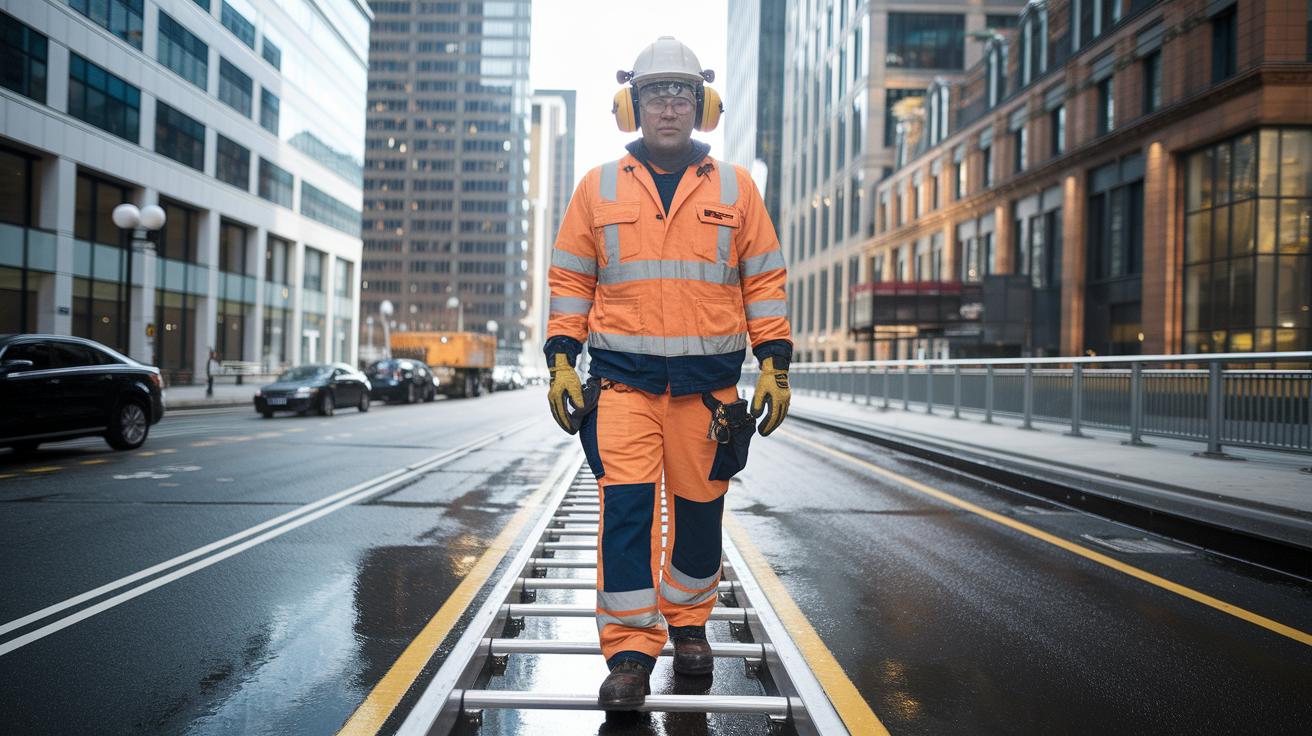
Start by putting on your proper safety gear. Wear non-slip shoes to help you stand steady on damp or freshly painted surfaces. Use gloves to keep a good grip and protect your hands. Put on eye protection to guard against dust and splashes. If there is a risk of falling objects, wear a helmet. Think of your non-slip shoes as the foundation of a house, they help keep you stable.
When you plan your ladder task, check the weather and work area. Do not use the ladder if there are high winds, storms, or severe weather that can make it unstable. Clean the work area and clear away any debris. Mark the ladder's base to signal that people should not walk through that spot. If you work near power lines or electrical hazards, choose a fiberglass ladder. Fiberglass helps insulate you against electrical currents. Also, make sure the area is well-lit and free of obstacles for a safe climb.
Before you start your task, review a simple DIY project planning checklist. This step makes sure you have all your supplies ready and that you have taken every safety measure. Use this checklist to be sure you are all set for a safe and efficient climb.
DIY project planning checklist – https://alphapix.org?p=105
Final Words
In the action of upgrading your home, we highlighted the importance of selecting the right ladder, setting it up properly, and using safe climbing techniques. We detailed the 4:1 rule, maintaining three points of contact, and regular inspections. Each step reinforces ladder safety tips for painting and repairs, ensuring you work confidently and securely. Keep these guidelines in mind, plan carefully, and let your project progress smoothly while staying safe every step of the way.
FAQ
How to safely paint on a ladder?
Safely painting on a ladder means you set it on firm, level ground, test stability, and use three points of contact while keeping your balance and avoiding overreaching.
What are the 5 precautions to using a ladder safely?
The 5 precautions include choosing a ladder with the correct height and weight rating, using the 4:1 angle rule, maintaining three points of contact, testing stability, and avoiding the top rung.
What safety precautions should be taken when painting?
Painting safely means you wear proper gear, secure the ladder correctly, follow safe ladder setup guidelines, keep your work area clear of debris, and ensure you have stable footing at all times.
What are the OSHA rules for ladder safety?
OSHA ladder safety rules require using ladders with proper weight ratings, setting them at correct angles per the 4:1 rule, maintaining three points of contact, and never standing on the top rung to prevent falls.
What extension ladder safety tips should be used for painting and repairs?
Extension ladder safety tips for painting and repairs include selecting the right ladder height and weight rating, following the 4:1 angle rule, securely locking the ladder, and testing its stability before climbing.
What types of ladders work best for painting and repairs?
The best ladders for painting include extension ladders for high walls, platform ladders for increased stability, and scaffolding ladders or painting ladders with platforms designed for stairs or precise work.
