
Have you wondered why a drill press is so helpful for beginners? This guide shows you how to set it up safely from the start. We explain every part, from the strong column (its main support) to the adjustable table, so you can drill clean, precise holes every time. Plus, we share tips on using the right tools to boost your confidence and help you avoid costly mistakes. Get ready to learn the basics that will make every drilling project safe and successful.
Drill Press Setup Basics for Precise and Safe Drilling

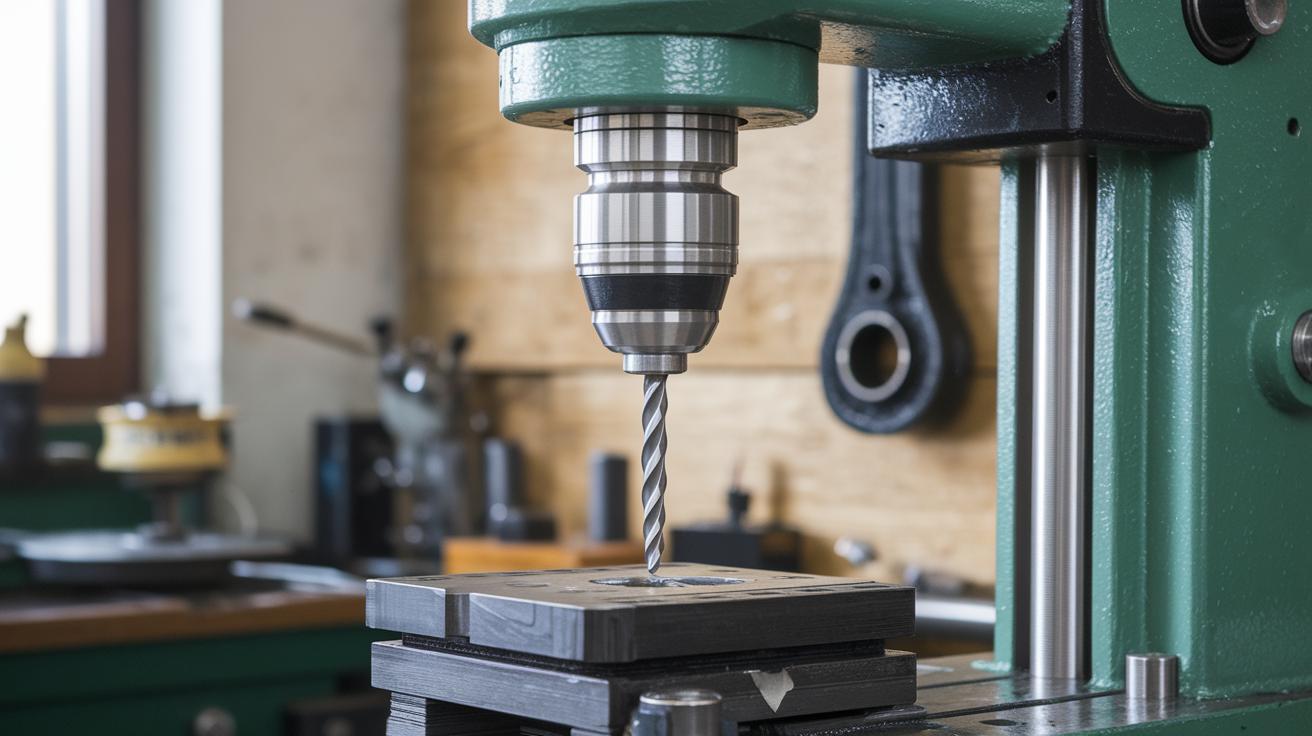
A drill press holds the drill head on a vertical column. This setup helps you drill straight and safe every time. The drill press stays steady, which cuts down on vibration so that each hole is clean and even.
The main parts of a drill press include a head with an on/off switch, an arbor with a drill chuck (a clamp that holds your bits tight), a strong column, and an adjustable table. The standard chuck travel is about 3 in (7.6 cm). This lets you set a consistent depth for each hole without moving the table. It works great for repetitive jobs and helps avoid mistakes.
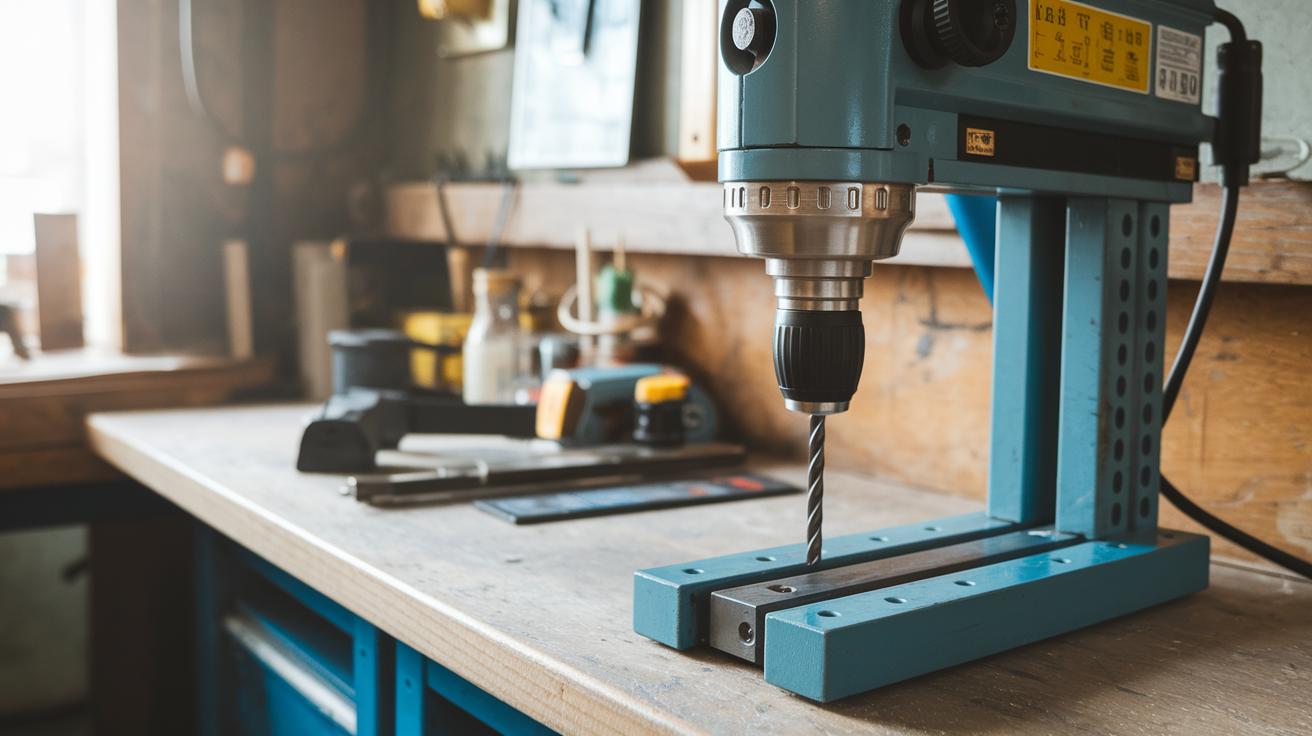
For those just starting out, a benchtop drill press is a smart choice. These models fit nicely on a workbench and have full-size features to handle most home projects. When you choose a spot to work, make sure there’s plenty of space for both the drill press and your workpiece. Bright lighting and good airflow are key for safety and comfort.
Below is a simple table of the main components:
| Component | Purpose |
|---|---|
| Head with on/off switch | Powers the drill press |
| Arbor with drill chuck | Secures the drill bits |
| Sturdy column | Supports the drill head |
| Adjustable table | Holds the workpiece and sets drilling depth |
Also, add the recommended tools from the best home tool kit for homeowners (https://alphapix.org?p=100) to your setup. Keeping these tools close will make your installation easier and help you get professional results right away.
Key Drill Press Components and Their Role in Safe Operation
Your drill press is built with several important parts that work together for safe and precise use. The head assembly holds the motor, on/off switch, and belt drive that adjusts the speed. This lets you match the drill speed to your material, much like controlling the flow from a garden hose.
The arbor and chuck keep the drill bits secure so they don't wobble while you work. The column and quill guide the needle-like bit on its up and down path. Using proper alignment here makes every hole straight and reduces errors.
The table can move up or down and can tilt for angled work. It then locks in place with a large bolt, keeping your workpiece steady. The base adds extra weight to reduce vibrations. You can even add a 20-lb (9 kg) weight, like a barbell, to make it even more stable.
| Component | Function |
|---|---|
| Head Assembly | Powers the press and lets you adjust the speed |
| Arbor & Chuck | Holds drill bits securely |
| Column & Quill | Guides the bit straight up and down |
| Table | Provides adjustable and stable support |
| Base | Reduces vibration with extra stability |
Drill Press Setup and Safety for Beginners: Thriving!

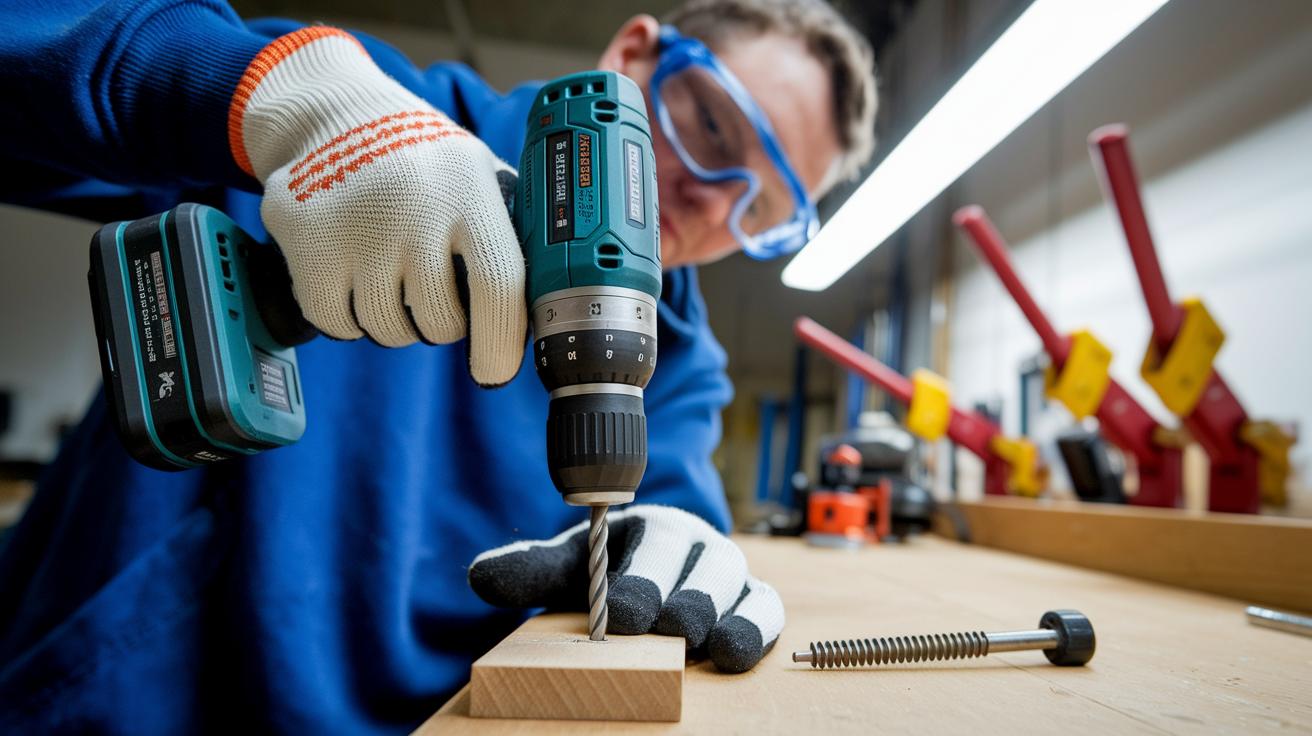
Always put on your safety gear before you use the drill press. Start by setting up a safe work area. Wear ANSI-rated safety glasses or a face shield to keep out flying chips. When drilling metal or using high speeds, add ear muffs or ear plugs. Secure your workpiece with quick-release clamps or a vise so it remains steady. Use a magnetic bar to hold the chuck key, which stops it from falling on your table. Mark clear reference lines on the column and table to avoid drilling into the cast-iron base. And never, ever hand-hold circle cutters; that can be very dangerous.
Follow these basic safety tips:
- Wear ANSI-rated safety glasses or a face shield.
- Use ear muffs or ear plugs for hearing protection.
- Clamp your workpiece securely with quick-release clamps or a vise.
- Keep the chuck key safe with a magnetic bar.
- Mark reference lines on both the column and the table.
- Always avoid hand-holding dangerous cutters.
Keep your work area neat, bright, and well-ventilated to make sure your drill press runs safely.
Step-by-Step Drill Press Installation and Alignment for Beginners
-
Place the drill press on a strong bench or secure it to the concrete floor with proper anchors. Use four penetrating anchors evenly spaced around the press to keep it from shifting during use.
-
If you notice vibration on benchtop models, add some stabilizing weight. A steel toolbox or a 20-lb (9 kg) weight works well to keep the press steady.
-
Check that the base is level using a spirit level. Adjust the press until the bubble sits exactly in the center. This step is important for both accuracy and safety.
-
Align the table so it stands at a right angle to the spindle. Use a square or a sliding T-bevel to check that your drill bit will enter the workpiece at 90 degrees. Look at the alignment from different angles to be sure.
-
Tighten the table-locking bolt and use a protractor to verify the tilt angle. Adjust as needed until the table sits square and secure. A proper tilt ensures safe switching between vertical and angled drilling.
-
Place the belt onto the correct pulley pair according to the manufacturer’s speed chart for each material. This setup helps regulate operational speed and prevents the bit from slipping or getting damaged.
-
Reattach the belt cover and test the on/off switch along with the emergency shutdown. Always check that all safety features work properly before you start drilling.
-
Run the drill press at low speed to confirm everything operates smoothly. Listen for any unusual sounds and check that the table remains stable throughout the test.
Review every step and double-check your measurements. Taking your time now helps improve precision and keeps you safe during drilling.
Drill Press Operation Basics: Bit Selection and Workpiece Securing
Pick the right bit for your material. Use high-speed steel bits for wood and choose cobalt or carbide bits for metal. Clean and lightly oil your bits before storing them to help prevent rust. Always check each bit for damage before you use it. When you lock the bit into the drill chuck, tighten the chuck key in all three holes so that the bit sits evenly. This step helps reduce any wobbling and makes your first drill stroke accurate.
Clamp the workpiece securely using quick-release or hand-wheel clamps. Never hold the material by hand while drilling because it can move or cause injury. Press down steadily while drilling. Keeping a smooth feed rate helps avoid breaking the bit or making rough cuts. If you notice any extra resistance or strange sounds, reduce your speed to stay in control.
| Common Clamping Options |
|---|
| Quick-release clamps |
| Hand-wheel clamps |
| Vise clamps |
| C-clamps |
| F-clamps |
Remember these tips to keep your drilling safe and precise every time.
Routine Maintenance and Safety Checks for Drill Press Reliability

Keeping your drill press in top shape means it stays safe and works reliably. Regular checks help catch problems before they turn into hazards. Follow this simple checklist:
- Every 6 months: Rub paste wax on the cast-iron table. This stops rust and keeps the surface smooth and moisture-resistant.
- Monthly: Look over belts and pulleys. If you see any frays or damage, replace them to prevent slippage and keep the speed steady.
- Weekly: Use a test indicator to check the spindle run-out. A steady spindle makes your holes spot-on.
- Before each use: Check the power cord insulation and make sure the grounding is secure. This keeps electrical risks low.
- Quarterly: Apply light machine oil to the quill and rack-and-pinion. This oiling makes the movement smooth and cuts down friction.
- Regularly: Confirm that the guard mechanism is secure and works well. A solid guard helps protect you against accidental contact.
- Always: Keep a printed safety checklist at your workstation. Reviewing it before you start helps make sure you don’t miss an important step.
Final Words
in the action, we covered drill press setup basics, key drill press components, and proper PPE and workspace protocols. You now have a clear guide on installing and aligning your machine with step-by-step instructions, selecting bits, and securing workpieces. Routine maintenance tips help keep your machine reliable and safe. With these steps, you can bolster your skills and confidence. Remember, a solid drill press setup and safety for beginners means a safer, more precise drilling experience every time. Happy drilling!
